Ingredients
Equipment
Method
- Line your square pan with parchment paper, leaving a bit overhang on the sides for easy lifting.
- Chop the nuts roughly and toast them in a dry skillet over medium heat until fragrant and golden, about 5 minutes. Stir occasionally to prevent burning. Let them cool slightly.
- In a large mixing bowl, combine honey, vanilla extract, and a pinch of sea salt. Warm the mixture slightly in the microwave for about 20 seconds until it's runny and fragrant.
- Add the toasted nuts, oats, and chopped dried fruit to the honey mixture. Mix thoroughly with a spatula until everything is evenly coated and sticky.
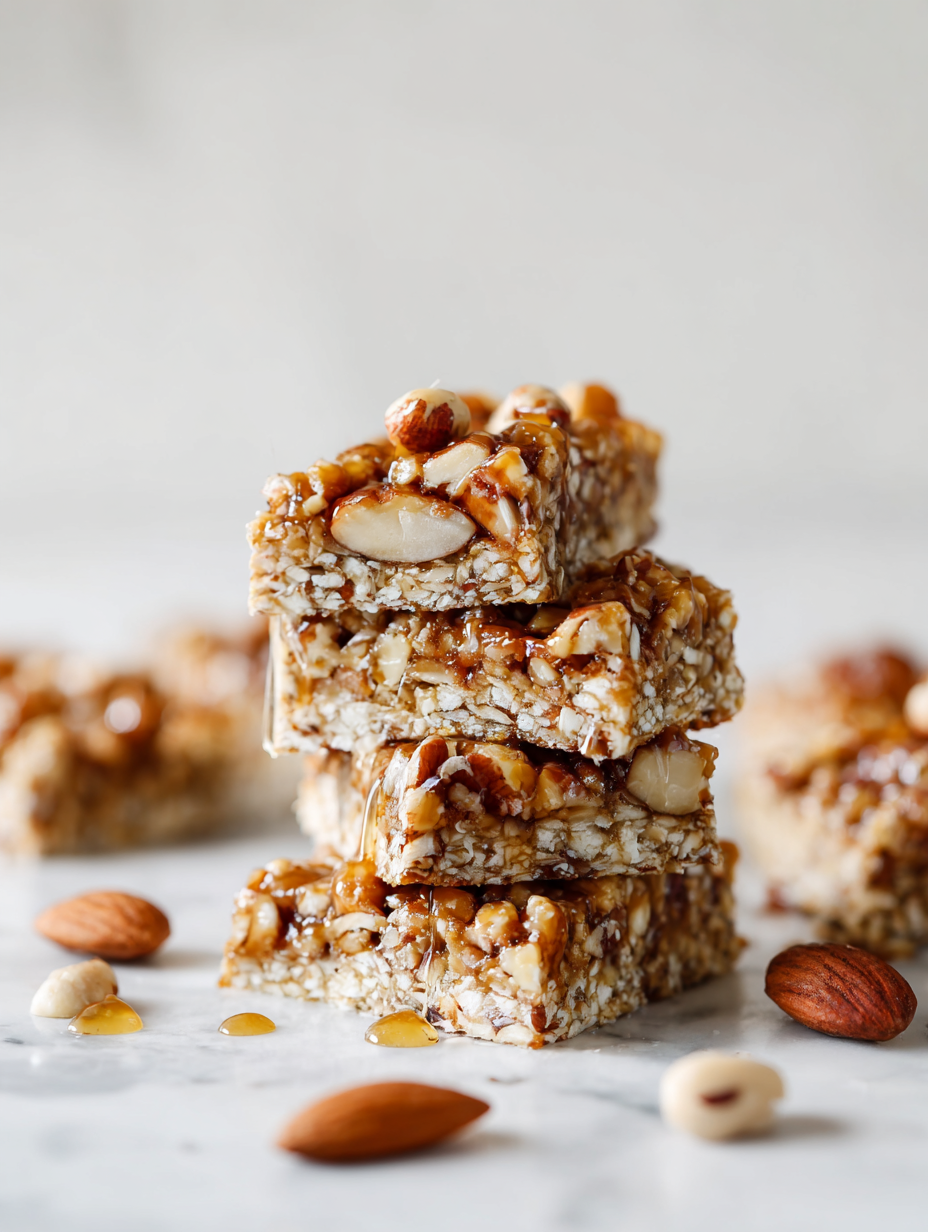
- Transfer the mixture into the prepared pan. Press it down firmly with the back of a spatula or your fingers to create an even, compact layer. This helps the bars hold together nicely.
- If using chocolate, melt it gently in short bursts in the microwave or over a double boiler until smooth. Drizzle the melted chocolate over the pressed mixture for a glossy finish.
- Chill the bars in the fridge for at least 1 hour, or until the mixture is firm and set. This makes slicing easier and ensures they hold their shape.
- Once set, lift the entire block out of the pan using the parchment overhang. Use a sharp knife to cut into 8 bars or squares, pressing down firmly for clean edges.
- Arrange the bars on a plate or store them in an airtight container in the fridge. They’re ready to enjoy whenever you need a quick, satisfying snack!
Notes
Feel free to customize with your favorite nuts or dried fruits. For extra flavor, sprinkle a pinch of flaky sea salt on top before chilling.