Ingredients
Equipment
Method
- Line the bottom of a springform pan with parchment paper, then crush the graham crackers into fine crumbs and transfer to a mixing bowl.
- Mix the melted butter and sugar into the crumbs until evenly coated, then press this mixture firmly into the bottom of the prepared pan to create an even crust. Chill in the fridge for 15 minutes.
- Brew a strong shot of espresso or coffee and let it cool slightly. In a small microwave-safe bowl, sprinkle the gelatin over a tablespoon of cold water and let it bloom for 5 minutes. Gently warm it until dissolved, then set aside.
- In a large bowl, beat the softened cream cheese with 100 grams of sugar until smooth and creamy—about 2 minutes. Mix in the cooled coffee and dissolved gelatin until fully integrated.
- In a separate bowl, whip the chilled heavy cream until soft peaks form, about 3–4 minutes. Gently fold the whipped cream into the coffee and cream cheese mixture in two additions, maintaining a light, airy texture.
- Pour the filling over the chilled crust, smoothing the top with a spatula. Tap the pan gently on the counter to remove any air bubbles and ensure an even surface.
- Cover the pan with plastic wrap and refrigerate for at least 4 hours, or overnight, until the cheesecake is firm and set.
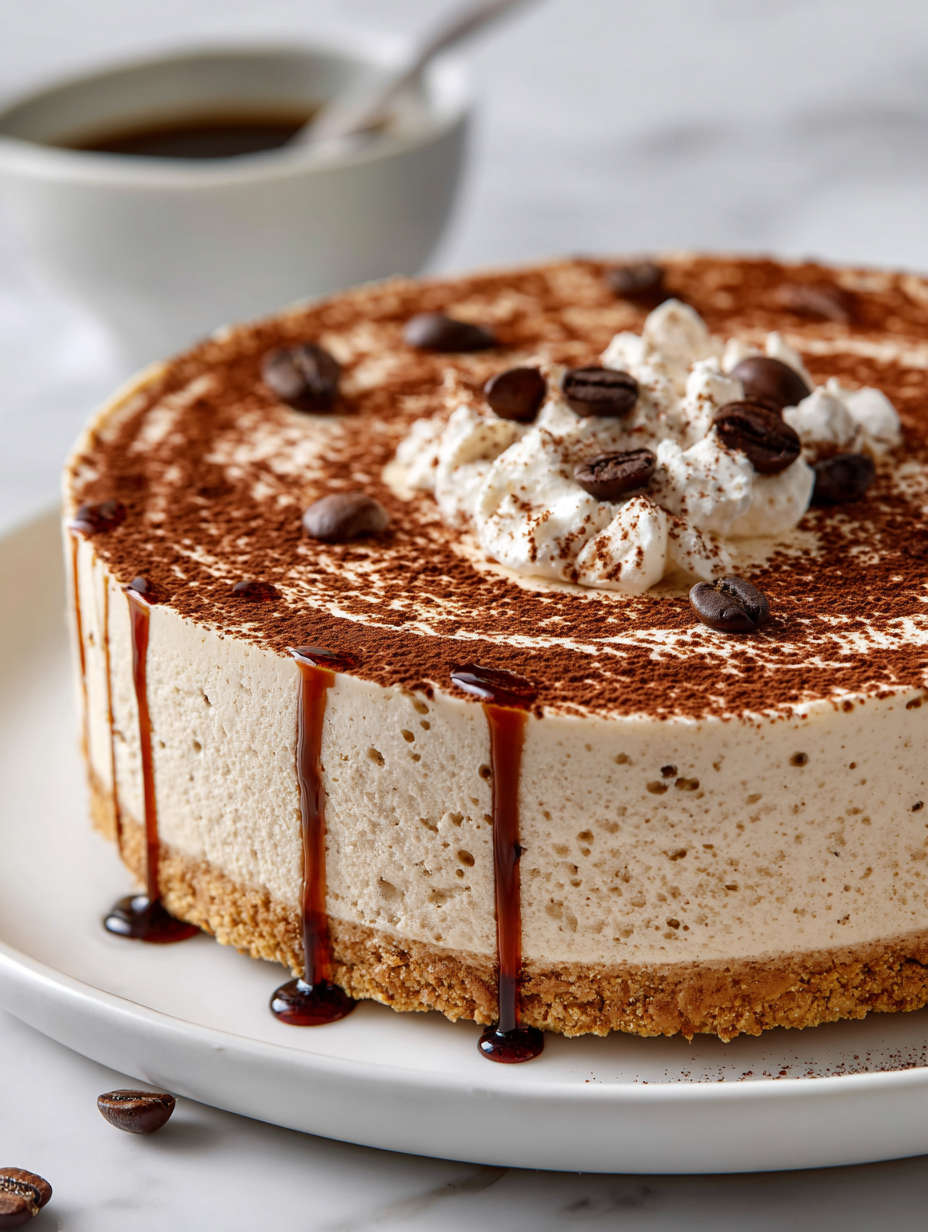
- Before serving, dust the top with cocoa powder or sprinkle chopped espresso beans for extra flavor and visual appeal. Carefully remove the sides of the springform pan.
- Slice with a hot, sharp knife for clean cuts. Serve chilled and enjoy the rich, coffee-infused creaminess with a hint of chocolate or espresso garnish.
Notes
For an extra touch, add a dusting of cocoa powder or sprinkle some chopped espresso beans on top before serving. If you prefer a firmer cheesecake, add a bit more gelatin or chill longer.