Ingredients
Equipment
Method
- Begin by crushing the graham crackers into fine crumbs using a food processor or by placing them in a zip-top bag and rolling over with a rolling pin. Set aside.
- Mix the crushed graham crackers with melted butter and sugar (if using) until the crumbs feel slightly moist and hold together when pressed.
- Divide the crumb mixture evenly among your small cups or jars, pressing down firmly with the back of a spoon to create a solid crust at the bottom. Chill in the fridge while you prepare the filling.
- In a mixing bowl, beat the softened cream cheese with powdered sugar, vanilla extract, and lemon juice until smooth and creamy. This should take about 2 minutes and will make the mixture light and fluffy.
- In a separate bowl, whip the chilled heavy cream until soft peaks form, then gently fold it into the cream cheese mixture, maintaining a fluffy texture.
- Spoon the creamy filling into each prepared cup over the crust, smoothing the tops with a small spatula or the back of a spoon. Leave some space at the top for toppings if desired.
- Refrigerate the cups for at least 4 hours, or ideally overnight, to allow the filling to set and flavors to meld beautifully.
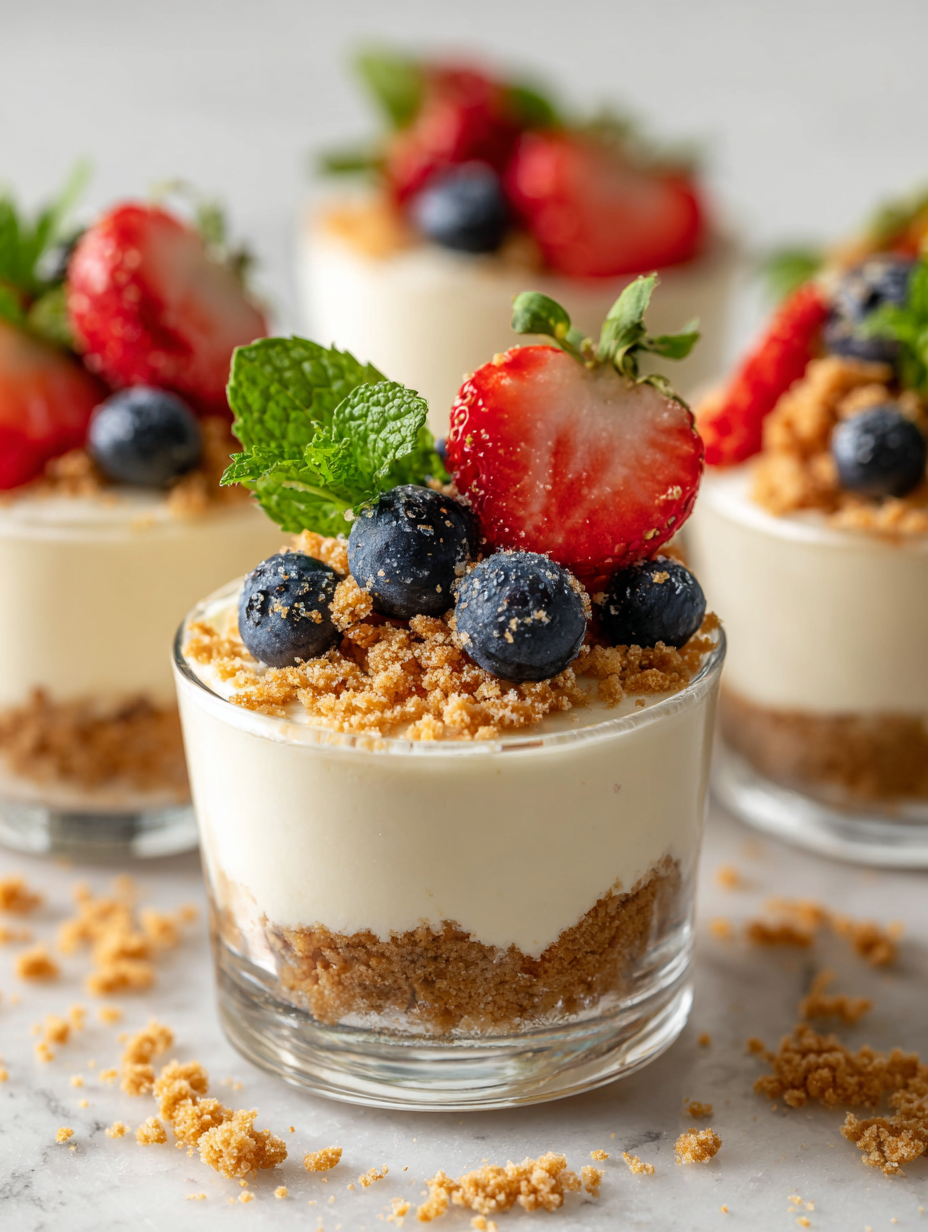
- Just before serving, top each cheesecake cup with fresh berries, chocolate shavings, or your favorite toppings for a burst of flavor and color.
- Serve the chilled cheesecake cups straight from the fridge for a cool, creamy treat that’s perfect for any occasion.
Notes
For extra flavor, consider adding a splash of liqueur or mixing in fruit purees into the filling. Make ahead and store in the fridge for up to 24 hours. Toppings are best added just before serving to keep them fresh and vibrant.