
This no bake ricotta cheesecake is a little miracle of simplicity. It’s a reminder that sometimes, the best desserts are the ones you don’t have to turn on the oven for, especially when summer’s heat is already enough to make you sweat. I love how the ricotta’s mild, slightly tangy flavor feels so fresh and light, yet somehow indulgent enough to satisfy that sweet tooth craving.
What really hooks me about this recipe is how it encourages you to get hands-on with the ingredients. No fancy gadgets, no complicated steps—just a bowl, a spoon, and a bit of patience as it sets. It’s honest, straightforward baking that rewards you with creamy, slightly crumbly texture that’s perfect for a quick treat or an impromptu dinner party dessert.
Focusing on the simplicity and freshness of ricotta, this recipe is a reminder that beautiful desserts don’t need fancy equipment or complicated steps. It’s about engaging with the ingredients, feeling their textures, and trusting the process—especially when you’re craving something creamy and satisfying without turning on the oven.
A Fresh Take on Simplicity
- I love how this recipe lets the ricotta shine, with its mild, slightly sweet flavor that’s so fresh.
- Making this feels almost meditative—just scooping, mixing, waiting—no stress, no oven heat, pure simplicity.
- There’s a nostalgic joy in how easy it is to whip up something fancy that still feels homey and satisfying.
- Honestly, the best part is how flexible it is—adjust sweetness, add citrus, or throw in berries without fuss.
- Every time I make this, I’m reminded that sometimes, the simplest ingredients make the most memorable desserts.
The story behind this recipe
This no bake ricotta cheesecake came about during a particularly hot summer when turning on the oven felt like an act of rebellion. I wanted something cool, creamy, and quick—no fuss, no heat. The first time I made it, I was surprised how the simple blend of ricotta and a hint of lemon could turn into this light yet satisfying dessert. It’s become my go-to for last-minute gatherings and lazy weekends alike, a reminder that sometimes, the best things are the easiest to make.
Trivia and Historical Tidbits
- This recipe draws inspiration from traditional Italian desserts, where ricotta has been used for centuries for its creamy texture and mild flavor.
- Historically, no-bake desserts gained popularity in summer households, where turning on the oven was often too much effort or heat.
- Ricotta cheese, originally from Italy, was once considered a humble peasant ingredient but has since become a versatile staple in both sweet and savory dishes.
Key Ingredients Breakdown
- Ricotta: I love how its creamy, slightly grainy texture melts in your mouth. Use full-fat for richness, but part-skim works if you want a lighter feel.
- Cream cheese: It adds a tangy depth that balances the ricotta’s mildness. If you don’t have cream cheese, mascarpone is a good substitute—smoother but equally indulgent.
- Lemon zest: Brightens everything up with a citrusy zing. Skip it if you’re lemon-averse, but don’t skip the zest—trust me, it’s the secret to freshness.
- Honey or maple syrup: Sweetens naturally and adds a subtle floral note. Adjust to your taste; if you prefer less sweetness, start small and taste as you go.
- Vanilla extract: It’s my go-to for warmth and depth. If you’re out, a splash of almond extract can add a nice twist, just don’t overdo it.
- Graham cracker crumbs: They give a slight crunch and buttery flavor. You can swap with digestive biscuits or even almond cookies for a different crunch.
- Optional toppings (berries, fruit compote): Fresh berries add a juicy burst, especially if you pick ripe, fragrant ones—think a splash of summer on your slice.
Spotlight on Key Ingredients
Ricotta:
- I love how its creamy, slightly grainy texture melts in your mouth. Use full-fat for richness, but part-skim works if you want a lighter feel.
- Cream cheese: It adds a tangy depth that balances the ricotta’s mildness. If you don’t have cream cheese, mascarpone is a good substitute—smoother but equally indulgent.
- Lemon zest: Brightens everything up with a citrusy zing. Skip it if you’re lemon-averse, but don’t skip the zest—trust me, it’s the secret to freshness.
Sweeteners & Crust:
- Honey or maple syrup: Sweetens naturally and adds a subtle floral note. Adjust to your taste; if you prefer less sweetness, start small and taste as you go.
- Vanilla extract: It’s my go-to for warmth and depth. If you’re out, a splash of almond extract can add a nice twist, just don’t overdo it.
- Graham cracker crumbs: They give a slight crunch and buttery flavor. You can swap with digestive biscuits or even almond cookies for a different crunch.
Notes for ingredient swaps
- Dairy-Free: Use coconut or cashew ricotta. It won’t be as tangy but keeps the creamy texture.
- Reduced Fat: Swap full-fat ricotta with part-skim for a lighter feel. Expect a slightly less rich bite.
- Sweetener: Maple syrup or agave instead of honey. They add a different floral note but might alter the flavor profile.
- Citrus: Lime zest can replace lemon zest for a more tangy, slightly different brightness.
- Crust: Digestive biscuits or almond cookies work well if you don’t have graham crackers. Expect a different crunch and flavor.
- Flavor Boost: A splash of orange liqueur or almond extract can add complexity if you want a twist.
- Toppings: Fresh berries, sliced stone fruits, or a drizzle of honey—choose what’s in season or what you love.
Equipment & Tools
- Springform pan: Holds the cheesecake and helps with easy removal.
- Mixing bowls: Combine and smooth the filling ingredients.
- Rubber spatula: Scrape sides and fold ingredients smoothly.
- Parchment paper: Line the pan for easy unmolding.
Step-by-step guide to no bake ricotta cheesecake
- Gather your equipment: a 20cm (8-inch) springform pan, mixing bowls, a rubber spatula, and parchment paper. Line the bottom of the pan with parchment for easy removal.
- In a large bowl, combine 2 cups (500g) ricotta, 8 oz (225g) cream cheese softened, and 1/4 cup (60ml) honey. Mix until smooth and creamy, about 2-3 minutes. Use a rubber spatula to scrape sides and ensure no lumps.
- Add 1 tablespoon (15ml) lemon zest and 1 teaspoon (5ml) vanilla extract. Mix again until fragrant and evenly incorporated. Smell for bright citrus and vanilla warmth.
- Pour the mixture into the prepared pan. Smooth the top with the spatula, ensuring an even surface. Tap the pan gently on the counter to release air bubbles.
- Cover loosely with plastic wrap or foil. Place in the fridge for at least 4 hours, preferably overnight, to let the flavors meld and the cheesecake set.
- After chilling, remove from the fridge. Carefully run a knife around the edge of the pan to loosen, then unlock the springform sides. Transfer to a serving plate if desired.
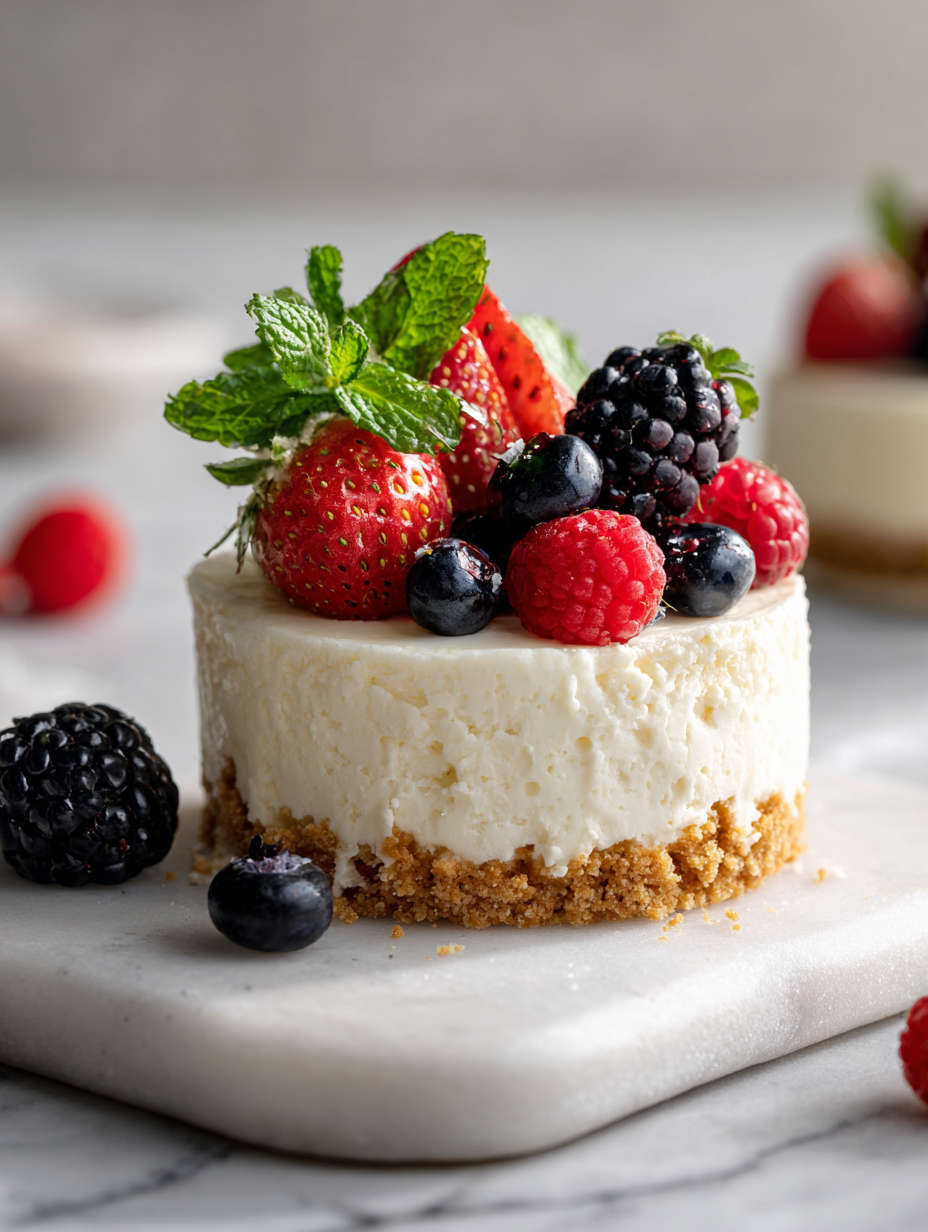
- Optional: Top with fresh berries or fruit compote. Slice with a warm knife for clean cuts. Serve chilled, enjoying the creamy, slightly tangy bite.
Chill the cheesecake for at least 4 hours or overnight. Once set, run a knife around the edge before opening the springform. Serve directly or transfer to a plate, topped with fresh fruit if desired.
How to Know It’s Done
- Cheesecake is firm and slightly jiggly in the center, not liquid.
- Surface feels smooth and matte, without cracks or wet spots.
- A gentle shake causes only a slight wobble, not a wave.
No Bake Ricotta Cheesecake
Ingredients
Equipment
Method
- Line the bottom of your springform pan with a sheet of parchment paper and press the graham cracker crumbs evenly into the bottom to create a firm crust.
- In a large mixing bowl, combine the ricotta cheese and softened cream cheese. Use a rubber spatula or hand mixer to blend until the mixture is smooth, creamy, and free of lumps. You’ll notice it becoming fluffy and light in texture.
- Add the honey, lemon zest, and vanilla extract to the cheese mixture. Fold everything together gently until evenly incorporated, and the mixture smells bright and citrusy.
- Pour the filling into the prepared crust, using a spatula to spread it evenly across the surface. Gently tap the pan on the counter to settle the filling and remove any air bubbles, ensuring a smooth top.
- Cover the pan loosely with plastic wrap or foil and place it in the refrigerator. Let it chill for at least 4 hours, or overnight, so the flavors meld and the cheesecake firms up.
- Once set, carefully run a thin knife around the edge of the cheesecake to loosen it from the pan sides. Unlock the springform and gently lift the sides away for a clean edge.
- Top with fresh berries or your favorite fruit topping for color and extra flavor. Slice with a warm, damp knife for clean, neat pieces, and serve chilled to enjoy the creamy, tangy texture.
Notes
Pro tips for perfect cheesecake
- Bolded mini-head: Chill the mixture thoroughly → For a firm set, refrigerate for at least 4 hours or overnight.
- Bolded mini-head: Use room temperature ingredients → Ensures smooth, lump-free filling, avoiding grainy texture.
- Bolded mini-head: Gently fold in whipped cream → Adds lightness; avoid overmixing to keep it airy.
- Bolded mini-head: Press crust firmly into pan → Prevents crumbles and creates an even base for slicing.
- Bolded mini-head: Use a warm knife to cut → For clean slices, dip the blade in hot water and wipe after each cut.
- Bolded mini-head: Don’t skip the lemon zest → Brightens flavor and enhances the ricotta’s mild tang.
- Bolded mini-head: Add toppings just before serving → Keeps berries fresh and prevents sogginess, adding a burst of color.
Common mistakes and how to fix them
- FORGOT to chill the cheesecake fully before serving → Chill for at least 4 hours.
- DUMPED the mixture into the pan without smoothing → Smooth the top with a spatula.
- OVER-TORCHED the crust in the oven → Skip baking; this is a no-bake recipe.
- FAILED to line the pan with parchment → Line pan for easy removal and clean slices.
Quick fixes and pantry swaps
- When mixture is too runny → Add a touch more ricotta or chill longer.
- If crust is soggy → Press firmly and chill before filling.
- Splash hot water on knife for clean slices → Wipe blade after each cut.
- Patch cracks with a smear of whipped cream or fruit compote → Keeps presentation neat.
- Shield cheesecake from strong odors in fridge → Wrap tightly or store in an airtight container.
Prep, store, and reheat tips
- You can prepare the cheesecake filling up to 24 hours in advance; keep covered in the fridge to maintain freshness and prevent absorbing other odors, which can dull the delicate ricotta aroma.
- Once assembled, the cheesecake should be stored in an airtight container or covered tightly with plastic wrap. It stays good for up to 2 days, but best enjoyed within 24 hours for optimal texture and flavor.
- Refrigerate the cheesecake for at least 4 hours, preferably overnight, to allow the flavors to meld and the texture to set. The chilled texture should be creamy, with a slight firmness that melts on your tongue.
- To reheat or refresh, serve directly from the fridge. If it’s been stored longer than a day, let it sit at room temperature for 10–15 minutes to soften slightly—this enhances the creaminess and aroma, especially the lemon zest.
Top questions about ricotta cheesecake
1. Can I substitute mascarpone for ricotta?
Yes, you can use mascarpone for a richer, creamier texture. It’s softer, so you might want to tweak the amount slightly.
2. Can I use low-fat ricotta?
Absolutely. Using low-fat or skim ricotta will give you a lighter dessert, but it might be less creamy.
3. Can I add toppings?
Yes. You can add berries or fruit preserves on top for extra flavor and color. They add juiciness and brightness.
4. How long should I chill it?
Chill it for at least 4 hours, or overnight if possible. It should be firm, with a slight jiggle in the center.
5. Should ingredients be at room temperature?
Use room temperature ingredients for a smooth, lump-free filling. Cold ingredients can cause lumps and uneven texture.
6. How do I get clean slices?
Yes, a warm knife (dip in hot water) makes clean, smooth slices without cracking the surface.
7. What if my filling is too runny?
If the filling feels too runny, add a little more ricotta or refrigerate it longer before pouring into the pan.
8. How do I store leftovers?
Store leftovers covered tightly in the fridge for up to 2 days. The flavor may mellow slightly, but it remains delicious.
9. How do I reheat or refresh it?
To refresh the cheesecake, let it sit at room temperature for 10–15 minutes before serving to soften slightly and enhance aroma.
10. Can I substitute the crust?
Use a crust of digestive biscuits or almond cookies if graham crackers aren’t available. Expect a slightly different flavor and crunch.
This no bake ricotta cheesecake is a little reminder that sometimes, the simplest ingredients create the most satisfying desserts. It’s quick, fresh, and perfect for hot days or when you’re short on time but still craving something creamy.
Enjoying a slice feels like a small celebration—bright, tangy, and just sweet enough. It’s a humble treat that doesn’t ask for much, but rewards you with honest, comforting flavor.
Welcome to Proud of This Mess – a place where food, creativity, and a little chaos come together on a plate!
I’m Emily Carter, the founder and heart behind this little corner of the internet. Born and raised in the United States, I’ve always had a passion for cooking, experimenting, and sharing the messy, delicious journey of creating food that brings people together. My philosophy is simple: good food doesn’t have to be perfect, and a little mess makes it memorable.
At Proud of This Mess, we believe that cooking is more than just following recipes—it’s about exploring flavors, discovering new techniques, and making every meal an experience worth savoring. From comforting weeknight dinners to indulgent desserts, our goal is to inspire home cooks of all levels to embrace the joy of food without fear of imperfection.