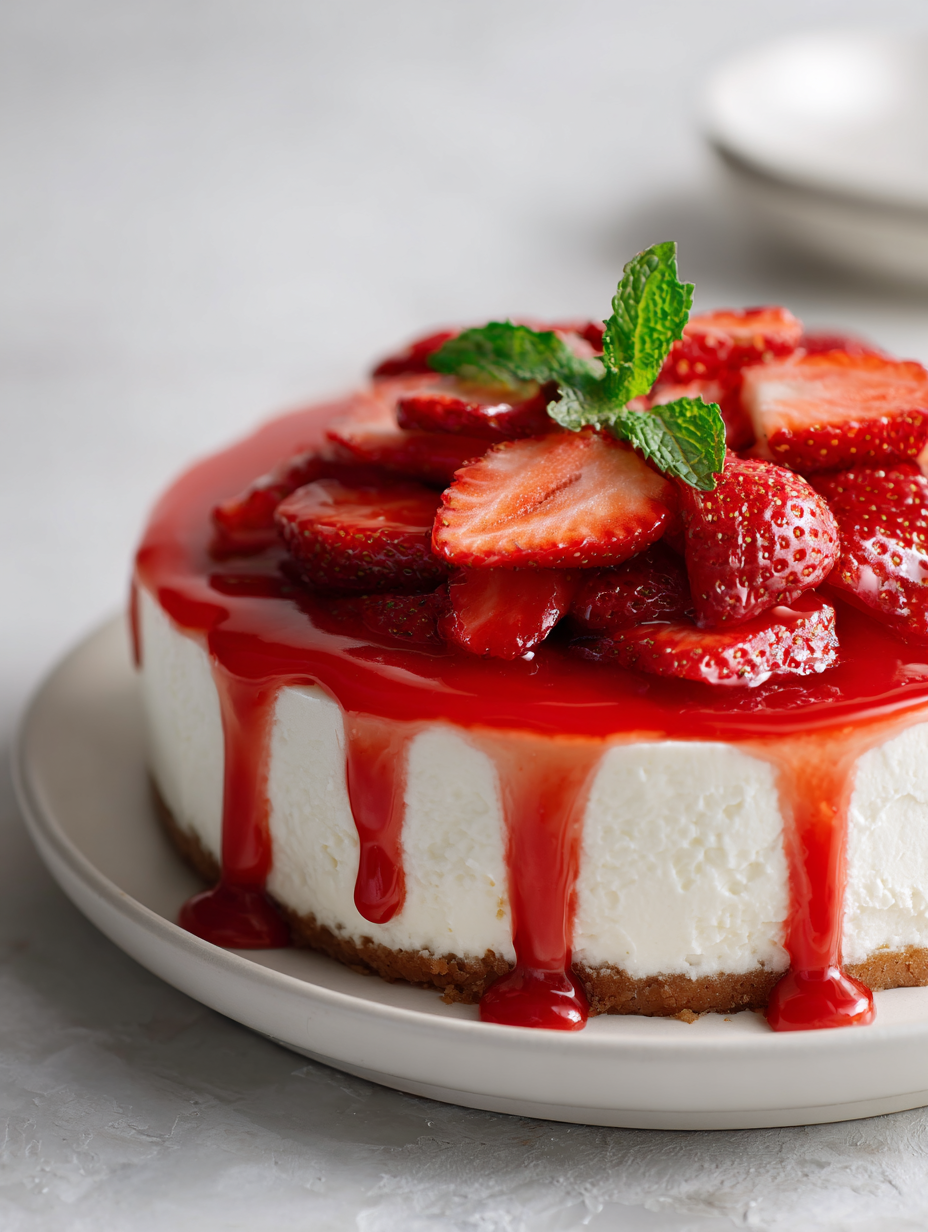
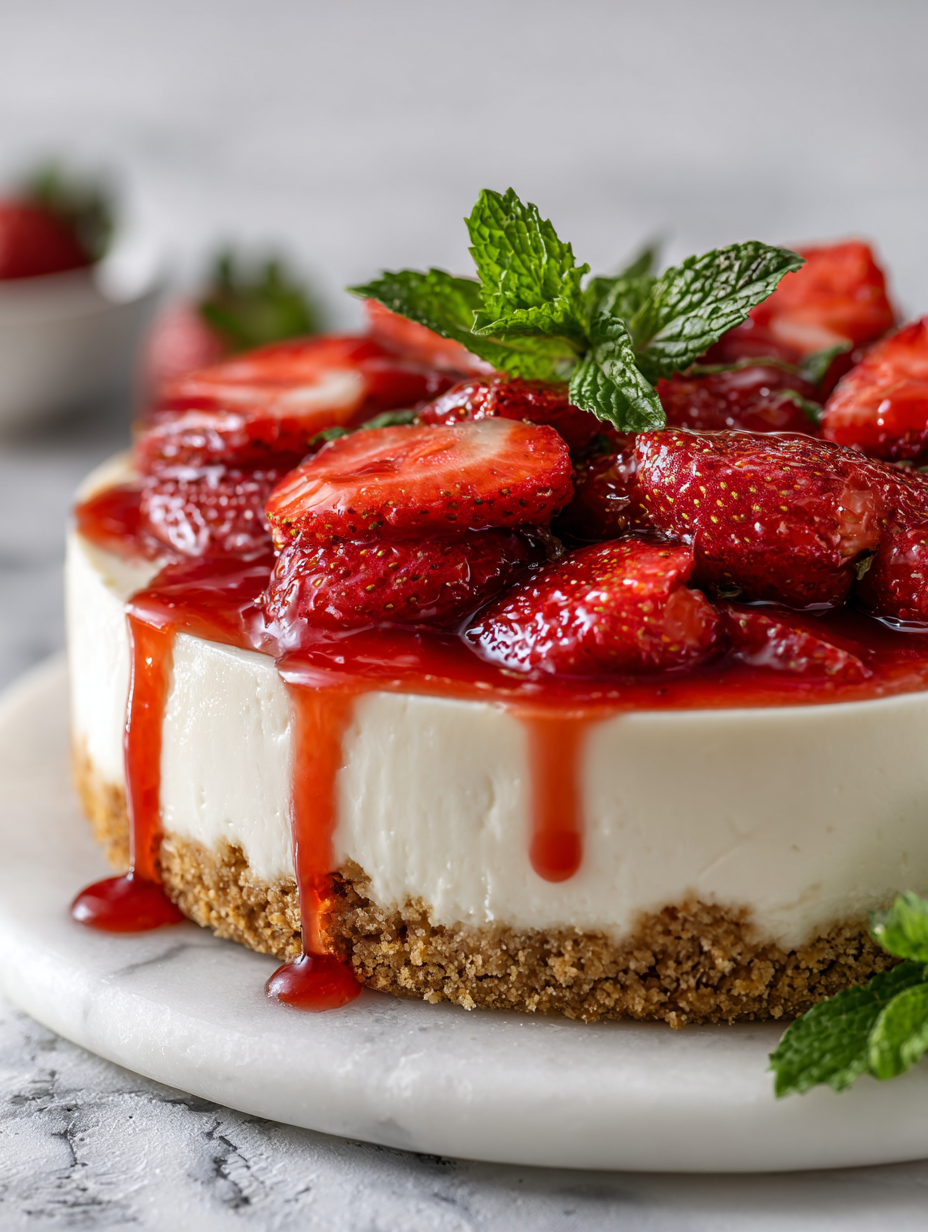
No Bake Mango Cheesecake Recipe
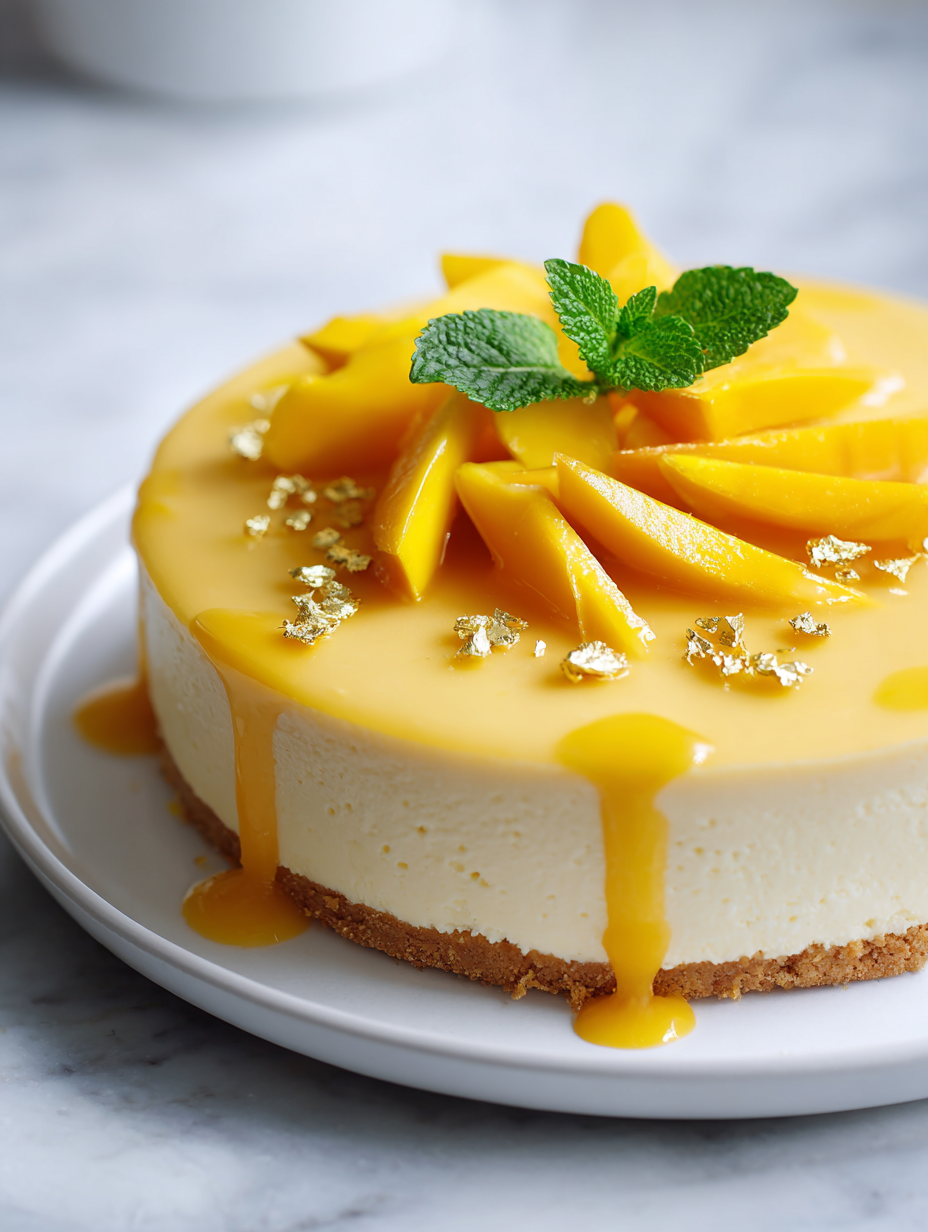
This no bake mango cheesecake feels like a breath of tropical air on a warm day. It’s simple, no oven needed, just a handful of ingredients that let the mango shine. I love how the bright, almost honeyed flavor of ripe mangoes elevates this dessert beyond ordinary cheesecake, making it feel fresh and lively. It’s … Read more