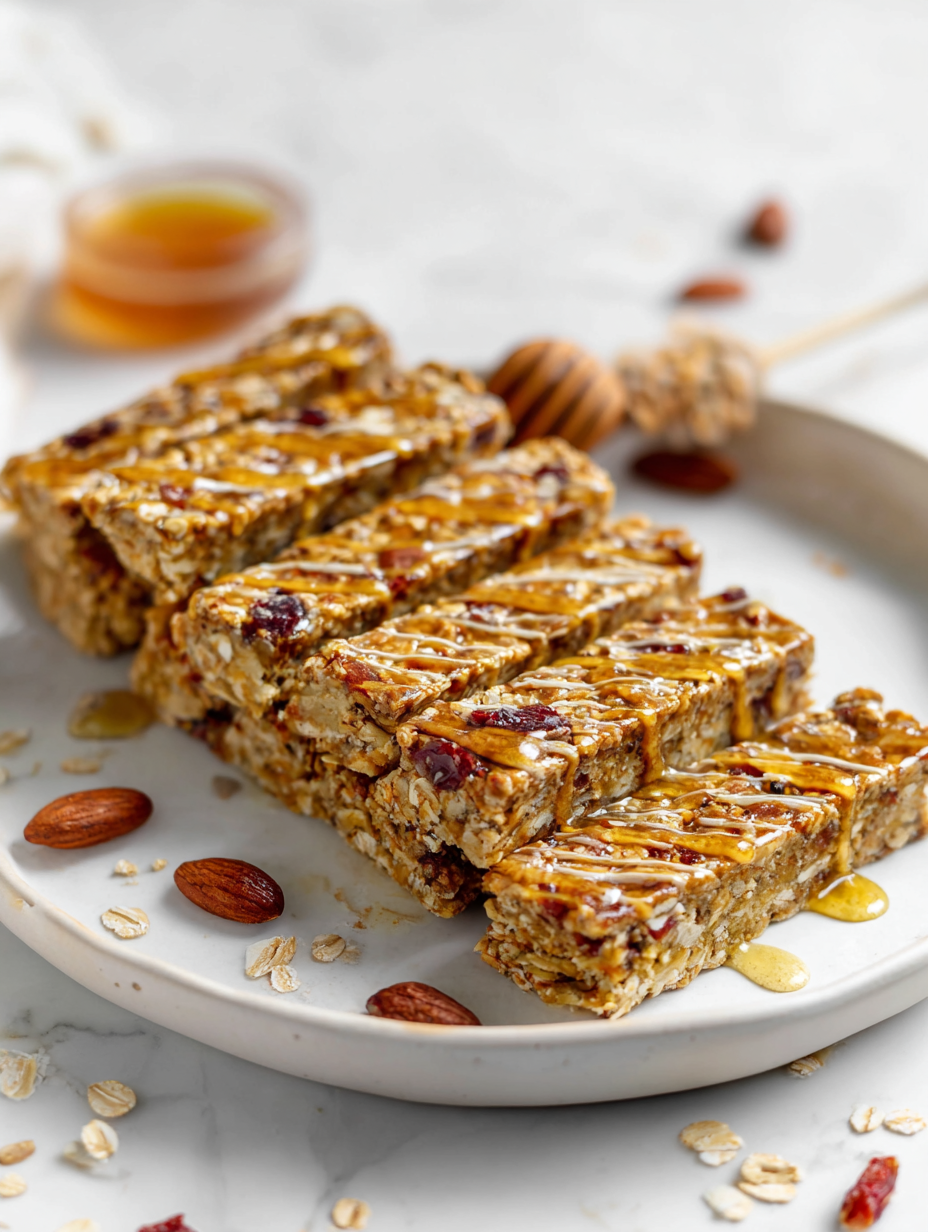
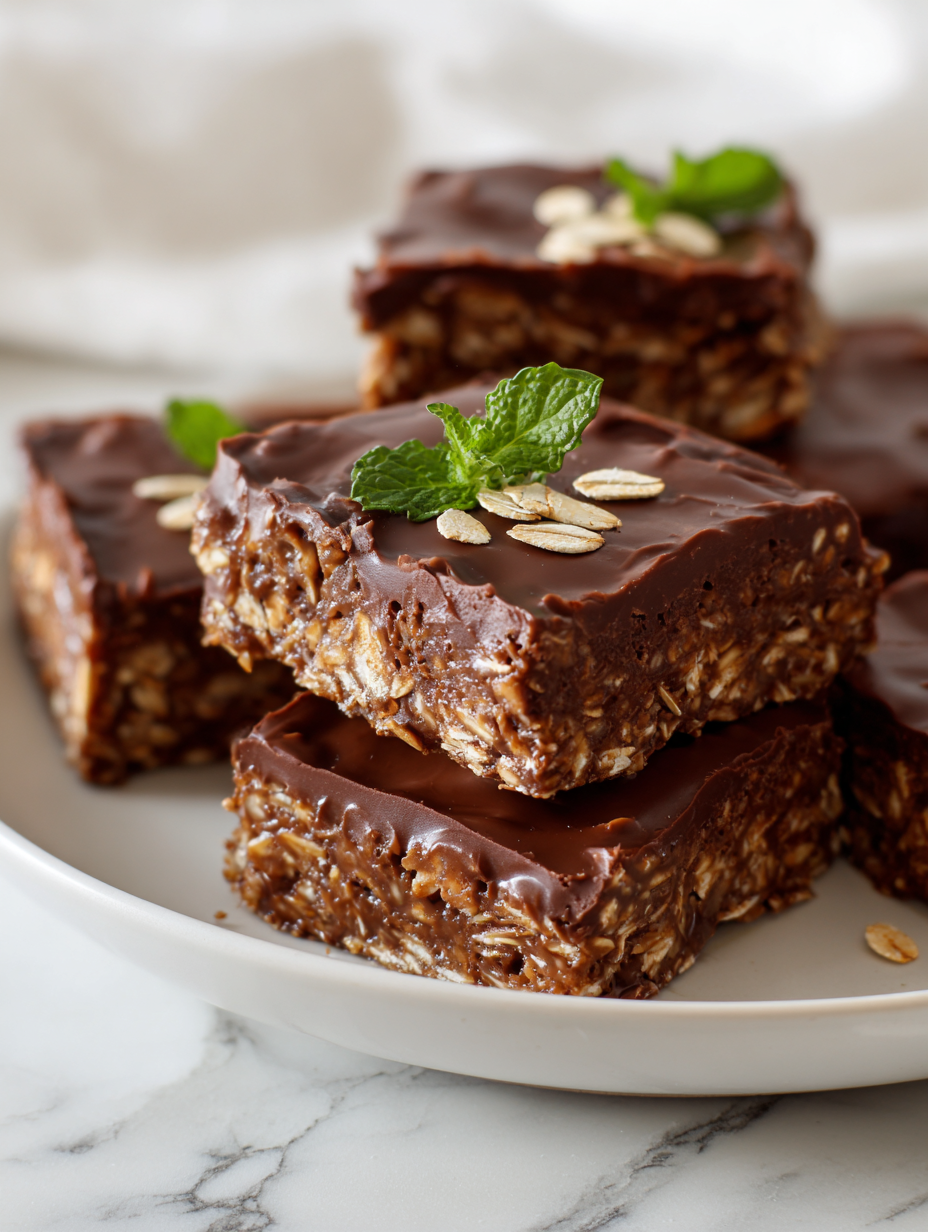
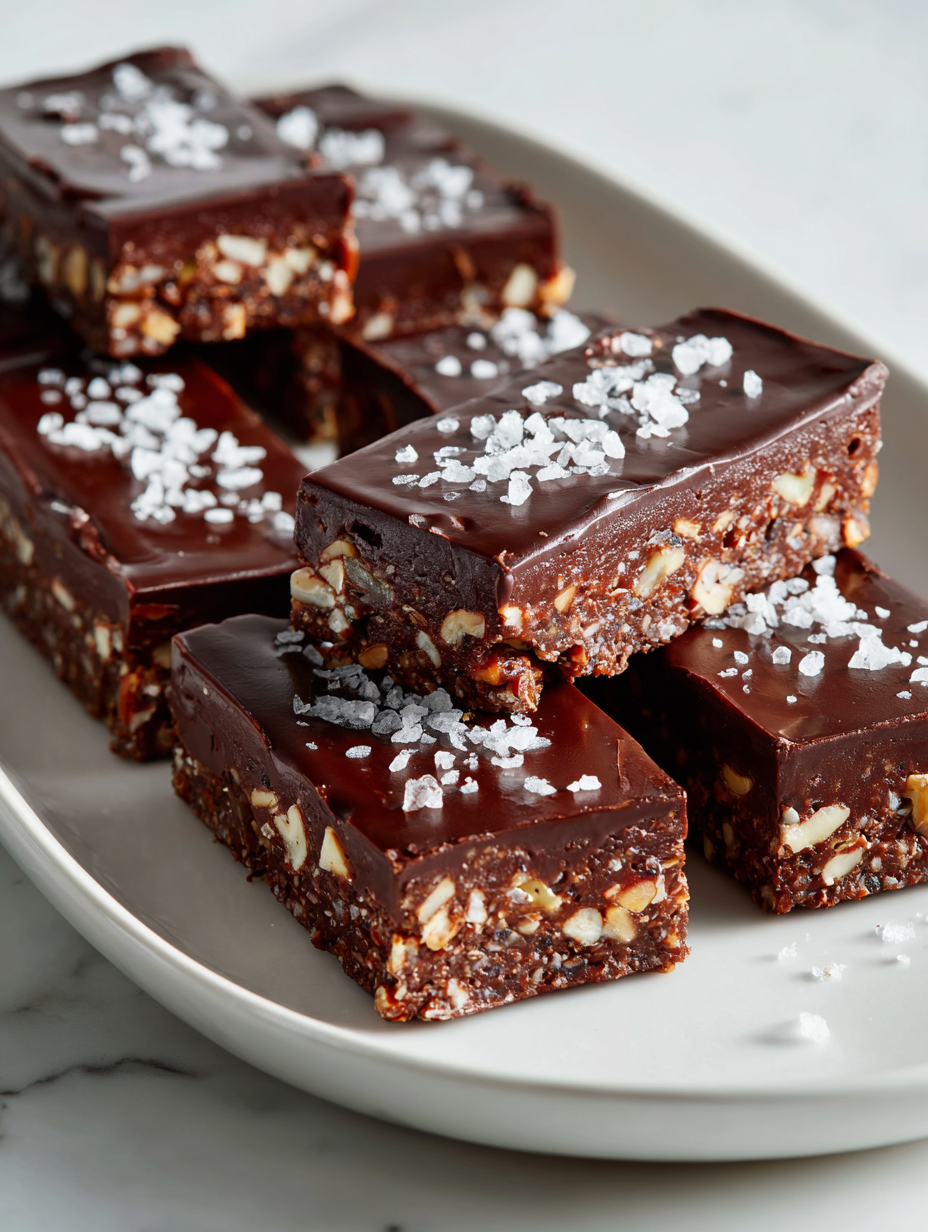
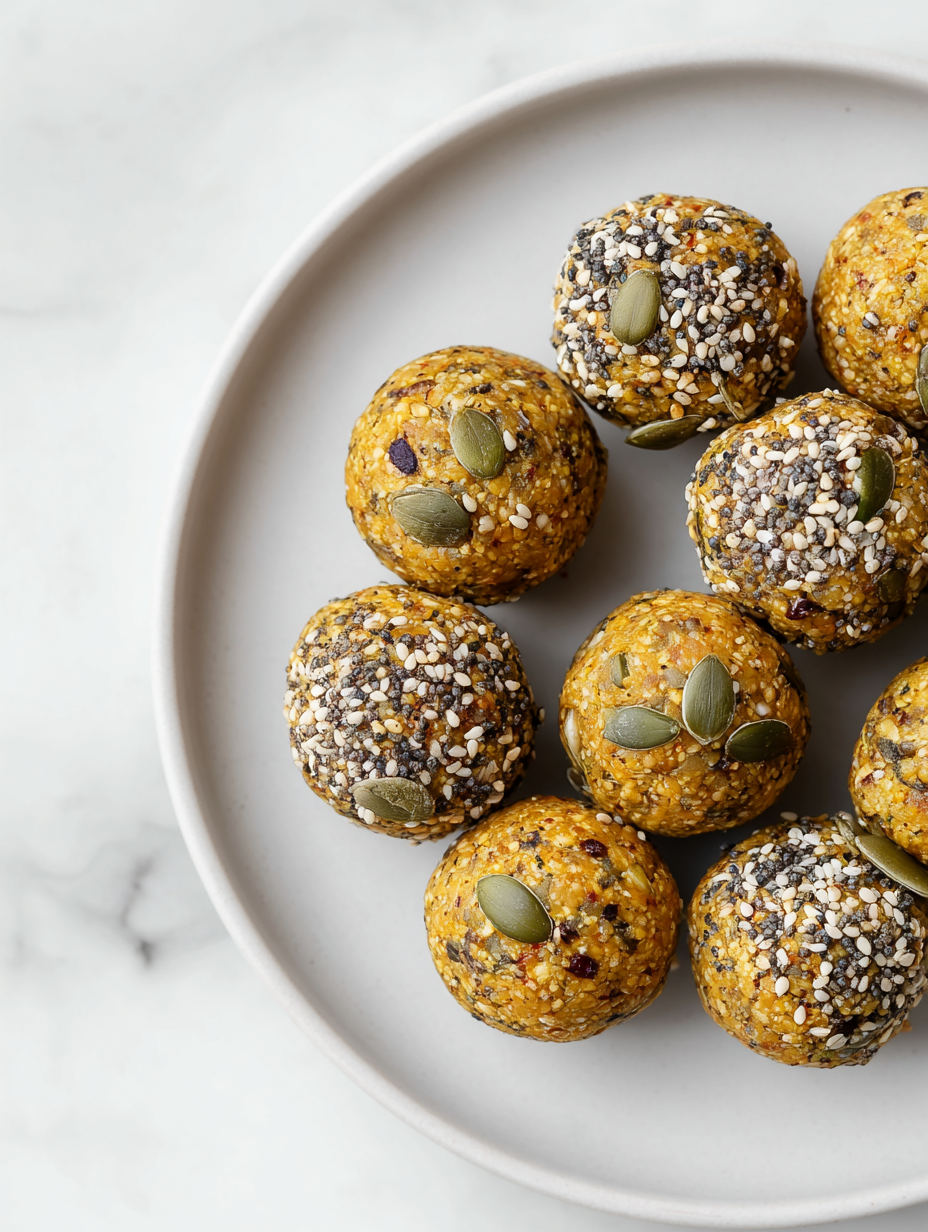
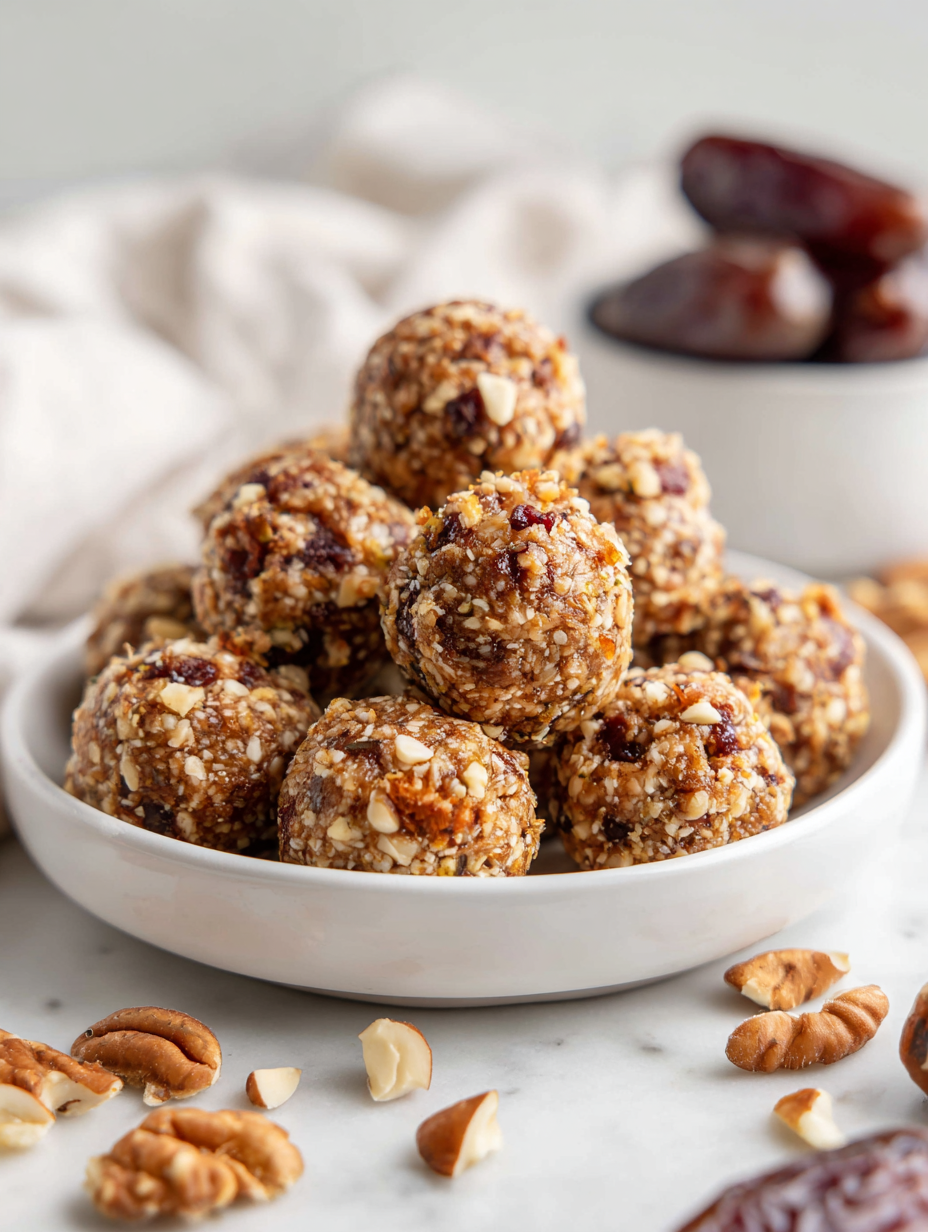
No Bake Date Bars Recipe
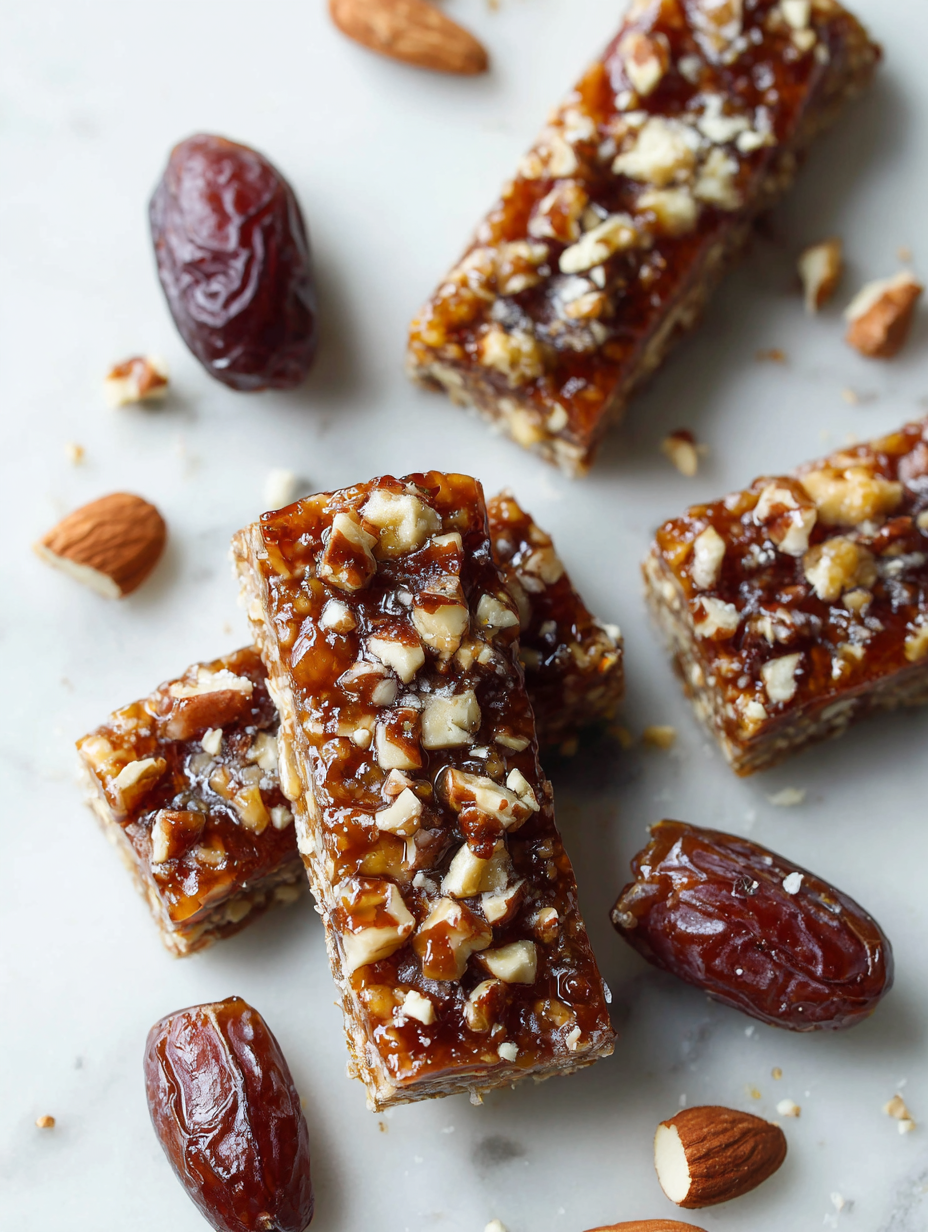
Making no-bake date bars is like hitting a reset button in the kitchen. It’s a simple ritual that calms my mind and grounds me, especially after a hectic day. As I press the sticky mixture into the pan, I feel a quiet sense of accomplishment without the fuss of oven timers or complicated techniques. There’s … Read more