Pan Seared Scallops Recipe
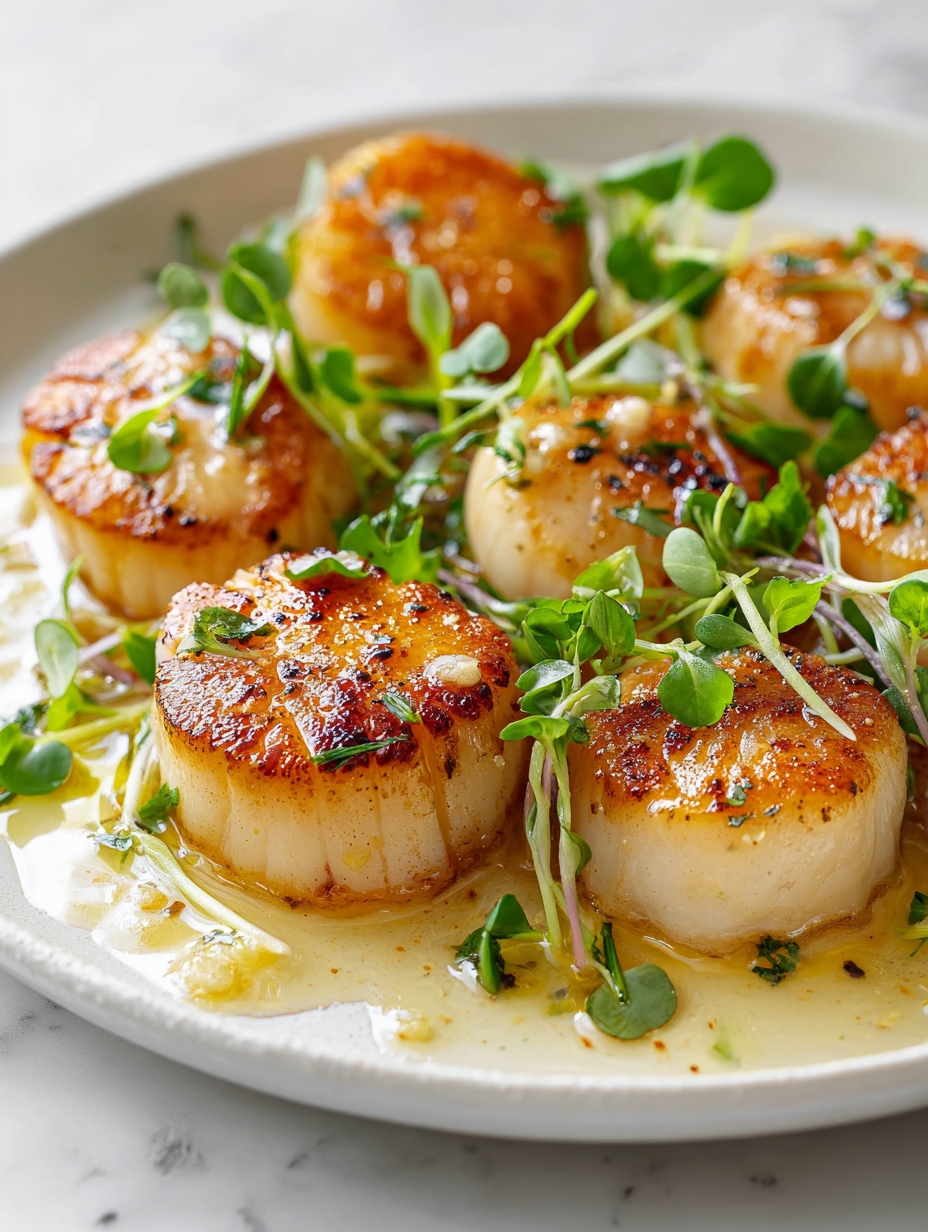
Searing scallops isn’t just about getting a perfect crust; it’s about creating a mindful moment in the kitchen. There’s a quiet rhythm to heating the pan, waiting for that sizzle, and watching the edges turn a rich amber. It’s almost meditative, like a small daily ritual that connects you to the act of cooking itself. … Read more