
This no-bake marshmallow bars recipe is my go-to when I want something sweet without the fuss of turning on the oven. It’s a little chaotic in the best way, with gooey marshmallows and buttery graham cracker crust coming together in a messy, delightful heap. I love how a simple handful of ingredients can transform into a treat that feels like a hug from childhood, but with a tiny twist of sea salt to keep it interesting.
Making this recipe is like a quick trip down memory lane, but I’ve learned to tweak it for adult palates—more salty, less sweet, and a little more textured. It’s perfect for spontaneous gatherings or just a lazy weekend craving. Honestly, it’s surprising how forgiving and flexible it is—a little extra marshmallow here, a dash more salt there—and it still turns out like a little piece of joy in your hand.
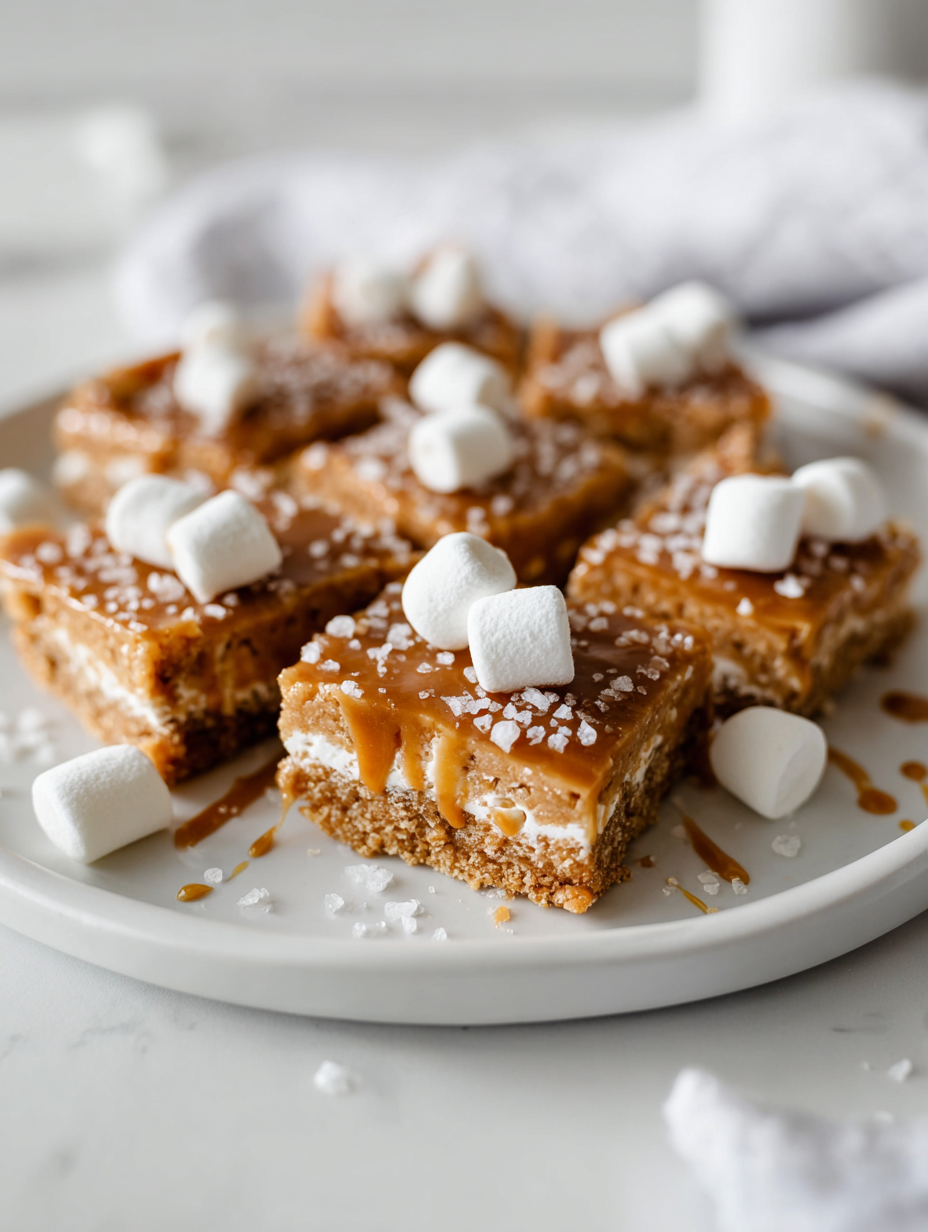
This recipe is a nostalgic nod to childhood, but I’ve tweaked it with a surprising twist—adding a hint of sea salt to balance the sweetness. It’s the kind of treat that sparks joy and a little chaos, perfect for spontaneous gatherings or quiet nights craving something sweet but simple.
The story behind this recipe
This recipe was born out of a lazy afternoon when I found myself rummaging through the pantry, craving something sweet but quick. I remembered how my grandma used to toss marshmallows and cereal together in a rush, and I thought, why not elevate that chaos with a little sea salt and dark chocolate? It’s a messy, forgiving process—no oven, no fuss, just a handful of ingredients and a craving satisfied. Every time I make these bars, I get a whiff of childhood nostalgia mixed with the satisfaction of a simple, homemade treat that’s perfect for last-minute cravings or unexpected guests.
Ingredient breakdown: key components
- Marshmallows: I love how they become gooey and sticky, giving the bars their melt-in-your-mouth texture. If yours don’t melt smoothly, gently warm them first; it helps them spread evenly.
- Graham crackers: Their buttery crunch is the backbone here, but if you want a richer flavor, try digestive biscuits or even a splash of vanilla in the crust mixture.
- Butter: I use unsalted to control salt levels, but if you only have salted, reduce the added salt. The butter melts into the graham crackers, creating a rich, crumbly base that’s just right.
- Sea salt: A pinch of flaky sea salt on top elevates the sweetness with a salty burst. Skip it if you prefer a purely sweet bar, but it really balances the sugar’s cloying edge.
- Chocolate (optional): I like dark chocolate chunks melted over the top for a bittersweet finish, but milk chocolate works too. The contrast of flavors makes the bars feel more decadent.
- Cereal (optional): Sometimes I mix in crispy rice or cornflakes for extra crunch and a bit of chaos, but keep it light so it doesn’t overpower the marshmallow’s softness.
- Vanilla extract: Just a splash deepens the marshmallow flavor, making it feel more complex and less plain. If you’re out, a tiny bit of almond extract can add a lovely aroma.
Spotlight on key ingredients
Marshmallows:
- I love how they become gooey and sticky, giving the bars their melt-in-your-mouth texture. If yours don’t melt smoothly, gently warm them first; it helps them spread evenly.
- Graham crackers: Their buttery crunch is the backbone here, but if you want a richer flavor, try digestive biscuits or even a splash of vanilla in the crust mixture.
Butter & Sea Salt:
- Butter: I use unsalted to control salt levels, but if you only have salted, reduce the added salt. The butter melts into the graham crackers, creating a rich, crumbly base that’s just right.
- Sea salt: A pinch of flaky sea salt on top elevates the sweetness with a salty burst. Skip it if you prefer a purely sweet bar, but it really balances the sugar’s cloying edge.
Notes for ingredient swaps
- Dairy-Free: Use coconut oil or plant-based margarine instead of butter. It won’t be as rich, but still tasty.
- Gluten-Free: Substitute gluten-free graham crackers or crushed gluten-free cookies for the crust. Keep an eye on texture.
- Vegan: Swap marshmallows with vegan marshmallow alternatives, and use coconut oil or vegan butter. Expect a slight flavor change.
- Sugar-Free: Try sugar-free marshmallows and a sugar substitute. The texture might be a little less gooey but still satisfying.
- Add-ins: Mix in dried fruits, nuts, or seeds for extra crunch. Just keep balance so the bars don’t get overly busy.
- Chocolate: Use white chocolate or milk chocolate chips, melted on top for a different flavor profile. Expect a softer top layer.
- Salt: If you prefer less salt, reduce or skip the sea salt topping. The bars will be sweeter and less complex.
Equipment & Tools
- Baking pan: Holds the mixture and shapes the bars
- Parchment paper: Prevents sticking and makes removal easy
- Microwave-safe bowl: For melting marshmallows and butter
- Spatula: Stirs and spreads the marshmallow mixture
- Knife: For slicing the set bars
Step-by-step guide for no bake marshmallow bars
- Gather your equipment: a 20×20 cm (8×8 inch) baking pan, a mixing bowl, a spatula, and a microwave-safe bowl for melting marshmallows.
- Line the baking pan with parchment paper, leaving a bit overhang for easy removal. This keeps cleanup simple and prevents sticking.
- In the microwave-safe bowl, add the marshmallows and butter (about 3 cups marshmallows and 1/4 cup butter). Microwave in 30-second bursts, stirring after each, until smooth and gooey, about 1-2 minutes.
- While melting, crush the graham crackers (about 1.5 cups) into fine crumbs. You can do this in a sealed bag with a rolling pin or in a food processor. Set aside.
- Once marshmallows and butter are melted, quickly fold in the crushed graham crackers until evenly coated and sticky. Be gentle so the marshmallow doesn’t cool too much.
- Pour the marshmallow mixture into your prepared pan. Use a spatula to spread it out evenly, pressing down gently for a compact layer. Let it sit for 10 minutes to settle.
- For a touch of salty contrast, sprinkle flaky sea salt over the top now, but do it quickly before the marshmallow firms up.
- Let the bars rest at room temperature for at least 30 minutes, or refrigerate for 15-20 minutes if you want them firmer and easier to cut.
- Once set, lift the entire block out using the parchment overhang. Slice into squares or rectangles with a sharp knife, wiping the knife between cuts for clean edges.
- Serve immediately, or store in an airtight container for up to 3 days for maximum gooeyness.
Allow the bars to rest at room temperature or in the fridge until firm. Use the parchment to lift them out easily. Cut into squares and serve fresh or store in an airtight container.
How to Know It’s Done
- Marshmallow layer is firm but slightly sticky when pressed
- Graham cracker crumbs are evenly coated and hold together when pressed
- Surface has a light, golden sheen with a slight crackle when cooled
No-Bake Marshmallow Bars with Sea Salt
Ingredients
Equipment
Method
- Line your baking pan with parchment paper, leaving overhang for easy removal.
- Add marshmallows and butter to a microwave-safe bowl. Microwave in 30-second bursts, stirring after each, until the mixture is smooth, gooey, and fragrant—about 1-2 minutes.
- While the marshmallows melt, crush the graham crackers into fine crumbs using a zip-top bag and rolling pin or a food processor, then set aside.
- Pour the melted marshmallow mixture into a large bowl and gently fold in the crushed graham crackers until evenly coated and sticky—this helps the mixture come together nicely.
- Transfer the sticky mixture into your prepared pan, spreading evenly with a spatula. Press down gently to compact the mixture and eliminate air pockets.
- Sprinkle a pinch of flaky sea salt over the top for a salty contrast, pressing it lightly into the surface.
- Let the bars rest at room temperature for about 30 minutes, or refrigerate for 15-20 minutes until they firm up.
- Once set, lift the entire block out using the parchment overhang and transfer to a cutting board.
- Use a sharp knife to cut into squares or rectangles, wiping the blade clean between cuts for neat edges.
- Optional: Melt dark chocolate chunks and drizzle over the cut bars for extra decadence, or serve as is for a simple treat.
- Enjoy your gooey, salty-sweet marshmallow bars immediately or store in an airtight container for up to 3 days for maximum freshness and softness.
Pro tips for perfect marshmallow bars
- Use fresh marshmallows for maximum gooeyness and easier melting, avoiding dry lumps.
- Crush graham crackers thoroughly to ensure even coating and a cohesive crust without large chunks.
- Microwave marshmallows in short bursts, stirring in between, to prevent scorching and ensure smooth melting.
- Press mixture firmly into the pan to eliminate air pockets and achieve a dense, uniform bar texture.
- Sprinkle sea salt immediately after spreading, so it adheres and creates a flavorful contrast as it sets.
- Chill the bars for at least 30 minutes to help them firm up, making slicing cleaner and less messy.
- Wipe your knife between cuts for crisp, neat edges, especially if the marshmallow is sticky.
Common mistakes and how to fix them
- FORGOT to level the pan? Use a ruler for even layers.
- DUMPED in too much salt? Rinse quickly with water and start over.
- OVER-TORCHED marshmallows? Lower heat and melt slowly, stirring often.
- MISSED the chilling step? Refrigerate for at least 30 minutes to set properly.
Quick fixes and pantry swaps
- When marshmallows refuse to melt smoothly, microwave in short bursts and stir vigorously.
- Splash a little extra butter if the mixture feels too stiff or crumbly during mixing.
- Patch gooey bars with a quick microwave blast if they aren’t firm enough after resting.
- DUMPED in too much salt? Rinse quickly with water and start over for balanced flavor.
- Shield the marshmallow mixture from overheating by lowering microwave power and stirring often.
Prep, store, and reheat tips
- Prepare the marshmallow mixture and crush the graham crackers a day ahead; keep separately in airtight containers to save time.
- Store the uncut bars in an airtight container at room temperature for up to 3 days—expect gooey, slightly sticky texture that’s just right.
- Refrigerate leftovers for up to a week; the colder temperature firms the bars more, making slicing easier but slightly less gooey.
- To reheat, briefly warm slices in the microwave at 10-second intervals until just softened; watch for melting marshmallow to avoid mess.
- For best sensory experience, serve at room temperature so the marshmallow is soft and the graham cracker remains crunchy.
Top questions about marshmallow bars
1. How important are fresh marshmallows?
Use fresh marshmallows for the best meltiness. Stale ones tend to be stiff and won’t blend smoothly.
2. How do I melt marshmallows properly?
Microwave marshmallows in short 30-second bursts, stirring well after each, until smooth and gooey to avoid burning.
3. Why is pressing the mixture important?
Press the mixture firmly into the pan to avoid air pockets, ensuring even texture and easier slicing later.
4. Should I chill the bars?
Refrigerate for 15-20 minutes if you want the bars firmer, but note they might lose some gooey softness.
5. Can I skip the sea salt topping?
Add a pinch of sea salt on top right after spreading for a salty crunch that balances sweetness.
6. How do I get clean cuts?
Use a sharp knife, wiped clean between cuts, for neat edges and less sticking.
7. How long do these bars last?
Store leftovers in an airtight container at room temperature for up to 3 days for optimal gooeyness.
8. Can I substitute the crackers?
You can replace graham crackers with digestive biscuits or gluten-free options, but texture may vary slightly.
9. Are there dairy-free options?
For a dairy-free version, swap butter for coconut oil or vegan margarine, but expect a different richness.
10. What if marshmallows won’t melt?
If marshmallows aren’t melting well, lower microwave power and stir more often to prevent scorching.
Making these no-bake marshmallow bars is a quick stroll down memory lane, especially when you need something sweet in a pinch. The gooey marshmallow, crunchy graham cracker, and a hint of sea salt create a simple treat that feels both nostalgic and a little rebellious in its messiness.
They’re perfect for spontaneous gatherings or a quiet night craving comfort. Once you’ve made them, you might find yourself reaching for this easy recipe more often than you’d expect, especially when the craving hits hard and oven space is at a premium.
Welcome to Proud of This Mess – a place where food, creativity, and a little chaos come together on a plate!
I’m Emily Carter, the founder and heart behind this little corner of the internet. Born and raised in the United States, I’ve always had a passion for cooking, experimenting, and sharing the messy, delicious journey of creating food that brings people together. My philosophy is simple: good food doesn’t have to be perfect, and a little mess makes it memorable.
At Proud of This Mess, we believe that cooking is more than just following recipes—it’s about exploring flavors, discovering new techniques, and making every meal an experience worth savoring. From comforting weeknight dinners to indulgent desserts, our goal is to inspire home cooks of all levels to embrace the joy of food without fear of imperfection.