
This no bake mango cheesecake feels like a breath of tropical air on a warm day. It’s simple, no oven needed, just a handful of ingredients that let the mango shine. I love how the bright, almost honeyed flavor of ripe mangoes elevates this dessert beyond ordinary cheesecake, making it feel fresh and lively. It’s perfect for when you want something sweet but don’t want to fuss with heat or complicated steps.
Every time I make this, I get that little thrill—knowing I can whip up something gorgeous and satisfying without breaking a sweat. The creamy layer is smooth and tangy, balancing the natural sweetness of mango, while the crust adds just enough crunch. It’s honestly become my go-to for summer gatherings or a quick treat after a busy day. No oven, no fuss, just pure fruit and cream.
This recipe is a reminder that desserts can be vibrant, straightforward, and still feel special. It’s a small celebration of mango season, capturing its sun-kissed hue and juicy aroma in every slice. Plus, it’s a no guilt kind of dessert—light, fresh, and totally adaptable to whatever mangoes you have on hand. Sometimes, simple really is best, especially when it tastes this bright and inviting.
Focusing on the natural sweetness and vibrant color of mango, this recipe celebrates the fruit’s tropical charm without overwhelming sweetness, making it a refreshing change from traditional cheesecakes that rely heavily on sugar and dairy. It’s about capturing the essence of mango in every bite—light, bright, and unexpectedly indulgent, all without turning on the oven.
Tropical brightness in every bite
- Making this dessert reminds me of lazy summer afternoons at my grandma’s house, where mangoes were always ripe and sweet.
- There’s a quiet joy in blending creamy cheese with the bright, tropical punch of mango—like capturing sunshine in a dish.
- I love how this recipe feels like an indulgence that’s almost effortless—perfect for those days I need something quick and satisfying.
- Every time I prepare this, I’m transported back to childhood, peeling mangoes under the sun, sticky fingers and all.
- This cheesecake has become my secret weapon for impressing guests—without the fuss of baking or complicated steps.
The story behind this recipe
- This recipe sprouted from a summer picnic where I forgot to pack my usual dessert but had a bounty of ripe mangoes. I tossed together what I had—cream cheese, a biscuit base, and fresh mango—and was surprised how quickly it came together and how effortlessly it looked when plated. That moment made me realize how simple ingredients can create something special, especially when the mango is the star.
- I love the way this no bake cheesecake captures the essence of mango—bright, juicy, and just slightly tangy. It’s a reminder that not every dessert needs to be complicated or oven-heavy; sometimes, fresh fruit and a little cream are all you need to impress. It’s become my go-to for lazy weekends and impromptu gatherings, where I want something impressive without the fuss.
- heading: ‘The story behind this recipe’
Historical and Cultural Tidbits
- This recipe was born out of a tropical trip where fresh mangoes were everywhere—no oven, just pure fruit and cream.
- It’s inspired by traditional no-bake cheesecakes from Southeast Asia, where fruit and light desserts reign supreme.
- The use of mango in desserts gained popularity in Western kitchens during the 2010s, thanks to the fruit’s vibrant color and sweet-tangy flavor.
Key Ingredients and Tips
- Cream cheese: I like it soft and tangy, which makes the cheesecake creamy and rich. If yours is too firm, leave it out at room temp for 30 minutes before mixing.
- Mango puree: Ripe mangoes give a vibrant, tropical flavor. For a smoother texture, blend until completely silky, but leave a few tiny bits for texture if you like some chew.
- Gelatin: I use just enough to set without a rubbery texture—about 1 teaspoon dissolved in a little warm water. If you skip it, the cheesecake won’t hold shape, so don’t omit entirely.
- Crust: I prefer digestive biscuits for a buttery crunch, but graham crackers work too. Crush them fine, then mix with melted butter until it feels like damp sand.
- Sweetener: I stick with honey or agave for a natural sweetness that doesn’t overpower the mango’s brightness. Adjust according to your mango’s ripeness, tasting as you go.
- Lemon juice: Brightens the mango flavor and helps cut through the richness of the cream cheese. Use fresh lemon for that sharp, zesty note—bottled is fine if fresh isn’t available.
- Heavy cream: I whip it until soft peaks, then fold gently into the cheese mixture. For a lighter touch, swap in Greek yogurt, but the texture will be slightly tangier.
Spotlight on Key Ingredients
Mango:
- I love the vibrancy of ripe mango—juicy, sweet, and slightly floral. Its natural sweetness is the star here, so choose ripe, fragrant fruit for the best flavor.
- Cream cheese: I prefer it soft and tangy, which makes the cheesecake creamy and rich. If yours is too firm, leave it out at room temp for 30 minutes before mixing.
Gelatin & Heavy Cream:
- Gelatin: I use just enough to set without a rubbery texture—about 1 teaspoon dissolved in a little warm water. It’s key to a smooth, sliceable cheesecake without wobbliness.
- Heavy cream: I whip it until soft peaks, then fold gently into the mixture. It adds lightness and a silky texture—if over-whipped, it can become greasy or grainy.
Notes for ingredient swaps
- Dairy-Free: Swap cream cheese for coconut cream or cashew-based cheese. The texture will be slightly lighter, with a subtle coconut flavor if using coconut cream.
- Sweetener: Replace honey or agave with maple syrup or coconut sugar. Expect a richer, more caramel-like note, but keep an eye on sweetness balance.
- Gelatin: Use agar-agar powder as a plant-based alternative. Dissolve according to package instructions; the set may be slightly firmer and more brittle.
- Crust: Switch digestive biscuits for graham crackers or almond cookies for a nuttier flavor and different crunch.
- Mango: Choose canned mango pulp if fresh isn’t available. It’s more consistent but may lack some bright, fresh aroma of ripe fruit.
- Heavy Cream: Substitute with whipped coconut cream for a vegan version. It’s slightly less stable but offers a rich, coconutty flavor.
- Lemon Juice: Use lime juice for a slightly different citrus brightness—more tangy and aromatic, which pairs beautifully with mango.
Equipment & Tools
- Springform pan: To shape and chill the cheesecake evenly.
- Blender: To create a silky mango puree.
- Mixing bowl: For mixing the cream cheese and mango layers.
- Spatula: To smooth the layers and press the crust.
- Microwave: To gently warm gelatin for easy dissolution.
Step-by-step guide to no bake mango cheesecake
- Gather your equipment: a 20cm (8-inch) springform pan, a blender, a mixing bowl, and a spatula. The pan is for shaping and chilling, the blender for smooth mango puree, and the bowl for mixing the cheese layer.
- Prepare the crust: Crush 200g digestive biscuits into fine crumbs (about 1 1/2 cups). Melt 100g unsalted butter (7 tbsp), then mix it into the crumbs until evenly coated. Press this mixture into the bottom of the pan, smoothing it out with the back of a spoon. Chill in the fridge for 15 minutes to firm up.
- Make the mango puree: Peel 2 ripe mangoes, chop the flesh, and blend until silky smooth. You should have about 1 cup of puree. Set aside.
- Dissolve gelatin: In a small bowl, sprinkle 1 tsp unflavored gelatin over 2 tbsp warm water (not hot, about 40°C/104°F). Let sit for 5 minutes, then gently warm it in the microwave for 10 seconds until just liquid but not boiling. Stir well to ensure fully dissolved.
- Mix the cheese layer: In a large bowl, soften 250g cream cheese (about 9 oz) at room temperature. Whip with a hand mixer until smooth and fluffy, about 2 minutes. Add 1/3 cup honey or agave, and mix again. Fold in 1 cup of mango puree and 1 tbsp lemon juice until combined. Gently fold in 1/2 cup whipped heavy cream (whipped to soft peaks).
- Incorporate gelatin: Slowly pour the dissolved gelatin into the cheese mixture, stirring constantly to distribute evenly. Be quick but gentle to maintain the mixture’s lightness.
- Assemble the cheesecake: Pour the cheese-mango mixture over the chilled crust. Smooth the top with a spatula. Cover with plastic wrap and refrigerate for at least 4 hours, preferably overnight, until set.
- Check for doneness: The top should be firm with a slight wobble in the center. The edges will be slightly pulled away from the pan, and the surface smooth.
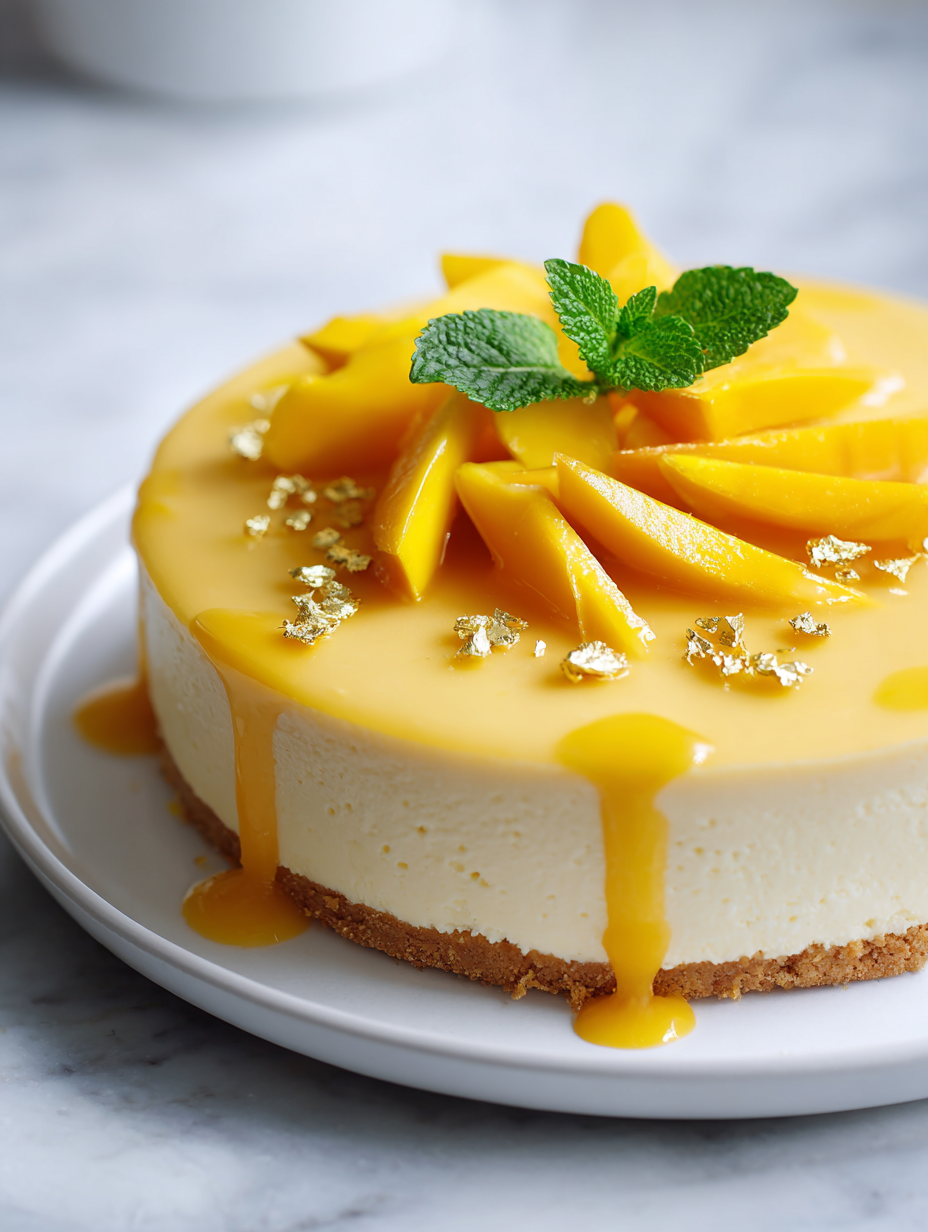
- Finish and serve: Carefully remove the sides of the springform pan. Garnish with fresh mango slices or mint leaves if desired. Slice with a sharp knife dipped in hot water for clean cuts.
Refrigerate the assembled cheesecake for at least 4 hours or overnight. Once set, carefully remove the sides of the springform pan. Garnish with fresh mango slices or mint. Serve chilled, slicing with a hot knife for clean cuts.
How to Know It’s Done
- The top is firm and slightly jiggly in the center, with clean edges.
- The crust feels crisp and holds together when gently pressed.
- The surface appears smooth, with no liquid or runny parts.
No Bake Mango Cheesecake
Ingredients
Equipment
Method
- Crush the digestive biscuits into fine crumbs using a rolling pin or food processor, then transfer to a mixing bowl.
- Melt the butter and stir it into the biscuit crumbs until evenly coated, creating a damp, sandy mixture.
- Press this mixture firmly into the bottom of a springform pan, smoothing out the surface with the back of a spoon. Chill in the fridge for 15 minutes to set.
- Peel and chop the mangoes, then blend until silky smooth to make about 1 cup of mango puree.
- Sprinkle the gelatin over a tablespoon of warm water and let sit for 5 minutes, then microwave for 10 seconds to dissolve completely, ensuring no lumps.
- In a large bowl, beat the softened cream cheese until smooth and fluffy, then add honey and lemon juice, mixing well.
- Fold in the mango puree gently, followed by the whipped heavy cream, until the mixture is creamy and uniform.
- Pour the dissolved gelatin into the cheese and mango mixture, stirring quickly to distribute evenly without deflating the cream.
- Pour the filling over the chilled crust, smoothing the top with a spatula. Cover with plastic wrap and refrigerate for at least 4 hours or overnight until fully set.
- Once set, carefully remove the sides of the springform pan, revealing the vibrant, smooth cheesecake surface.
- Garnish with fresh mango slices or mint leaves if desired, then slice with a hot knife for clean, beautiful pieces.
- Enjoy your refreshing and vibrant no bake mango cheesecake, perfect for a quick summer dessert!
Tips & Tricks for Perfect Cheesecake
- Bolded mini-head: Chill your coconut cream before whipping for a fluffier, more stable texture.
- Bolded mini-head: Use a hot knife when slicing to get clean, smooth edges without squishing the layers.
- Bolded mini-head: Dissolve gelatin in small amounts of warm water—don’t let it boil or it’ll lose setting power.
- Bolded mini-head: Gently fold whipped cream into the mango mixture—avoid overmixing to keep it light and airy.
- Bolded mini-head: For a brighter mango flavor, add a tiny pinch of salt to enhance sweetness and aroma.
- Bolded mini-head: Press the crust firmly into the pan to prevent crumbling when slicing later.
- Bolded mini-head: When blending mango, leave a few small bits if you like a bit of chew, otherwise blend until silky smooth.
Common mistakes and how to fix them
- FORGOT to dissolve gelatin properly → Ensure gelatin is fully dissolved to avoid lumps.
- DUMPED the crust mixture into the pan → Press firmly to create an even base without cracks.
- OVER-TORCHED the mango layer → Keep an eye on the set time; mango can turn bitter if overcooked.
- SKIPPED chilling time → Chill for at least 4 hours to ensure proper firmness and clean slices.
Quick Fixes and Pantry Swaps
- If mango shimmers with juice, splash a bit of lime juice to brighten the flavor.
- When cheesecake cracks, patch with a dollop of whipped cream or mango slices.
- Dumped the crust too soft? Shield it with a quick freeze before adding filling.
- Over-torched the mango layer? Rescue with a thin layer of fresh mango for color and flavor.
- When in doubt, swap canned mango pulp for fresh—it’s a quick, reliable pantry rescue.
Prep, store, and reheat tips
- Prepare the crust and press it into the pan a day ahead. Keep refrigerated for a firm base that’s ready to fill.
- Make the mango puree and refrigerate in an airtight container. It stays fresh for up to 2 days, maintaining bright flavor and vivid color.
- Assemble the cheesecake and let it chill in the fridge for at least 4 hours, preferably overnight. The flavors meld, and it sets to a sliceable consistency.
- If reheating slices is desired, briefly warm in the microwave for 10 seconds until just softened, then serve immediately. Expect a fresh, creamy texture with bright mango aroma.
- Store leftovers covered tightly in the fridge for up to 2 days. The mango flavor intensifies slightly, and the texture remains luscious, but avoid freezing as it can alter the cream texture.
Top questions about no bake mango cheesecake
1. Can I use frozen mangoes?
Use fully ripe mangoes for the brightest flavor and vibrant color. Slightly underripe mangoes can make the dessert less sweet and dull the tropical aroma.
2. Can I substitute fresh mango with canned pulp?
Yes, thaw and drain excess moisture before blending. Frozen mangoes might make the mixture a bit watery, so add a little extra cream cheese or chill longer.
3. How do I get the cheesecake to set properly?
Absolutely, canned mango pulp is a convenient shortcut. It’s usually sweeter and more consistent, but fresh mango will give you a more vibrant, juicy flavor.
4. What if it doesn’t seem firm after chilling?
Chill the assembled cheesecake for at least 4 hours, ideally overnight. The cold helps it firm up, and the flavors meld beautifully, creating a smooth, sliceable texture.
5. Can I add extra gelatin for firmness?
Ensure your gelatin is fully dissolved and mixed in evenly. If the cheesecake is still soft, give it extra time in the fridge or add a tiny bit more gelatin dissolved properly.
6. How much gelatin is too much?
Yes, but be cautious. Too much gelatin can make the texture rubbery. Stick to 1 teaspoon dissolved in warm water and avoid over-heating it.
7. Can I make this vegan?
For a dairy-free version, swap cream cheese with coconut cream or cashew cheese. The flavor will be richer and slightly coconut-y, but still delicious.
8. Will it taste as good?
Yes, use coconut cream instead of heavy cream and a plant-based cream cheese substitute. The texture might be slightly lighter but still satisfying.
9. How do I prevent a soggy crust?
If your crust crumbles or feels too soft, press it firmly into the pan and chill it before pouring the filling. This prevents cracks and ensures a tight base.
10. How can I get clean slices?
Slice with a hot, sharp knife dipped in warm water. It helps cut through the firm, chilled layers smoothly and keeps the edges clean.
This no bake mango cheesecake is a bright spot on any warm day, simple yet surprisingly elegant. It’s a reminder that fresh ingredients and a little patience can create something truly satisfying without turning on the oven.
Once set, it’s cool, creamy, and bursting with tropical flavor—perfect for sharing or savoring quietly. Sometimes, the best desserts are the ones you make with a little spontaneity and a lot of fresh mango.
Welcome to Proud of This Mess – a place where food, creativity, and a little chaos come together on a plate!
I’m Emily Carter, the founder and heart behind this little corner of the internet. Born and raised in the United States, I’ve always had a passion for cooking, experimenting, and sharing the messy, delicious journey of creating food that brings people together. My philosophy is simple: good food doesn’t have to be perfect, and a little mess makes it memorable.
At Proud of This Mess, we believe that cooking is more than just following recipes—it’s about exploring flavors, discovering new techniques, and making every meal an experience worth savoring. From comforting weeknight dinners to indulgent desserts, our goal is to inspire home cooks of all levels to embrace the joy of food without fear of imperfection.