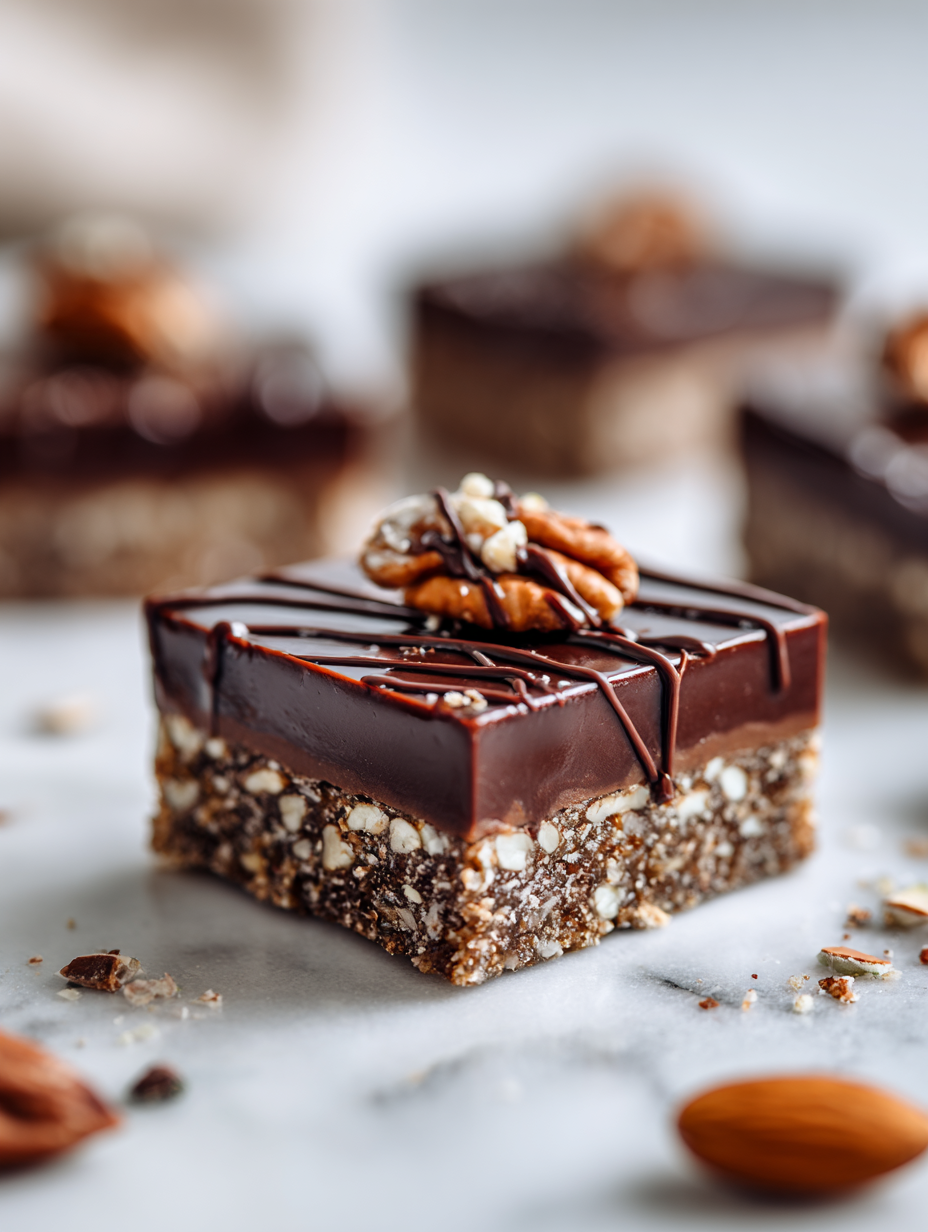
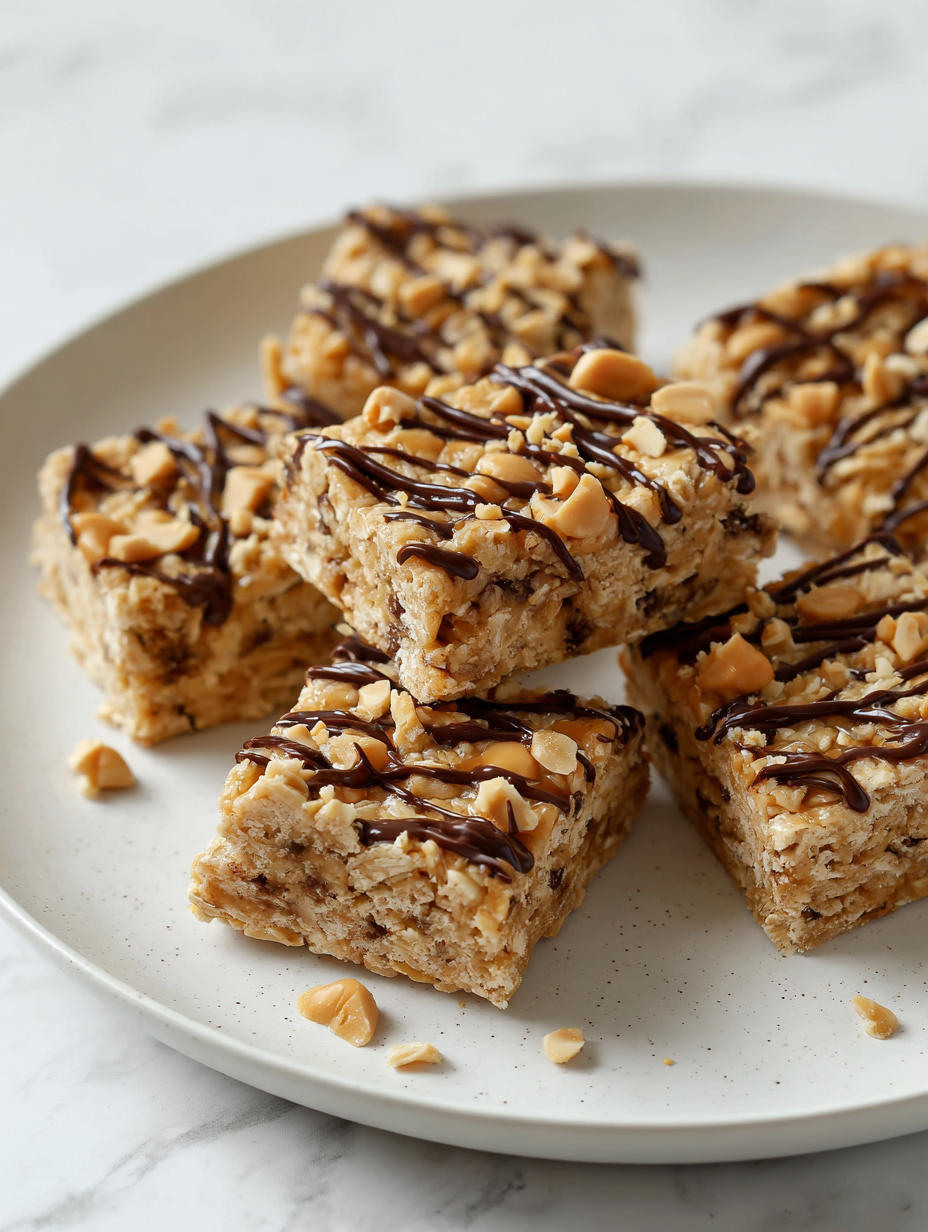
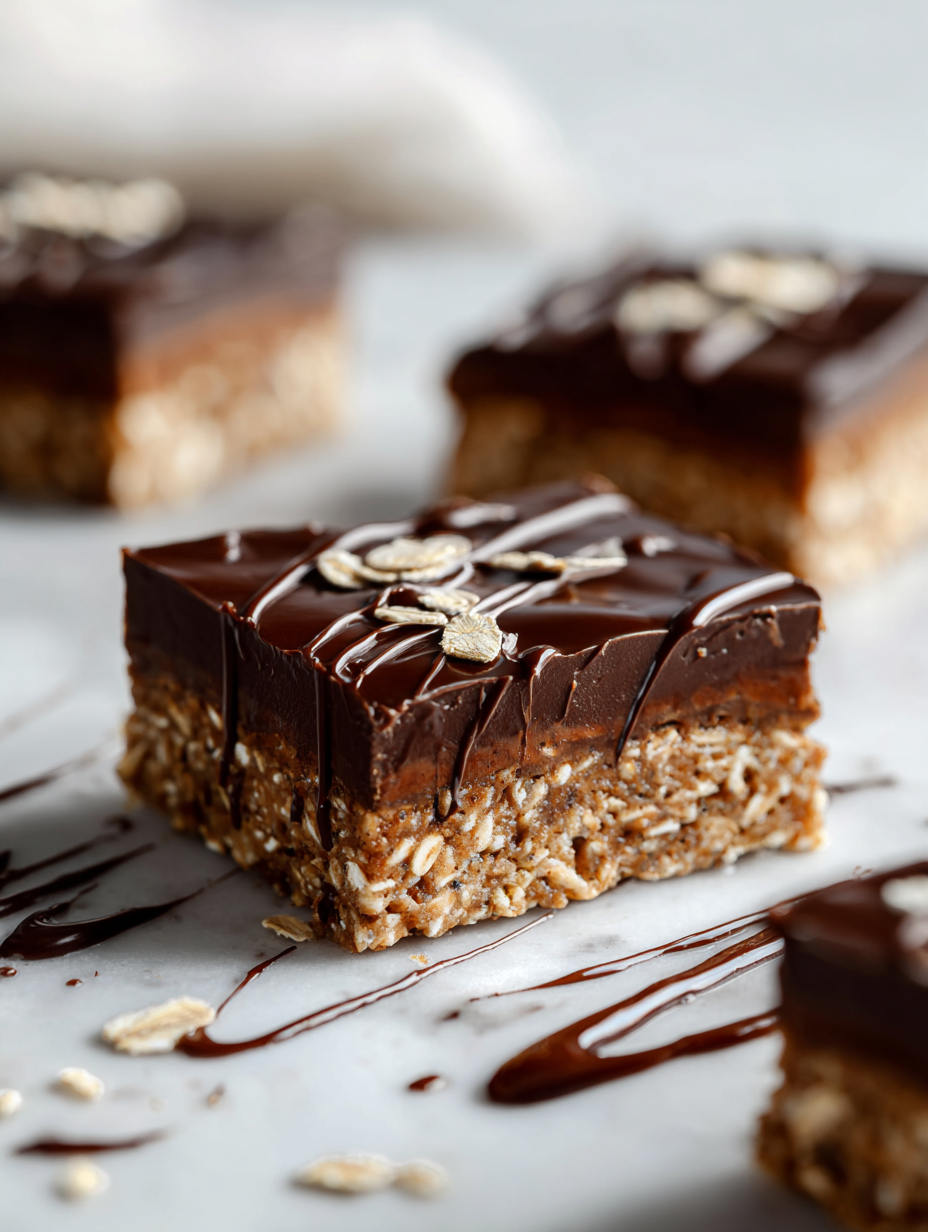
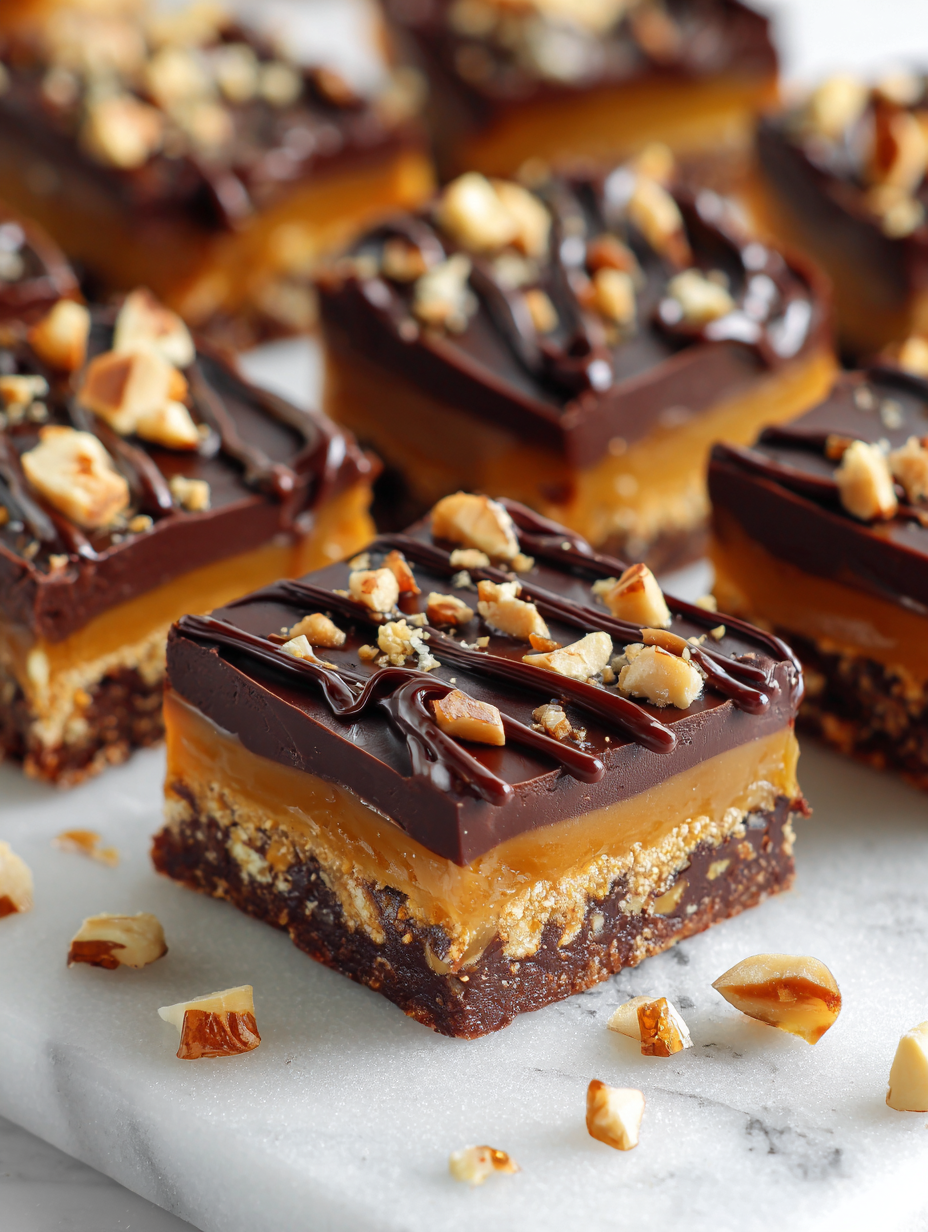
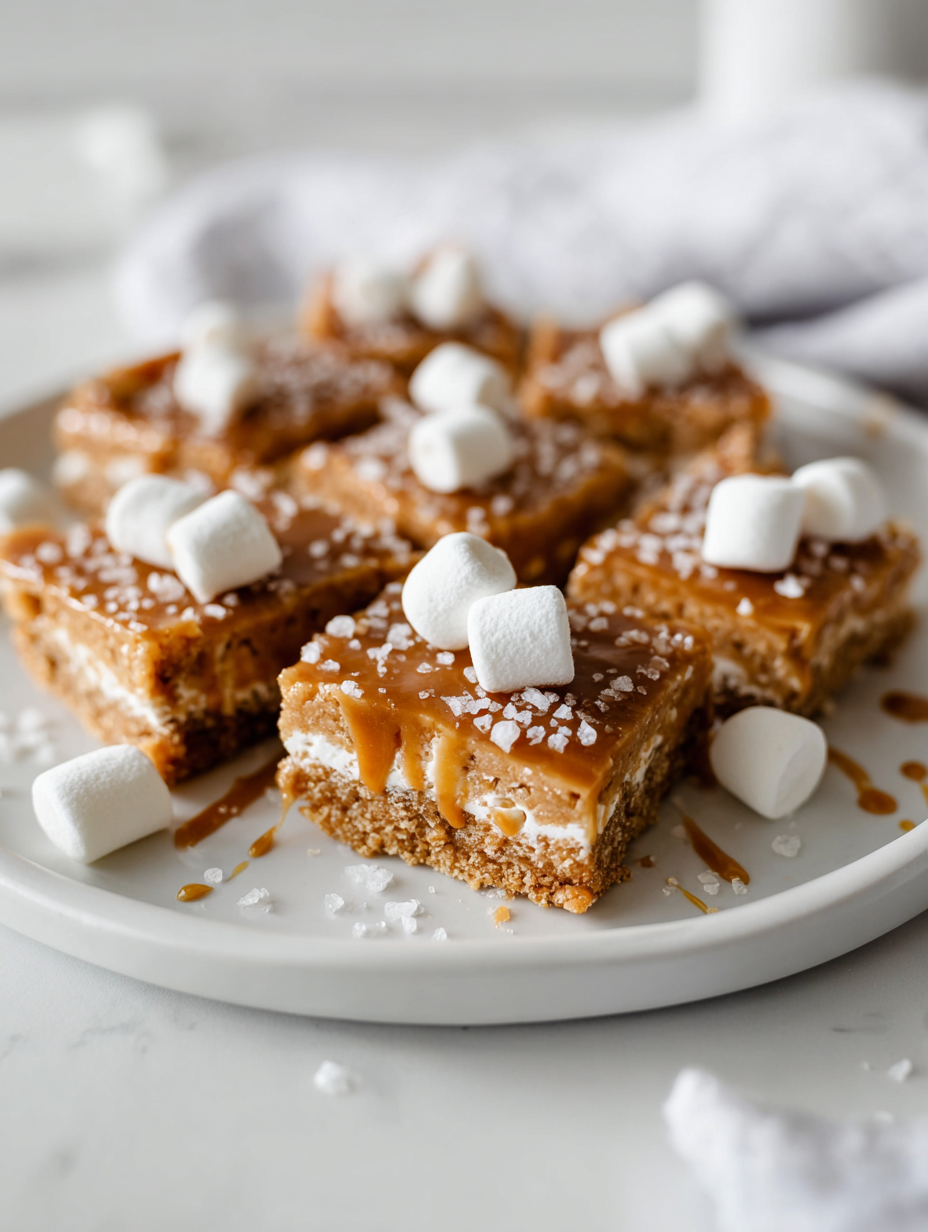
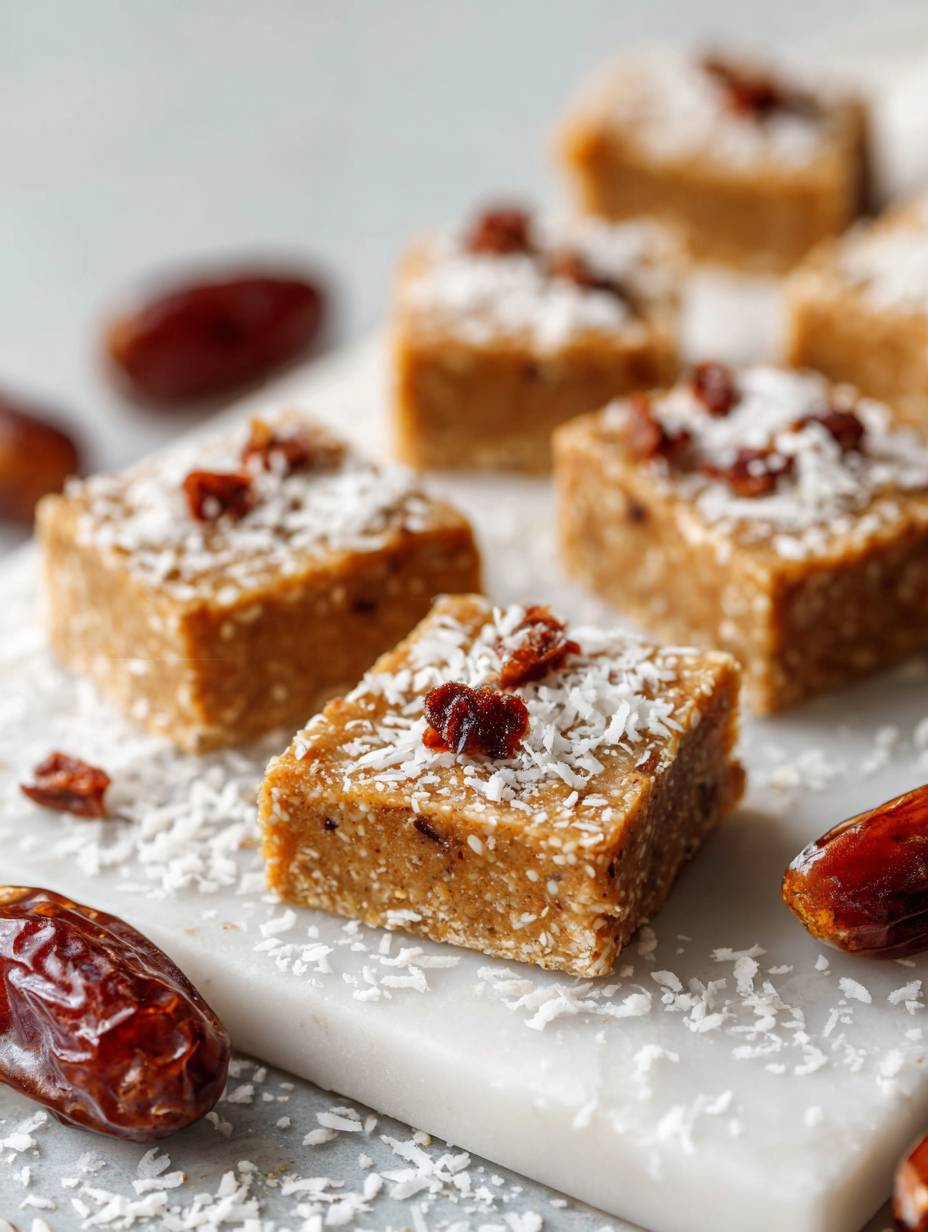
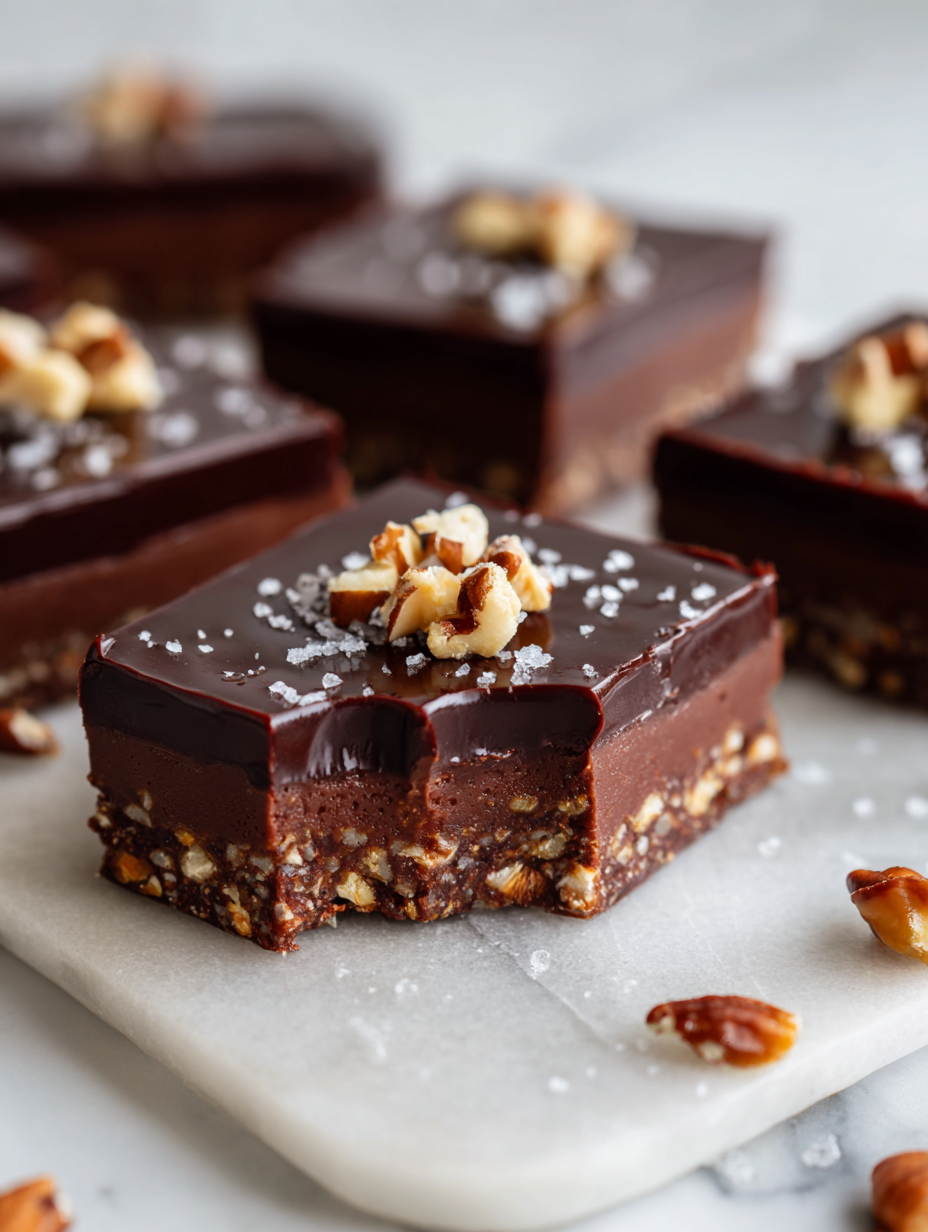
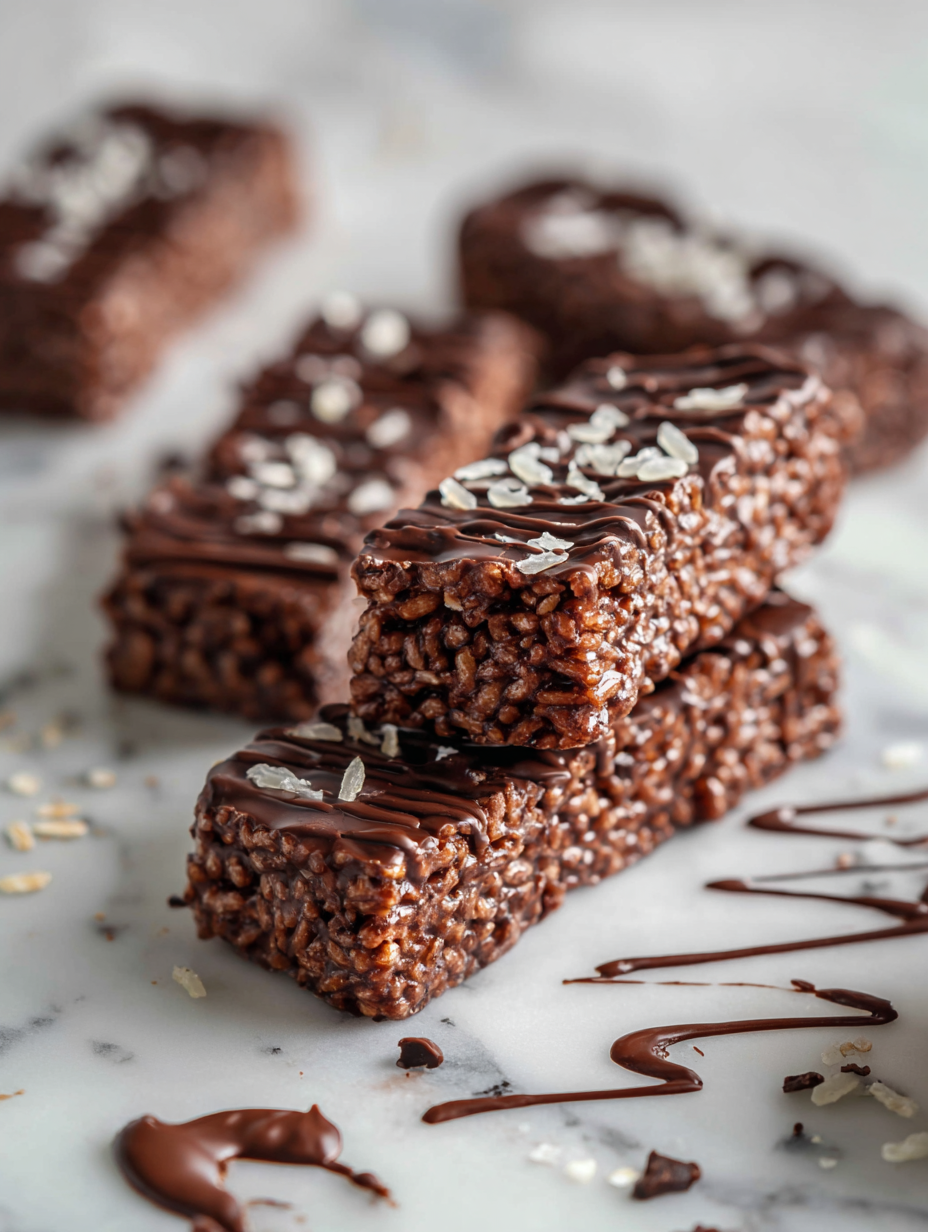
No Bake Chocolate Biscuit Bars Recipe
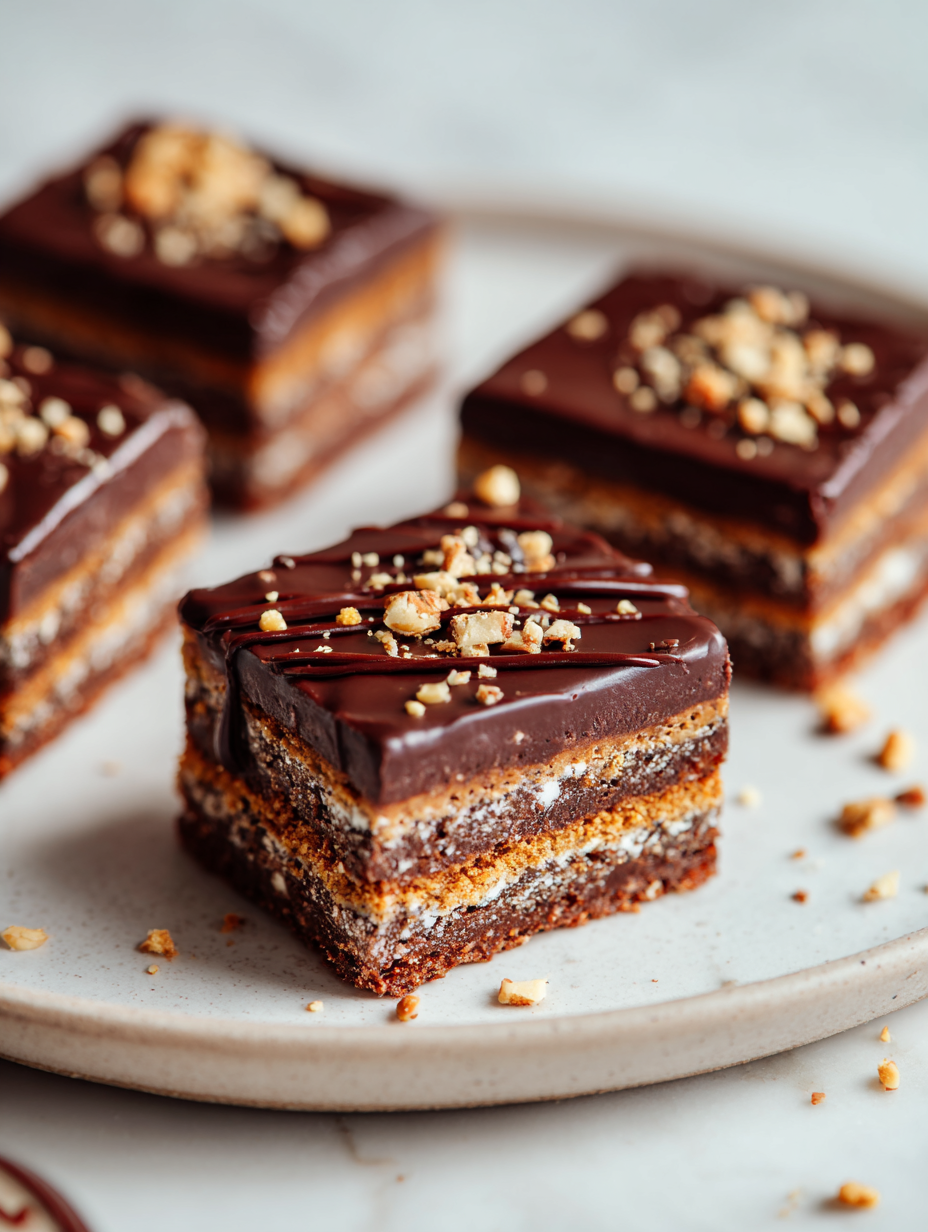
This no-bake chocolate biscuit bars recipe is my secret weapon for those days when I need a sweet fix without turning on the oven. It’s a simple, honest treat that’s been part of my family for ages—something I make when I want comfort but don’t have hours to fuss. The combination of crunchy biscuits and … Read more