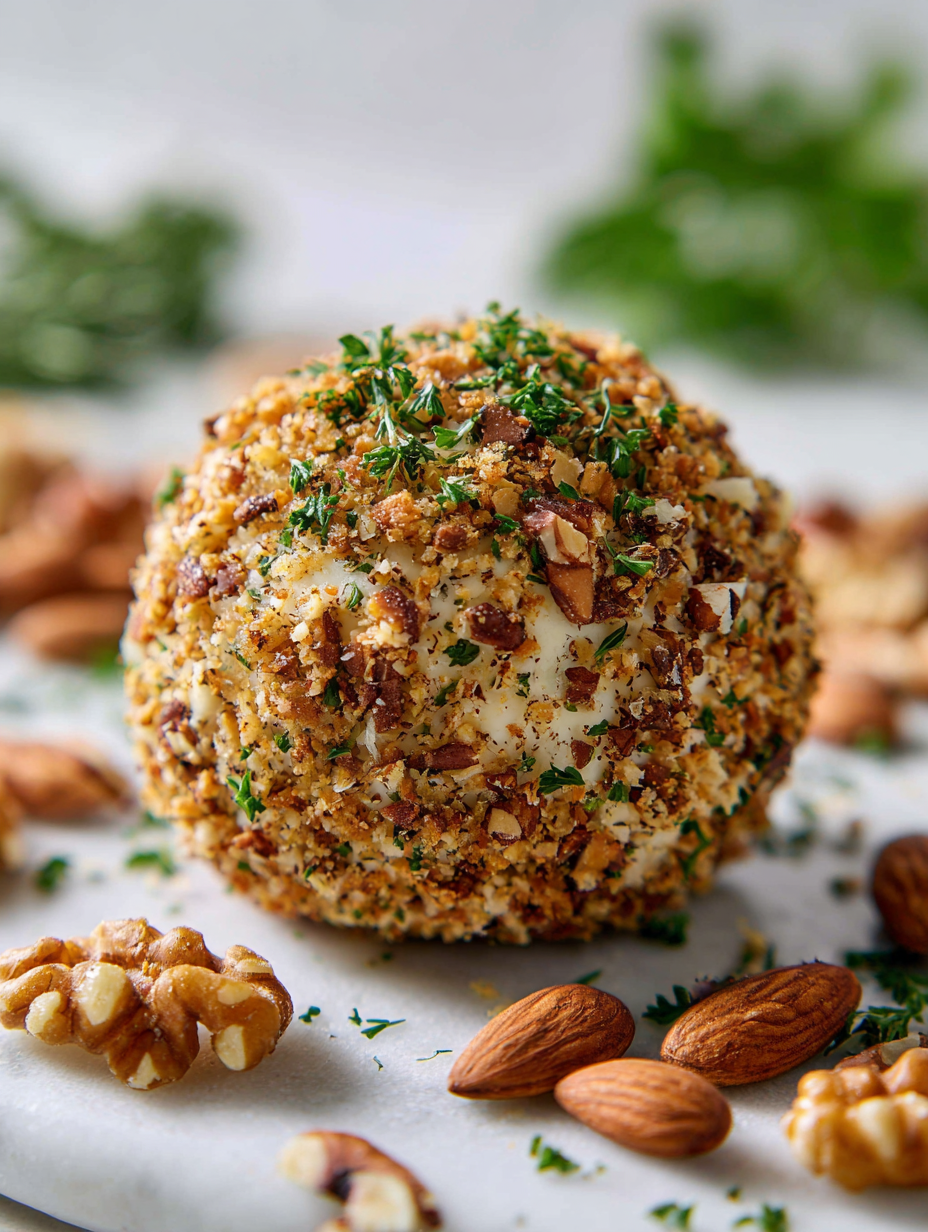
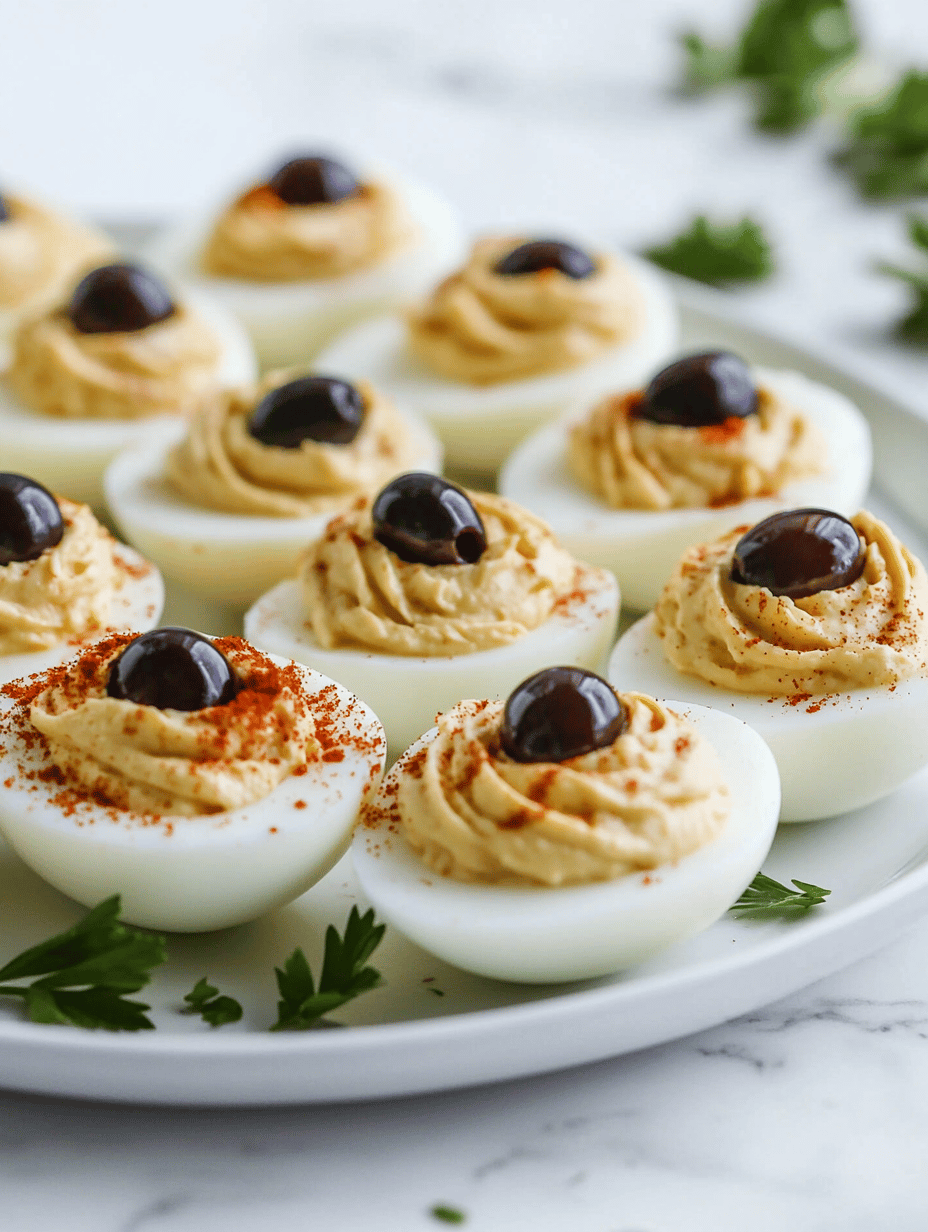
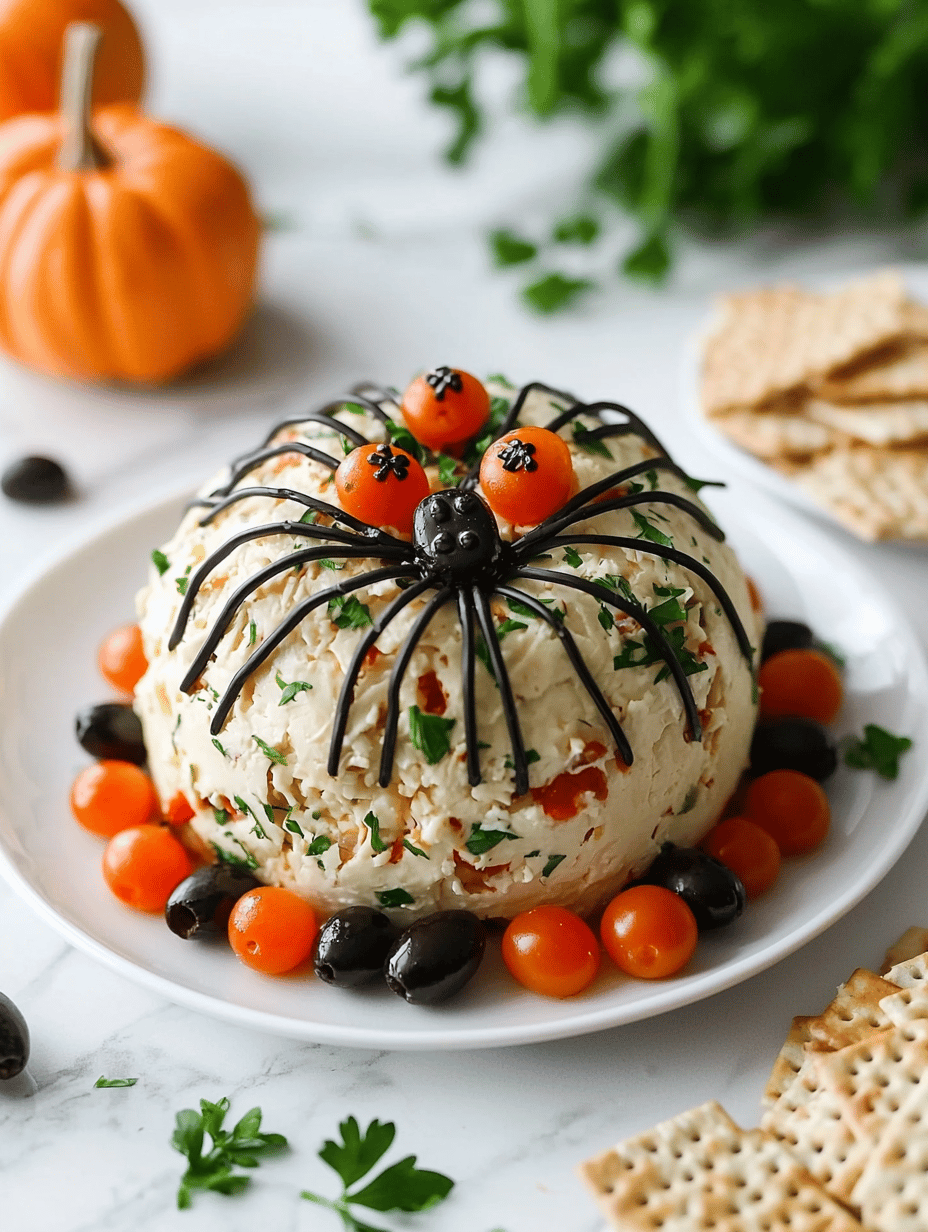
Category: Appetizers

  • Spooky Yet Delicious: Halloween Eyeball Caprese Bites

    Spooky Yet Delicious: Halloween Eyeball Caprese Bites

    Halloween is the perfect time to embrace the creepy and playful side of food. This year, I decided to create a dish that’s both visually startling and delicious—the Halloween Eyeball Caprese Bites. They look like tiny eyeballs but taste like fresh, creamy mozzarella with a burst of basil and cherry tomato juiciness.

    These bites are a chaotic delight for both kids and adults. Sharp-eyed guests will appreciate the spooky presentation, and they’re easy to assemble on the spot. Plus, the peppery olive eyes add a savory punch that turns salad into a macabre masterpiece.

    Halloween Eyeball Caprese Bites

    These are bite-sized appetizers assembled from fresh mozzarella, cherry tomatoes, and olives, designed to resemble tiny eyeballs. They involve simple assembly and layering to create a spooky, playful presentation with a creamy and juicy flavor profile, finished with a savory olive for the pupil.
    Prep Time 15 minutes
    Total Time 15 minutes
    Servings: 8
    Course: Main Course
    Cuisine: fusion
    Calories: 60

    Ingredients
      

    • 8 pieces fresh mozzarella balls small size
    • 8 pieces cherry tomatoes
    • 8 pieces pitted black olives for pupils
    • 2 tablespoons basil pesto optional, for flavor if desired

    Equipment

    • Serving platter
    • Toothpicks

    Method
     

    1. Place each mozzarella ball on a serving platter; these will form the white of the eyeballs.
    2. Carefully top each mozzarella with a cherry tomato, pressing gently to create a rounded, eyeball-like appearance.
    3. Insert a black olive into the center of each cherry tomato to resemble a dark, pupils of the eyeballs.
    4. If desired, dab a small amount of basil pesto around the olive to add a hint of green and extra flavor.
    5. Repeat the process for all bites, arranging them evenly on your serving platter for a spooky effect.
    6. Serve immediately for fresh flavor and a fun, Halloween-inspired presentation.

    Notes

    For variation, you can use different colored olives or add a drizzle of balsamic glaze for extra flavor and visual appeal.

    As the night winds down, these eyeball bites remain a conversation starter. They’re perfect for a Halloween party where the fun is in balancing ghoulish visuals with familiar flavors. Seeing everyone sniff, poke, and snap photos makes all the effort worth it.

    Enjoy crafting these creepy treats and watching them become a highlight of your spooky spread. They’re a reminder that sometimes, a little chaos in the kitchen leads to the most memorable moments. Happy haunting, and happy eating!

  • Spooky Delight: Halloween Stuffed Bell Pepper Jack-o’-Lanterns

    Spooky Delight: Halloween Stuffed Bell Pepper Jack-o’-Lanterns

    Halloween is the perfect time to get a little creative in the kitchen, and these stuffed bell pepper Jack-o’-Lanterns do just that. They turn ordinary peppers into edible pumpkins with just a little carving and filling. The aroma of roasting peppers mingles with savory fillings, creating a festive atmosphere even before the first bite.

    This recipe isn’t just fun—it’s a way to involve everyone in the kitchen chaos. Kids love helping carve, while the smell of melted cheese and spiced fillings evokes nostalgic autumn evenings. Plus, the vibrant orange of the peppers adds a splash of seasonal color to any table.

    Stuffed Bell Pepper Jack-o’-Lanterns

    These stuffed bell peppers are carved to resemble Jack-o’-Lanterns, with their tops cut out and the insides scooped to create a hollow cavity. Filled with savory mixture and topped with cheese, they are roasted until tender and golden, resulting in vibrant, festive, edible pumpkins with a crispy exterior and juicy filling.
    Prep Time 20 minutes
    Cook Time 30 minutes
    Total Time 50 minutes
    Servings: 4
    Course: Main Course
    Cuisine: American
    Calories: 250

    Ingredients
      

    • 4 large bell peppers preferably orange or bright color for pumpkin effect
    • 1 cup cooked rice or cooked quinoa for variety
    • 1/2 cup shredded cheese cheddar or mozzarella
    • 1 small onion finely chopped
    • 2 cloves garlic minced
    • 1 tsp paprika optional, for flavor and color
    • 2 tbsp olive oil
    • to taste salt and pepper

    Equipment

    • Sharp knife
    • Baking sheet
    • Spoon
    • Mixing bowl

    Method
     

    1. Preheat your oven to 400°F (200°C). Using a sharp knife, carefully cut the tops off each bell pepper and scoop out the seeds and membranes, creating a hollow cavity that resembles a pumpkin.
    2. In a mixing bowl, combine the cooked rice, shredded cheese, chopped onion, minced garlic, paprika, and a pinch of salt and pepper. Mix everything well so the flavors meld together.
    3. Drizzle olive oil over the hollowed-out peppers and gently brush the insides to keep them moist during roasting. Spoon the filling into each pepper, pressing down lightly to pack it in firmly.
    4. Place the filled peppers on a baking sheet lined with parchment paper, ensuring they sit upright. Top each pepper with a small piece of the cut-off lid, like a pumpkin’s stem or top.
    5. Bake the peppers in the preheated oven for about 25-30 minutes, until they are tender and the cheese is melted and bubbly, with some golden browning on top. The peppers’ skin should start to wrinkle slightly, indicating doneness.
    6. Remove the peppers from the oven and let them rest for a few minutes. This allows the filling to settle and makes handling easier.
    7. Serve the stuffed Jack-o’-Lantern peppers hot, with your favorite sides. The vibrant orange color makes them a fun and festive addition to any Halloween table.

    As the peppers come out of the oven, the crispy edges and bubbling cheese make your kitchen smell like a cozy fall festival. These Jack-o’-Lanterns are simple enough to prepare ahead, making them perfect for a spooky gathering or a quick Halloween dinner. A little creativity turns ordinary ingredients into a memorable holiday centerpiece.

    Enjoy these fun, savory pumpkins with friends or family, and watch them light up the table with smiles and awe. They’re a reminder that good food is all about a little chaos, a lot of flavor, and celebrating the season with joy. Happy Halloween cooking!

  • Halloween Deviled Egg Eyeballs: A Creepy Snack Adventure

    Halloween Deviled Egg Eyeballs: A Creepy Snack Adventure

    As October chills turn up the heat of Halloween, I find myself craving more than just candy. I want something eerie yet irresistibly tasty, and these Deviled Egg Eyeballs hit that perfect spooky sweet spot. The moment I thought of turning classic deviled eggs into eyeballs, my kitchen filled with a tantalizing mix of curiosity and nostalgic delight.

    Chopping into these eyeballs reveals a bright, tangy yolk oozing out, mimicking real eyes with a culinary twist. The crimson ketchup or food coloring creates a bloodshot effect, making them a standout at any Halloween party. This recipe is my own little experiment in edible horror, combining simple ingredients for maximum visual punch.

    Deviled Egg Eyeballs

    Deviled Egg Eyeballs are a spooky, Halloween-themed appetizer made by filling halved boiled eggs with a tangy yolk mixture. They are decorated with bloodshot effects using ketchup or food coloring to resemble eerie eyeballs, with a smooth, creamy texture and a creepy visual appeal.
    Prep Time 15 minutes
    Cook Time 10 minutes
    Total Time 25 minutes
    Servings: 12
    Course: Main Course
    Cuisine: Halloween
    Calories: 90

    Ingredients
      

    • 6 large eggs for boiling
    • 3 tbsp mayonnaise smooth and creamy filling
    • 1 tsp yellow mustard for tangy flavor
    • 1/4 tsp paprika for color and flavor
    • to taste salt and black pepper season to preference
    • 2-3 tbsp ketchup or red food coloring for bloodshot effect

    Equipment

    • Saucepan
    • Mixing bowl
    • Whisk
    • Piping bag or plastic sandwich bag
    • Small spoon or toothpick

    Method
     

    1. Place the eggs in a saucepan and cover with cold water. Bring to a boil over high heat, then reduce to a simmer and cook for 10 minutes. Once done, transfer to a bowl of ice water to cool completely.
    2. Peel the cooled eggs gently, then slice each egg in half lengthwise with a sharp knife. Carefully remove the yolks and place them into a mixing bowl.
    3. Mash the yolks with a fork until smooth, then add mayonnaise, mustard, paprika, and a pinch of salt and pepper. Mix until you have a creamy, homogeneous filling.
    4. Fill a piping bag or plastic sandwich bag with the yolk mixture, then pipe it back into the hollowed egg whites, mounding slightly to resemble eyeballs.
    5. Using a small spoon or toothpick, carefully create small red bloodshot lines on the tops of the filled eggs, mimicking bloodshot eyes.
    6. Drop small amounts of ketchup or food coloring into a small dish and use a toothpick to add tiny bloodshot veins for a more eerie effect.
    7. Arrange the deviled egg eyeballs on a serving platter. Chill briefly if desired to set the decorations before serving.

    Notes

    For extra creepy effect, add small plastic eyes or edible googly eyes on top. These eggs are perfect for Halloween parties and make a fun, spooky appetizer.

    This eye-catching snack turns a simple kitchen task into a hauntingly fun project. With each bite, you’ll taste the familiar comfort of eggs, elevated by a spooky presentation perfect for the season. It’s a simple way to add mischief and joy to your Halloween table.

    These eyeballs are more than just treats—they’re a chance to unleash your creative side. Watching guests react with a mix of surprise and delight makes all the effort worthwhile. Sometimes it’s the weirdest ideas that make the best memories.

  • Spidey Snacks: The Halloween Cheese Ball That Steals the Show

    Spidey Snacks: The Halloween Cheese Ball That Steals the Show

    Few treats bring the perfect blend of spooky fun and cheesy goodness like this Halloween Spider Cheese Ball. Its daring design sparks immediate giggles in kids and adults alike, making it the centerpiece of any haunted gathering. Crafting it is an act of playful chaos that transforms simple ingredients into a creeping, crawly delight.

    The secret lies in the surprise of each bite—creamy cheese coated in crunchy arachnid legs, ready to be gobbled up. As the aromas of garlic, herbs, and toasted cheese mingle, the holiday spirit ignites. This recipe isn’t just food; it’s a little creature living on your platter that invites giggles and glee.

    **WHY I LOVE THIS RECIPE?**

    • I adore how it sparks kids’ fascination with food, turning snack time into playtime.
    • The combination of textures—smooth cheese and crispy pretzels—feels insanely satisfying.
    • Seeing everyone’s reactions when they see the spider—priceless chaos!
    • It’s surprisingly easy to assemble, a quick costume for cheese that walks right onto the platter.
    • Perfect for Halloween parties—quirky, charming, and utterly delicious.

    **AVOID MY DISASTER (You’re Welcome)**

    • FORGOT to chill the cheese—ended up with a sticky, unshapely spider. Chill before shaping!
    • DUMPED too much paprika—made it look muddy. Start small, build up colour.
    • OVER-TORCHED the pretzel legs—bitter taste. Keep an eye, toast lightly and evenly.
    • MISSED the glue—poorly stuck legs kept falling. Use cream cheese as the perfect adhesive.

    **QUICK FIXES THAT SAVE YOUR DAY**

    • WHEN legs fall off—use a drop of warm cream cheese to reattach and tighten.
    • SPLASH extra herbs—fresh thyme or rosemary add a vibrant aroma and fresh flavor.
    • PATCH any cracks—smear with more cheese mixture, smoothing with a spatula.
    • SHIELD with plastic wrap—keep your cheese ball cool and prevent drying out.
    • When cheese feels too soft—pop into the fridge for 10 minutes to firm up.

    Halloween Spider Cheese Ball

    This Halloween Spider Cheese Ball is a creamy, cheesy mixture shaped into a round spider, with crunchy pretzel legs attached to mimic a creepy arachnid. The cheese ball is decorated with additional herbs and spices, creating a playful, textured centerpiece that combines smooth, soft cheese with crispy legs for a fun and flavorful appetizer.
    Prep Time 20 minutes
    Cook Time 10 minutes
    Total Time 30 minutes
    Servings: 8
    Course: Main Course
    Cuisine: Halloween
    Calories: 150

    Ingredients
      

    • 8 oz cream cheese, softened not cold from the fridge, to make mixing easier
    • 1 cup shredded cheddar cheese
    • 2 cloves garlic, minced
    • 1 teaspoon dried herbs (thyme or rosemary) optional, for flavor and decoration
    • to taste paprika for color and flavor
    • 20 pretzels pretzel rods or knots to be used as spider legs
    • Additional herbs fresh thyme or rosemary for garnish and aroma

    Equipment

    • Mixing bowl
    • Spatula

    Method
     

    1. Combine the softened cream cheese and shredded cheddar in a mixing bowl, stirring with a spatula until smooth and well incorporated.
    2. Add the minced garlic and herbs, then mix again until fragrant and evenly distributed throughout the cheese mixture.
    3. Sprinkle a tiny bit of paprika over the mixture for a light orange tint, then fold it in gently to incorporate the color.
    4. Shape the cheese mixture into a round ball and place it on a serving plate. Chill in the refrigerator for about 10 minutes to help it firm up.
    5. Once chilled, take the cheese ball out of the fridge, and to assemble the spider, insert pretzel rods into the sides of the cheese ball to resemble legs. Use a dab of extra cheese or cream cheese as glue if any legs need extra support.
    6. Arrange the pretzel legs evenly around the cheese ball, pressing gently so they stay secure.
    7. Add a few sprigs of fresh thyme or rosemary on top for a creepy, festive look and fresh aroma.
    8. Optional: sprinkle additional paprika or herbs over the top for more color and flavor.
    9. Serve the Halloween Spider Cheese Ball chilled with plenty of chips, crackers, or veggie sticks around for grabbing.

    This Halloween, having a playful centerpiece like this spider cheese ball can turn a simple party into a memorable event. Its friendly, creepy appearance hides a rich, tangy flavor that can’t be ignored. Plus, the process of making it adds a touch of chaos and joy to the holiday prep.

    As the night settles, slices of this creepy crawler will vanish quickly, leaving behind smiles and satisfied tummies. Beyond the scare factor, it’s a reminder that food can be as fun and unexpected as a Halloween costume. Enjoy crafting this creature, and let the good times crawl along!

  • Spooktacular Halloween Mummy Meatballs: A Creepy-Cute Feast

    Spooktacular Halloween Mummy Meatballs: A Creepy-Cute Feast

    Halloween is the perfect time to unleash your culinary creativity, and these mummy meatballs do just that with a fun, spooky twist. Imagine a kitchen filled with the aroma of seasoned beef, simmering tomato sauce, and crispy little bandages made from melted mozzarella. Each bite brings a satisfying crunch and a savory punch wrapped in playful disguise.

    This recipe is more than just a dinner; it’s an experience of nostalgia and chaos, transforming simple ingredients into edible monsters. Perfect for a party or a family night, these mummies turn dinner into an occasion of giggles and delight. Plus, they’re surprisingly easy to make, ensuring the chaos stays fun and the results impressive.

    Halloween Mummy Meatballs

    These mummy meatballs are made by shaping seasoned ground beef into small balls, cooking them until browned, and then wrapping them with strips of melted mozzarella to resemble mummies. The final dish features crispy, cheesy bandages layered over savory meatballs, creating a fun, spooky presentation perfect for parties. They offer a combination of tender meat, gooey cheese, and a crispy exterior.
    Prep Time 20 minutes
    Cook Time 20 minutes
    Total Time 40 minutes
    Servings: 6
    Course: Main Course
    Cuisine: American
    Calories: 250

    Ingredients
      

    • 1 ½ pounds ground beef preferably 80% lean
    • ½ cup bread crumbs for binding
    • 1 large egg to help bind the mixture
    • 2 cloves garlic minced
    • ½ teaspoon salt
    • ¼ teaspoon black pepper
    • 8 ounces mozzarella cheese preferably pre-shredded
    • ½ cup tomato sauce
    • 1 tablespoon olive oil for cooking the meatballs

    Equipment

    • Mixing bowl
    • Baking sheet
    • Cooking spoon
    • Oven
    • Cheese grater

    Method
     

    1. Preheat your oven to 400°F (200°C). In a large bowl, combine ground beef, bread crumbs, egg, minced garlic, salt, and black pepper. Mix thoroughly until all ingredients are well incorporated.
    2. Using your hands, shape the mixture into small, evenly-sized meatballs, about 1 to 1.5 inches in diameter. Place them on a baking sheet lined with parchment paper.
    3. Bake the meatballs in the preheated oven for about 15–20 minutes, until they are browned on the outside and cooked through. Meanwhile, heat the olive oil in a skillet over medium heat.
    4. Remove the meatballs from the oven once they are golden and transfer them to the skillet with heated olive oil. Sear each meatball for 2-3 minutes, turning occasionally, so they develop a slight crispy exterior.
    5. Next, spoon tomato sauce over the meatballs and simmer for another 5 minutes, allowing the flavors to meld and the sauce to thicken slightly.
    6. While the meatballs are simmering, grate the mozzarella cheese. Once cooked, transfer the meatballs to a serving platter and start shaping the mozzarella into thin strips or small squares.
    7. Wrap each meatball with mozzarella strips, leaving some edges sticking out to resemble bandages. Gently press the cheese onto the meatball to help it adhere.
    8. Place the assembled mummy meatballs back on the baking sheet and bake for an additional 5 minutes, until the cheese melts and begins to brown slightly.
    9. Remove the mummy meatballs from the oven and let them cool slightly. Use small dollops of additional melted mozzarella or olive bits for eyes, adding a spooky touch.
    10. Arrange the spooky mummies on a serving platter and serve warm, allowing the crispy cheese bandages to be a fun, chewy contrast to the savory meatball inside.
    As the plate empties, the glow in everyone’s eyes reminds me why I love these themed recipes so much. They erase the mundane and turn dinner into an event where smiles are guaranteed.

    Now, every year, I look forward to this playful twist on classic meatballs, especially when the house fills with spooky decorations and Halloween tunes. They’re a reminder that sometimes, the simplest ingredients can create the most memorable moments, especially when you add a little silly scare.

  • Spooky Charming: Halloween Ghost Veggie Platter with a Whimsical Twist

    Spooky Charming: Halloween Ghost Veggie Platter with a Whimsical Twist

    Creating a Halloween snack that’s both spooky and charming can be a delightful challenge. This Ghost Veggie Platter transforms raw vegetables into floating spirits that seem to haunt your table with a playful elegance. The bright colors and simple shapes make it perfect for kids and adults alike, especially when the spirits appear to glow with ranch or hummus.

    As a food blogger obsessed with seasonal eats, I find that this platter captures the magic of Halloween without the usual sugar overload. It’s a creative way to get everyone excited about veggies, even those who usually dodge them on their plates. Plus, it’s surprisingly easy to assemble, turning mealtime into a whimsical affair that sparks joy at first sight.

    Ghost Veggie Platter

    This Ghost Veggie Platter features raw vegetables arranged into floating ghost shapes, with some decorated with black olive eyes and served with a creamy ranch or hummus dip. The dish combines crisp, fresh textures with playful visual design, making vegetables more appealing and fun for all ages. The final presentation showcases white cauliflower, celery sticks, and other colorful veggies transformed into spooky spirits.
    Prep Time 20 minutes
    Total Time 20 minutes
    Servings: 8
    Course: Main Course
    Cuisine: Party Food, Seasonal
    Calories: 60

    Ingredients
      

    • 1 head cauliflower cut into small florets
    • 4 stalks celery cut into sticks
    • 2 carrots cut into sticks
    • 1 cup hummus or ranch dip for serving
    • as needed black olives sliced for eyes

    Equipment

    • Serving platter
    • Small knife
    • Black olives (optional)

    Method
     

    1. Arrange the cauliflower florets on a large serving platter, spacing them out to look like floating ghost shapes.
    2. Place celery sticks upright next to or behind the cauliflower to resemble spooky legs or pillars for the ghosts.
    3. Add carrot sticks scattered around the platter to add colorful accents and additional ‘ghostly’ elements.
    4. Spoon a generous dollop of hummus or ranch dip in the center of each cauliflower floret to mimic a ghost’s face.
    5. Use small slices of black olives placed on the dip to create spooky eyes for each ghost.
    6. Adjust the placement of vegetables for balance and visual impact, making sure each ghost-shaped cauliflower has a dip face with eyes.
    7. Put the finished platter on the table, ready to serve with extra dip on the side for dipping veggies or on the ‘ghost’ faces.

    Notes

    For a fun variation, you can cut black olives into small shapes to make additional decorations like mouths or spooky symbols.
    The beauty of this Ghost Veggie Platter lies in its effortless appeal and endless customization options. It’s a centerpiece that invites interaction, curiosity, and a bit of spooky storytelling.

    This seasonal treat reminds us that cooking and presenting food can be an act of playful artistry. Even after Halloween, it’s a reminder that a little imagination turns everyday veggies into charming specters that can brighten any table.

  • Spooky Bats & Guacamole: Halloween Party Standout

    Spooky Bats & Guacamole: Halloween Party Standout

    Instead of the usual pumpkin-shaped treats, why not embrace the mystery of the night with a Halloween guacamole that masquerades as mysterious bats? This recipe turns a simpleAvocado dip into a playful centerpiece, perfect for Halloween gatherings or spooky movie nights at home. The scent of ripe avocados blending with lime and garlic adds a fresh, invigorating aroma that hints at mischief and delight.

    Using tortilla chips shaped like bats adds an element of surprise and chaos, sparking joy among guests of all ages. The contrast of crunchy chips and creamy guacamole creates a satisfying texture combo that keeps everyone coming back for more. Plus, it’s a fantastic way to sneak in some healthy fats with a festive twist.

    Halloween Bat Guacamole with Bat-Shaped Tortilla Chips

    This guacamole recipe combines ripe avocados mashed into a creamy dip, flavored with lime, garlic, and fresh herbs, resulting in a smooth, vibrant green spread. It is presented with bat-shaped tortilla chips for a playful, crunchy contrast, making it visually striking and suitable for festive gatherings. The final dish features a spreadable texture for dipping and a fun, spooky appearance.
    Prep Time 15 minutes
    Total Time 15 minutes
    Servings: 6
    Course: Main Course
    Cuisine: American
    Calories: 180

    Ingredients
      

    • 3 ripe avocados halved, pitted
    • 1 lime lime juiced
    • 2 cloves garlic cloves minced
    • 1/4 cup cilantro chopped
    • to taste salt
    • 1 bag tortilla chips shaped like bats
    • optional black olives or shredded cheese for bat details

    Equipment

    • Cutting board
    • Chef’s knife
    • Mixing bowl
    • Fork or potato masher
    • Spoon
    • Baking sheet
    • Bowl for melted cheese or black olive slices (for decoration)

    Method
     

    1. Cut the avocados in half and remove the pits, then scoop the flesh into a mixing bowl.
    2. Squeeze fresh lime juice over the avocado and add the minced garlic.
    3. Use a fork or potato masher to mash the avocados until smooth and creamy, with some slight texture for contrast.
    4. Stir in chopped cilantro and season with salt to taste, mixing until evenly combined.
    5. Arrange the bat-shaped tortilla chips on a serving platter, creating a playful pattern.
    6. Dollop the freshly made guacamole into the center of the platter, spreading it gently to fill the space.
    7. Use sliced black olives or shredded cheese to add spooky bat details on top of the guacamole for extra flair.
    8. Serve immediately with the bat-shaped tortilla chips for dipping, enjoying the contrast of creamy guacamole and crunchy chips.

    Notes

    For extra spooky effects, dark-colored tortilla chips or black olives can be used for decorations.

    This Halloween, let your creativity run wild with this delightfully spooky snack. It’s simple, fun, and a guaranteed crowd-pleaser that fits right into the season’s spirit of playful darkness. Plus, the visual wow factor makes it an easy highlight on any spooky spread.

    As the night winds down, reflect on the joy of sharing something so whimsical and tasty. Creating memories around a lively table filled with treats like these keeps the holiday alive long after the lights go out. Happy haunting, and enjoy every bite of your costume-worthy creation!

  • Spooky Delight: Halloween Mummy Hot Dogs That Charmer Kids & Ghouls Alike

    Spooky Delight: Halloween Mummy Hot Dogs That Charmer Kids & Ghouls Alike

    Halloween is prime time for playful foods that spark both joy and chaos in the kitchen. This year, I dared to turn the classic hot dog into a shivering mummy, with wriggly strips of pastry that mimic linen bandages. The aroma of baked dough and smoky sausage wafts through the house, teasing eager noses and nostalgic memories of Halloweens past.

    Creating these mummy hot dogs is a ritual in itself—messy, fun, and oddly satisfying. They turn an everyday snack into a spooky spectacle, perfect for grabbing little hands and big imaginations. The secret is in the details: eyes that pop, dough that shatters just right, and a little dash of chaos that makes it all memorable.

    Halloween Mummy Hot Dogs

    These mummy hot dogs are made by wrapping smokey sausages with strips of puff pastry to resemble bandages, then baking until golden and crisp. They feature playful eyes that add a spooky touch, with a crispy exterior and tender sausage interior, perfect for Halloween festivities.
    Prep Time 15 minutes
    Cook Time 15 minutes
    Total Time 30 minutes
    Servings: 8
    Course: Main Course
    Cuisine: American
    Calories: 180

    Ingredients
      

    • 8 pieces hot dogs or sausages smokey varieties preferred
    • 1 package puff pastry sheets thawed if frozen
    • 1 egg egg for egg wash
    • small black sesame seeds or small candies for eyes
    • 1 tablespoon water for egg wash

    Equipment

    • Baking sheet
    • Parchment paper
    • Kitchen scissors
    • Small spoon or toothpick for eyes

    Method
     

    1. Preheat the oven to 400°F (200°C) and line a baking sheet with parchment paper.
    2. Unroll the puff pastry on a lightly floured surface and cut it into long, thin strips, about 1/4 inch wide. These will be used to wrap the hot dogs like bandages.
    3. Wrap each hot dog tightly with pastry strips, leaving a small space at one end for the ‘head’ and creating a mummy-like appearance with overlapping strips. Slightly stretch the pastry for a snug fit.
    4. In a small bowl, beat the egg with a tablespoon of water to create an egg wash, then brush this over the pastry-wrapped hot dogs for a shiny, golden finish.
    5. Place the wrapped hot dogs on the prepared baking sheet, spacing them evenly apart.
    6. Bake in the preheated oven for about 12-15 minutes, or until the pastry is puffed and golden brown with crisp edges.
    7. While baking, prepare small eyes by placing black sesame seeds or tiny candies on a small spoon or toothpick for easy placement.
    8. Once baked, carefully remove the mummy hot dogs from the oven and give each a pair of eyes, sticking them onto the pastry with a tiny dab of egg wash if needed.
    9. Let the hot dogs rest for a minute or two to let the pastry set slightly, then serve hot with a fun spooky presentation.

    Notes

    Feel free to vary the eye decorations or add extra bandages for a creepier look.
    As the oven timer dings, these mummy hot dogs emerge with crispy pastry that crackles invitingly. Watching kids gobble them up while squealing with delight makes all the prep worthwhile. They’re not just food—they’re a Halloween memory in the making.

    This simple dish captures the heart of the holiday—fun, spooky, and a little bit messy. Plus, they are so easy to adapt with different fillings or toppings, perfect for any Halloween table. Sometimes, it’s the little creations like these that turn an ordinary evening into something truly special.