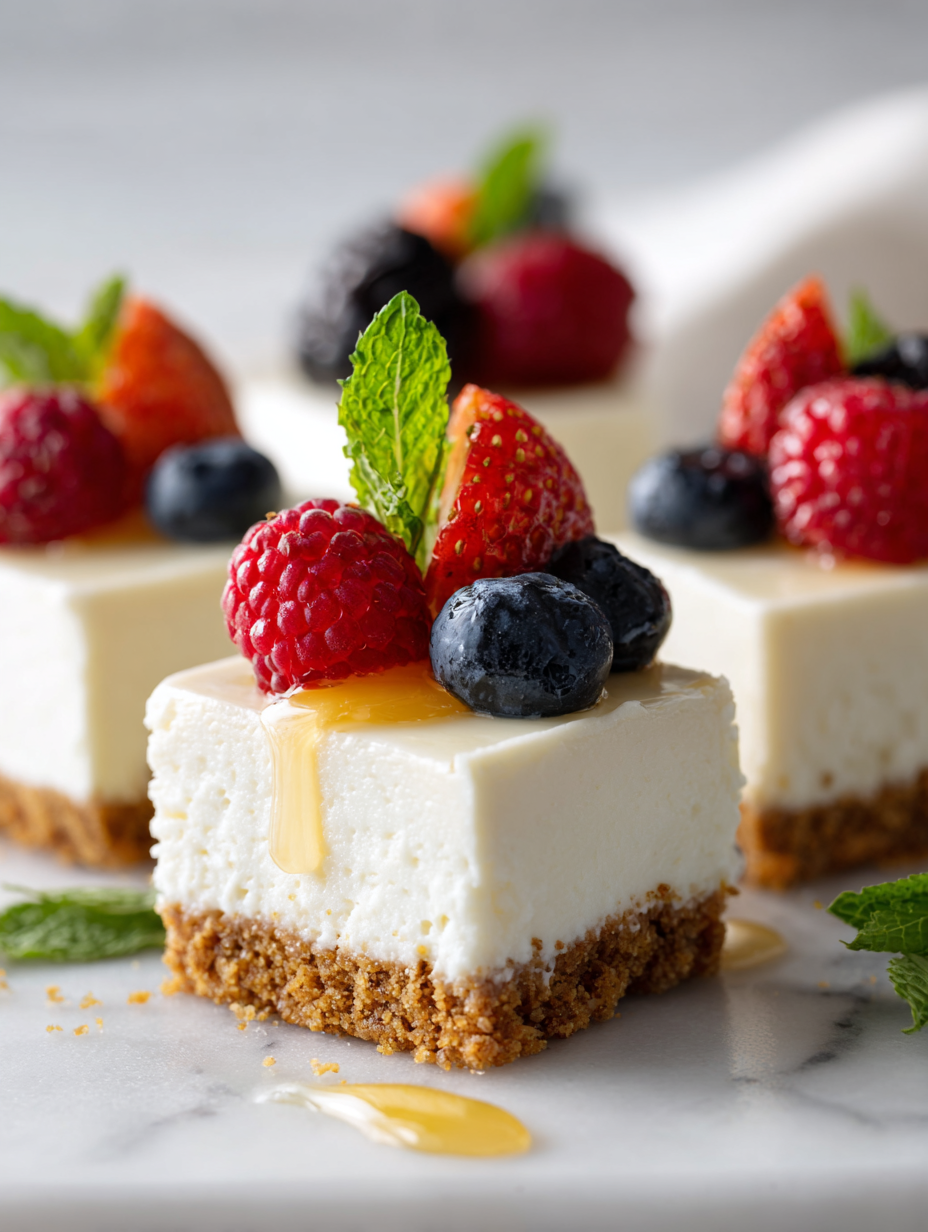
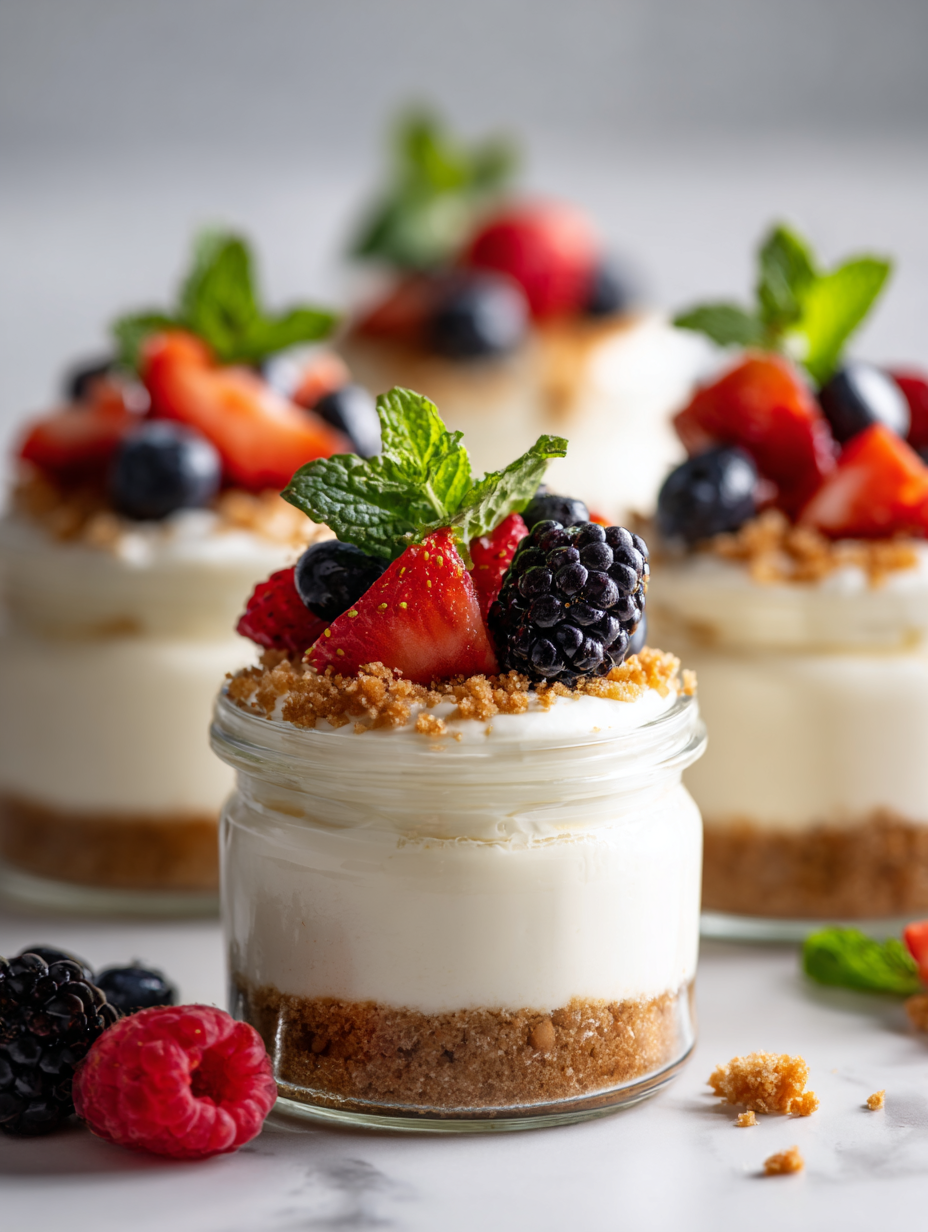
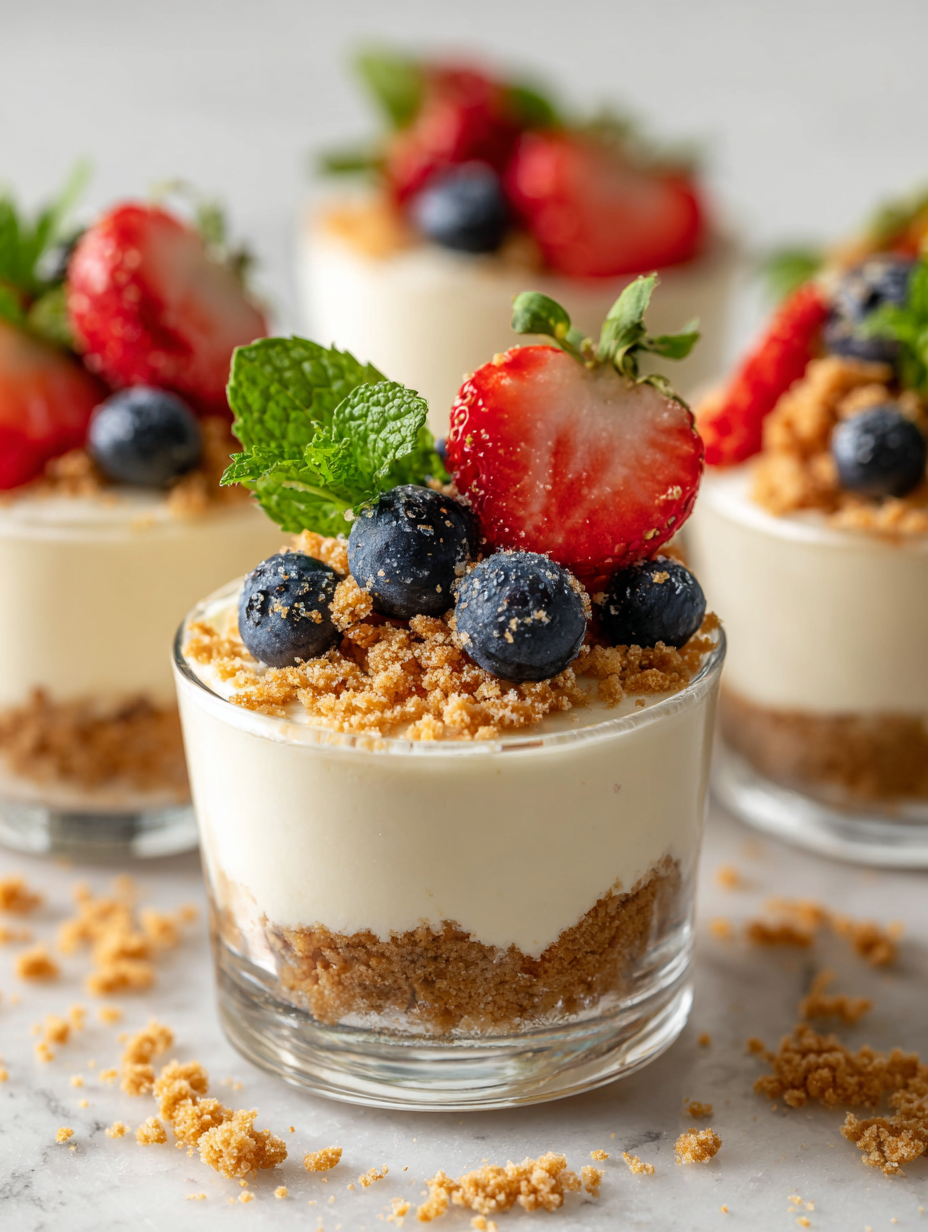
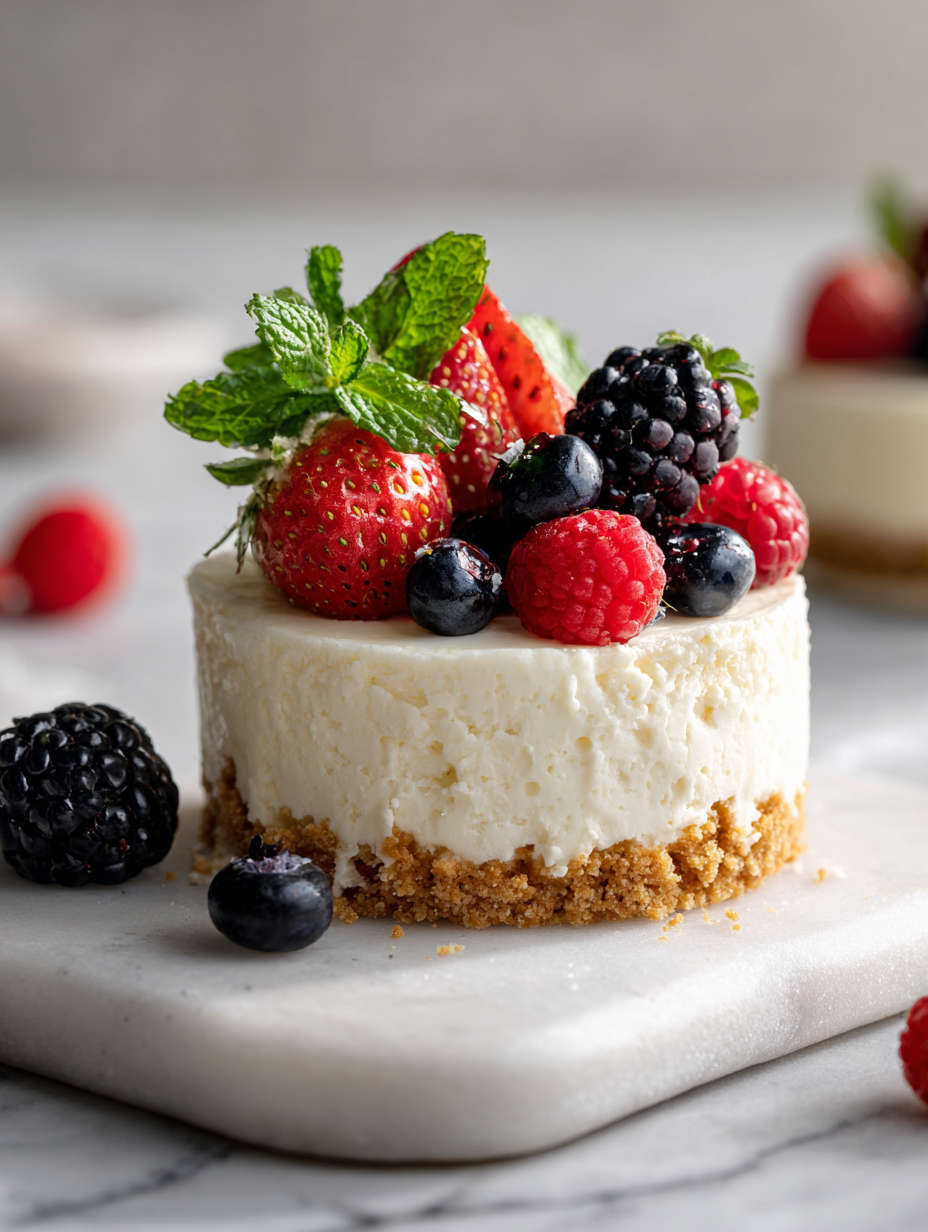
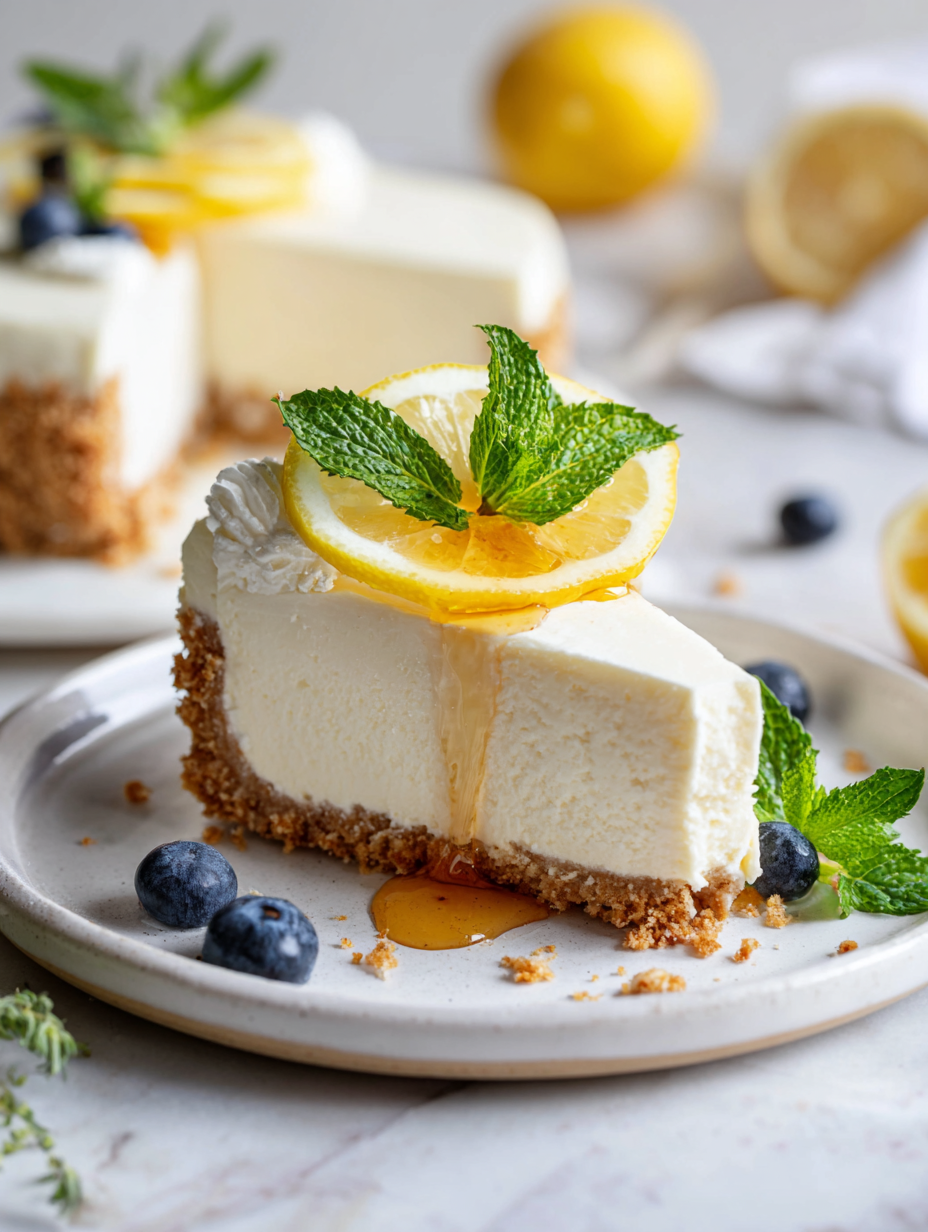
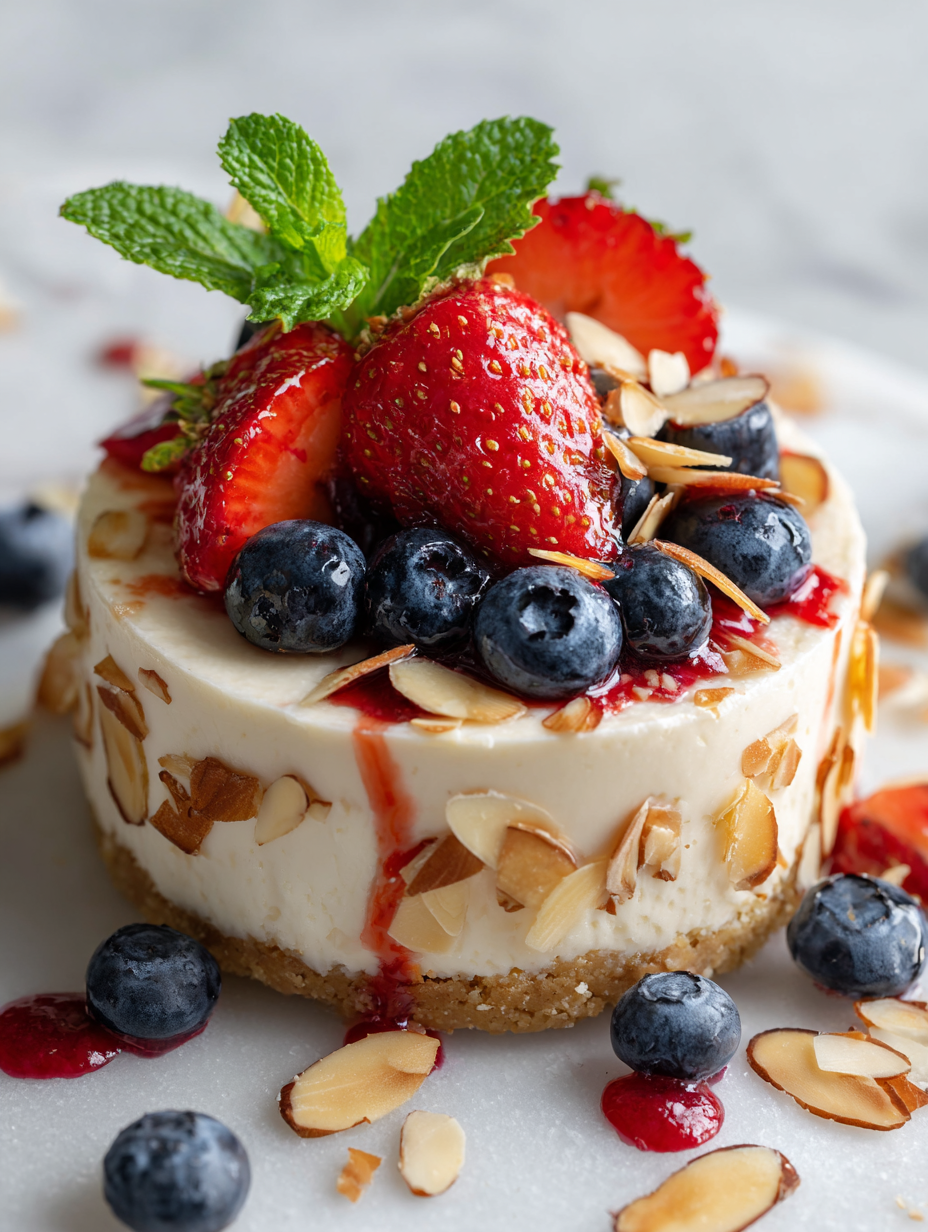
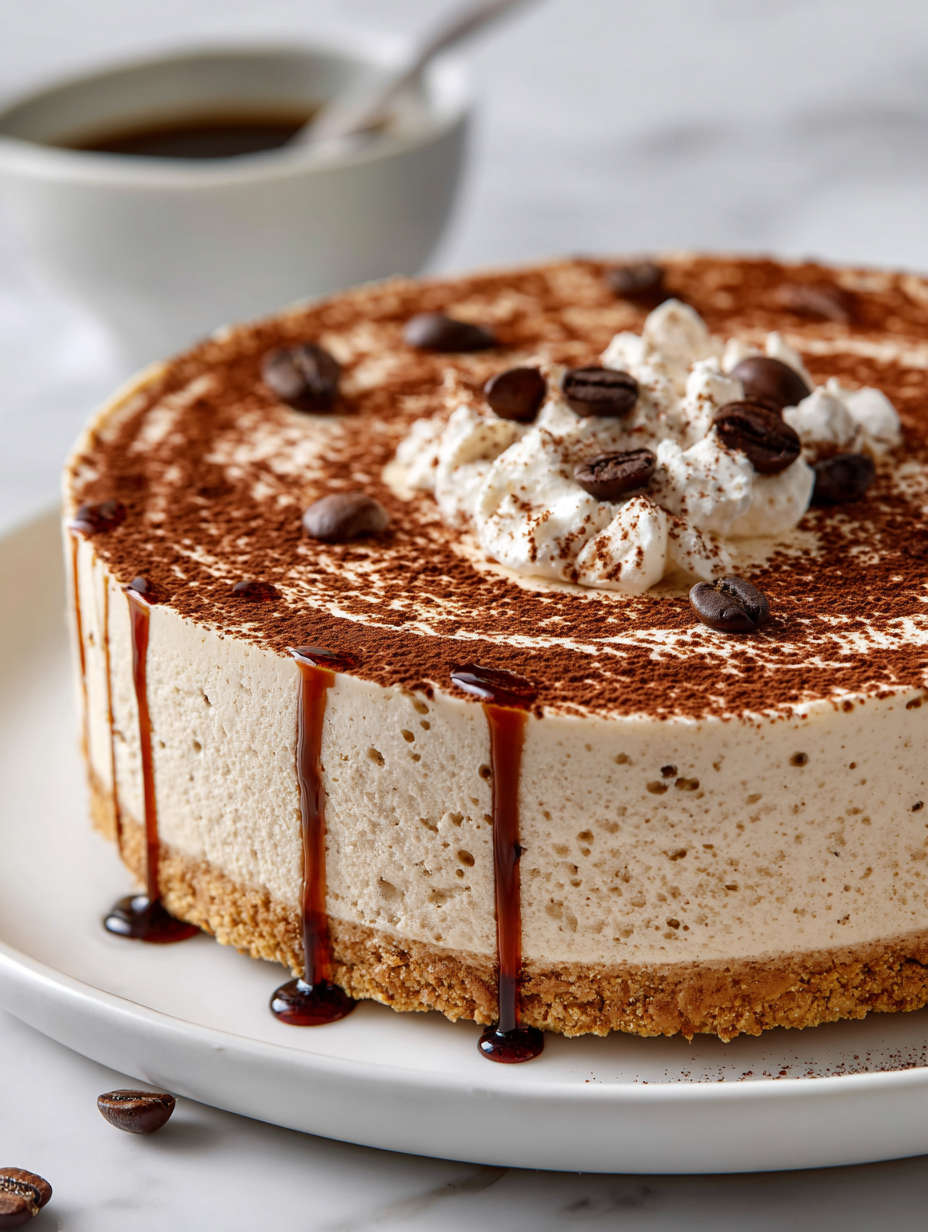
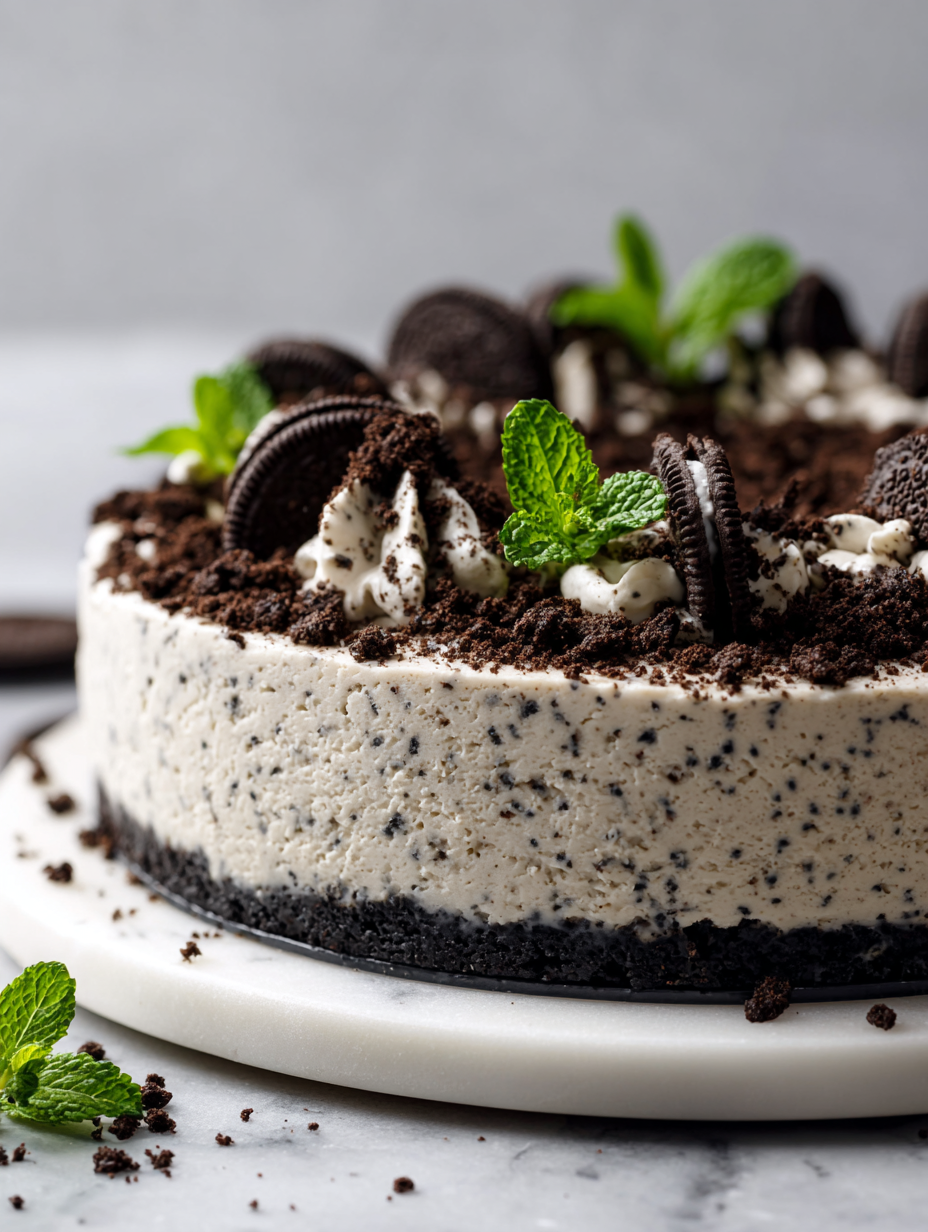
No Bake Mini Cheesecakes Recipe
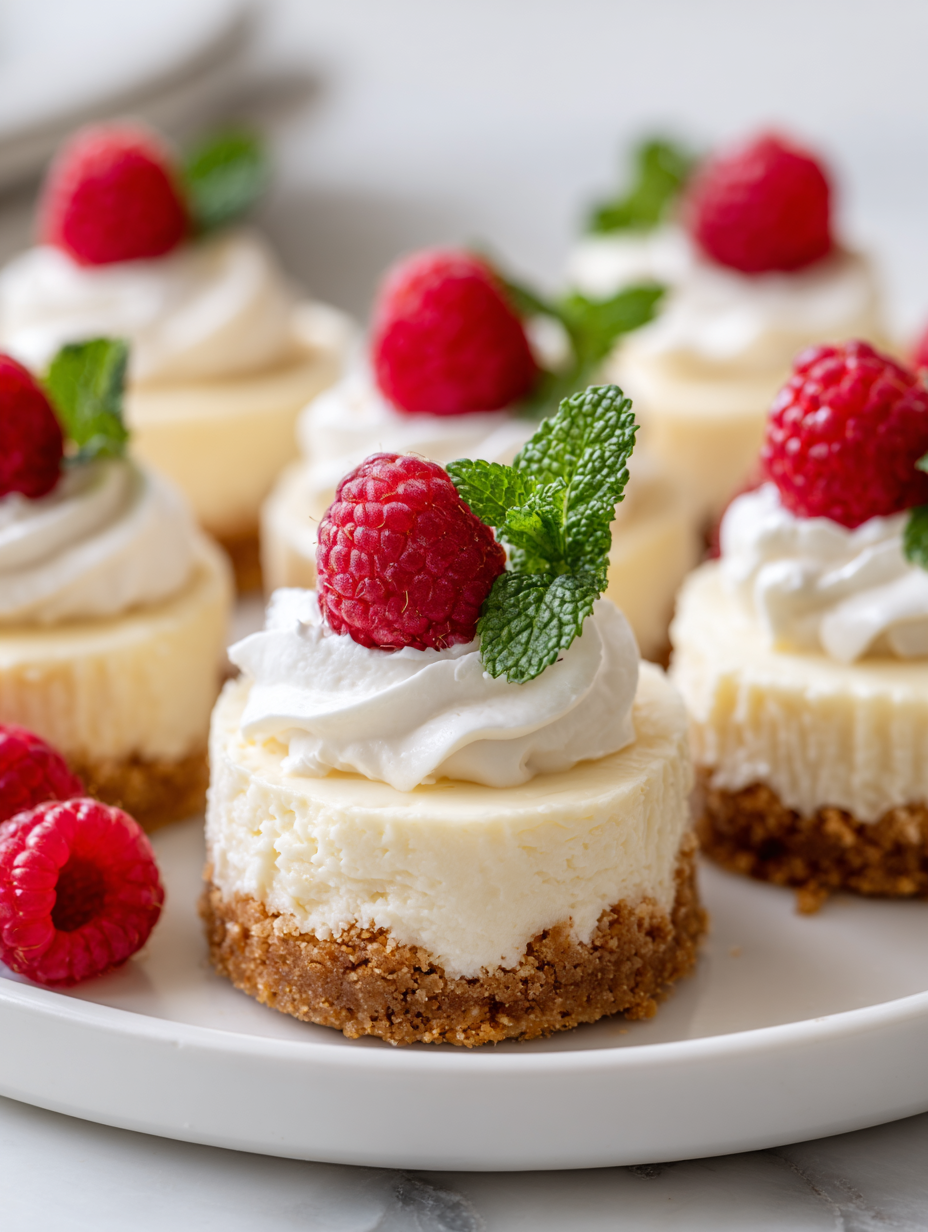
This recipe is all about embracing the imperfect, the spontaneous, and the cozy chaos of making dessert without the fuss of baking. It’s perfect for those moments when you want something sweet fast, but still crave that rich, creamy texture that makes cheesecakes special. No oven, no stress—just simple, honest ingredients coming together in a … Read more