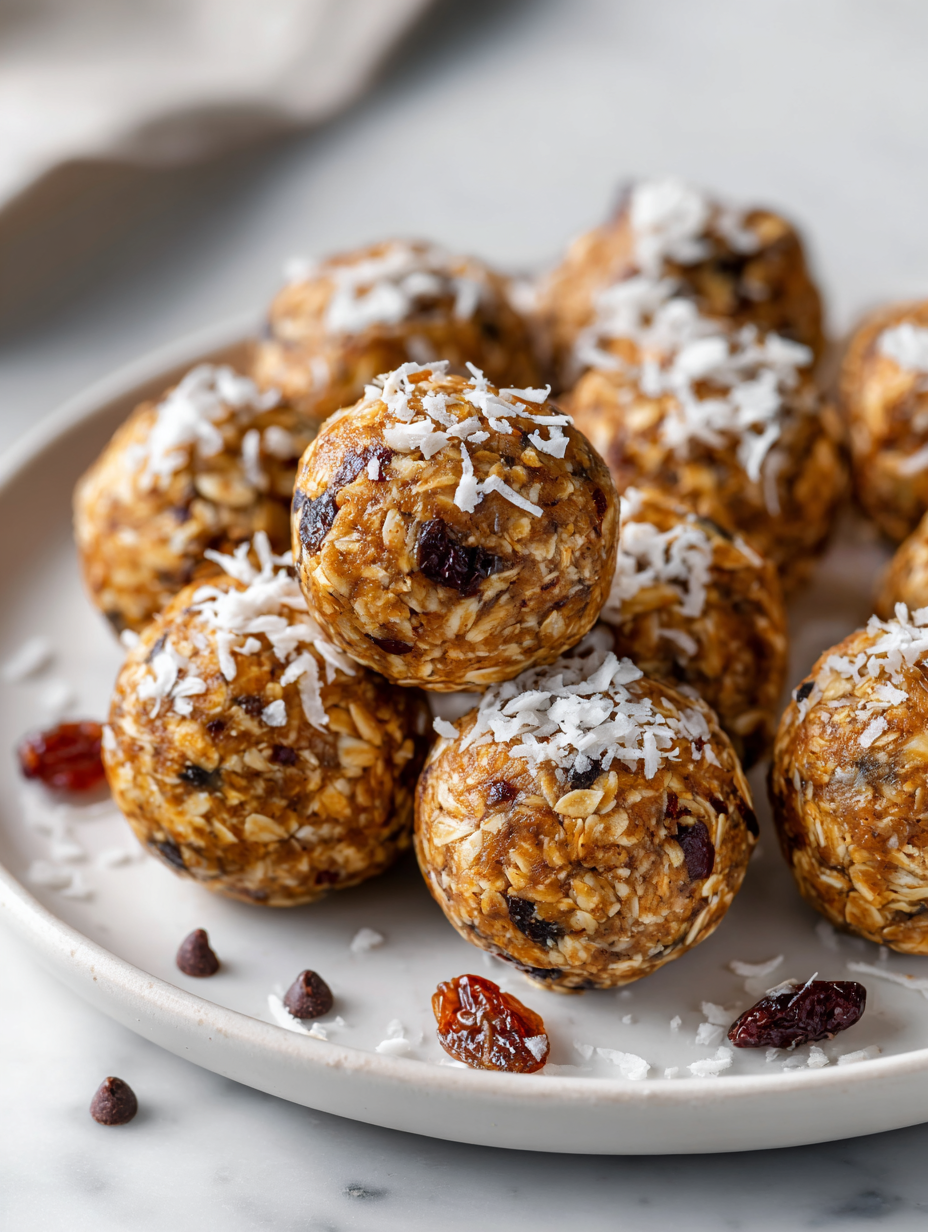
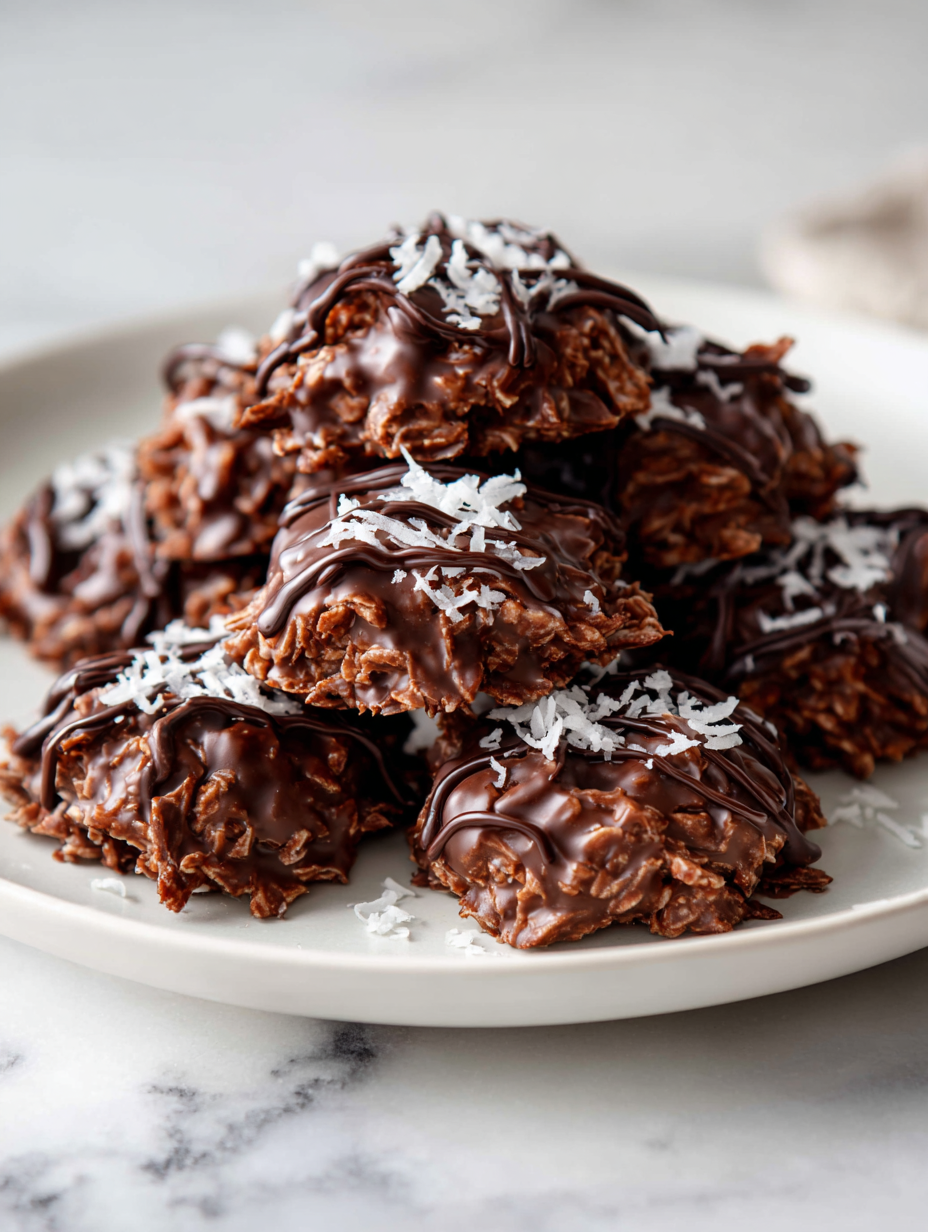
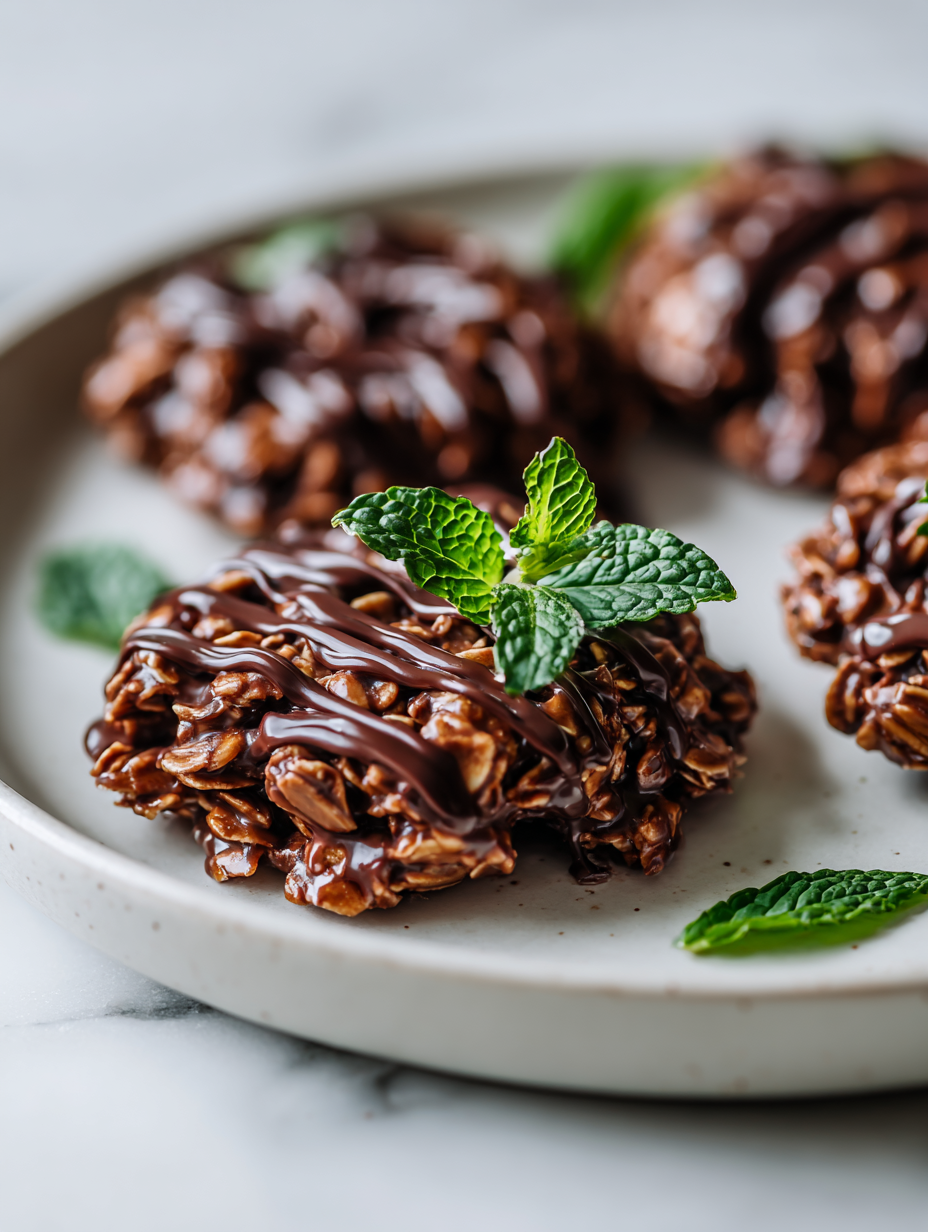
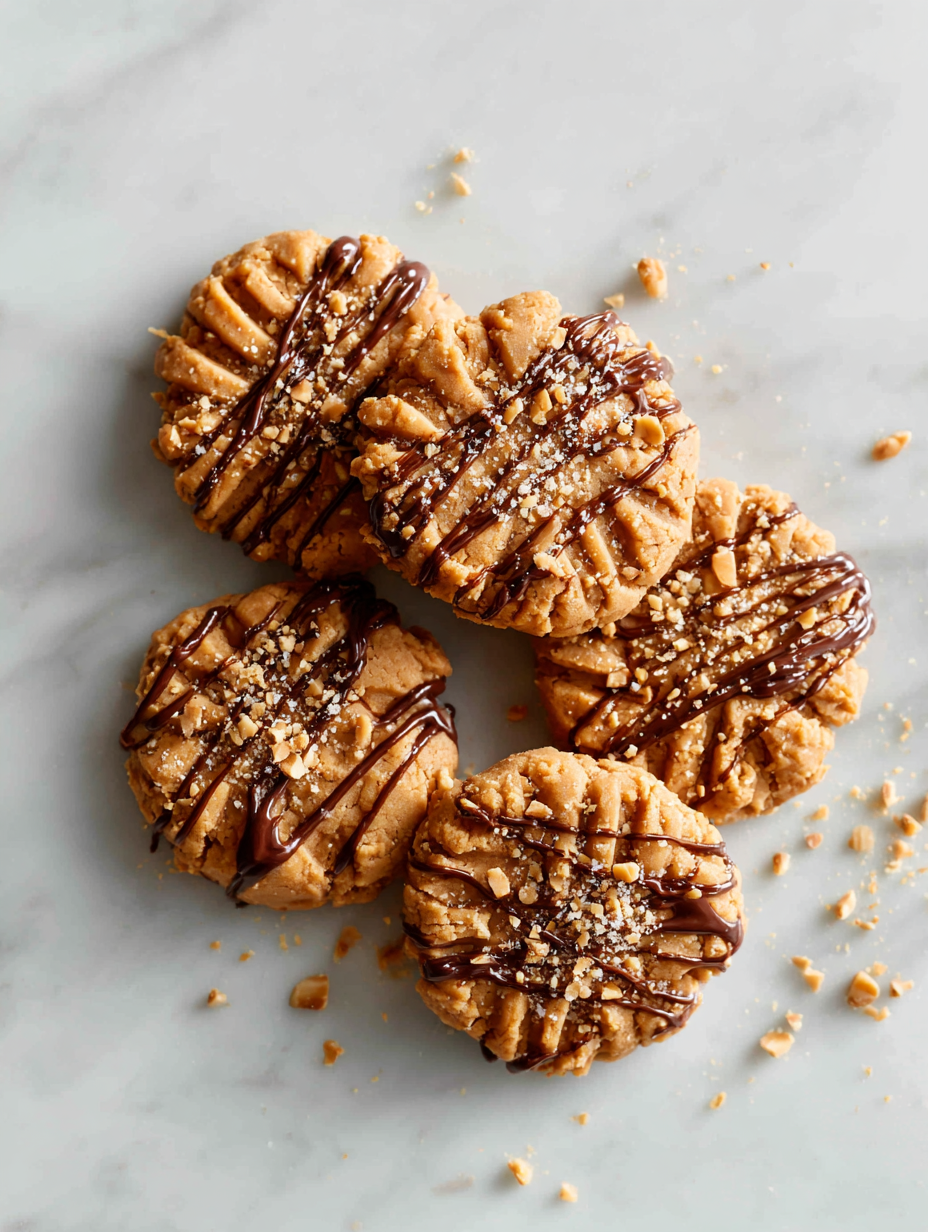
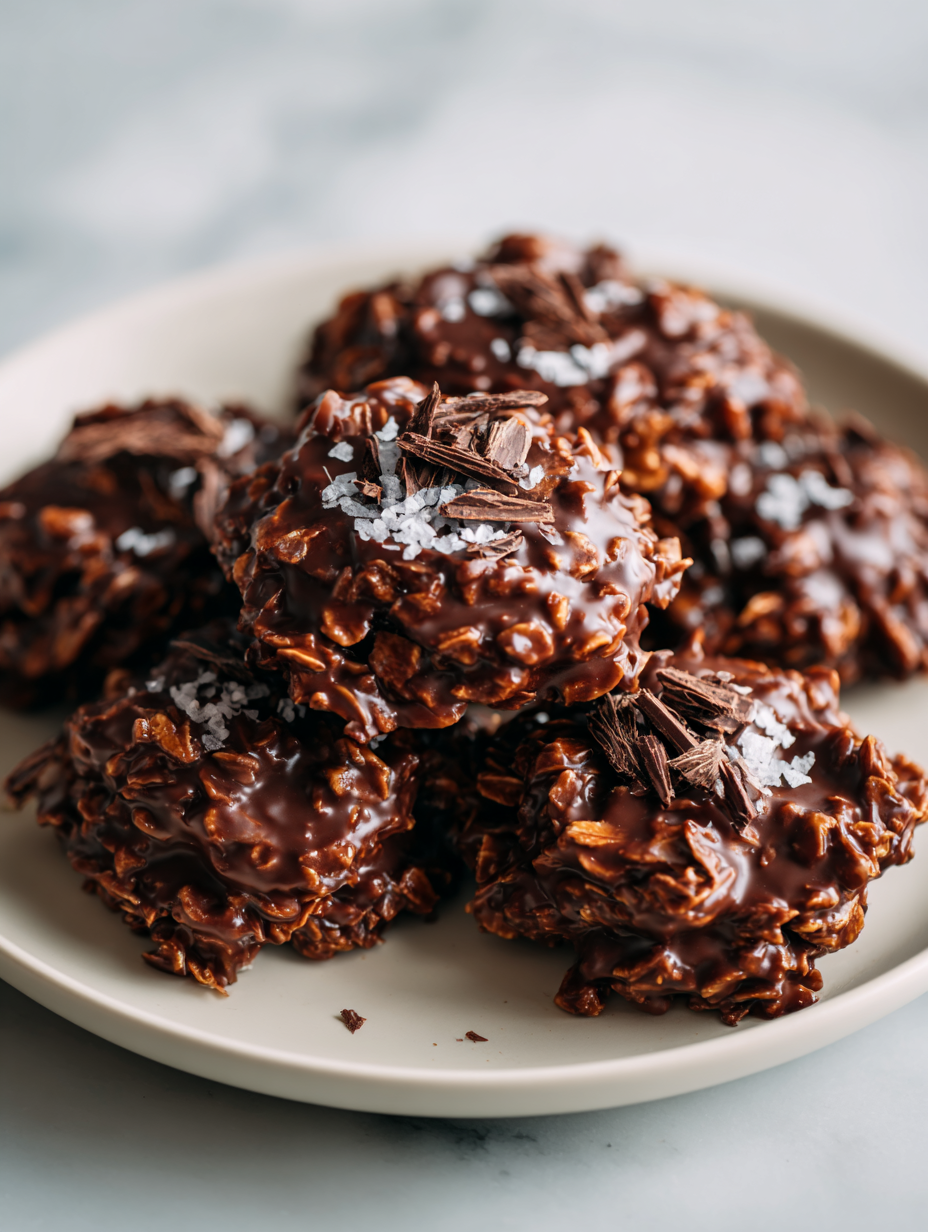
No Bake Chocolate Peanut Clusters Recipe
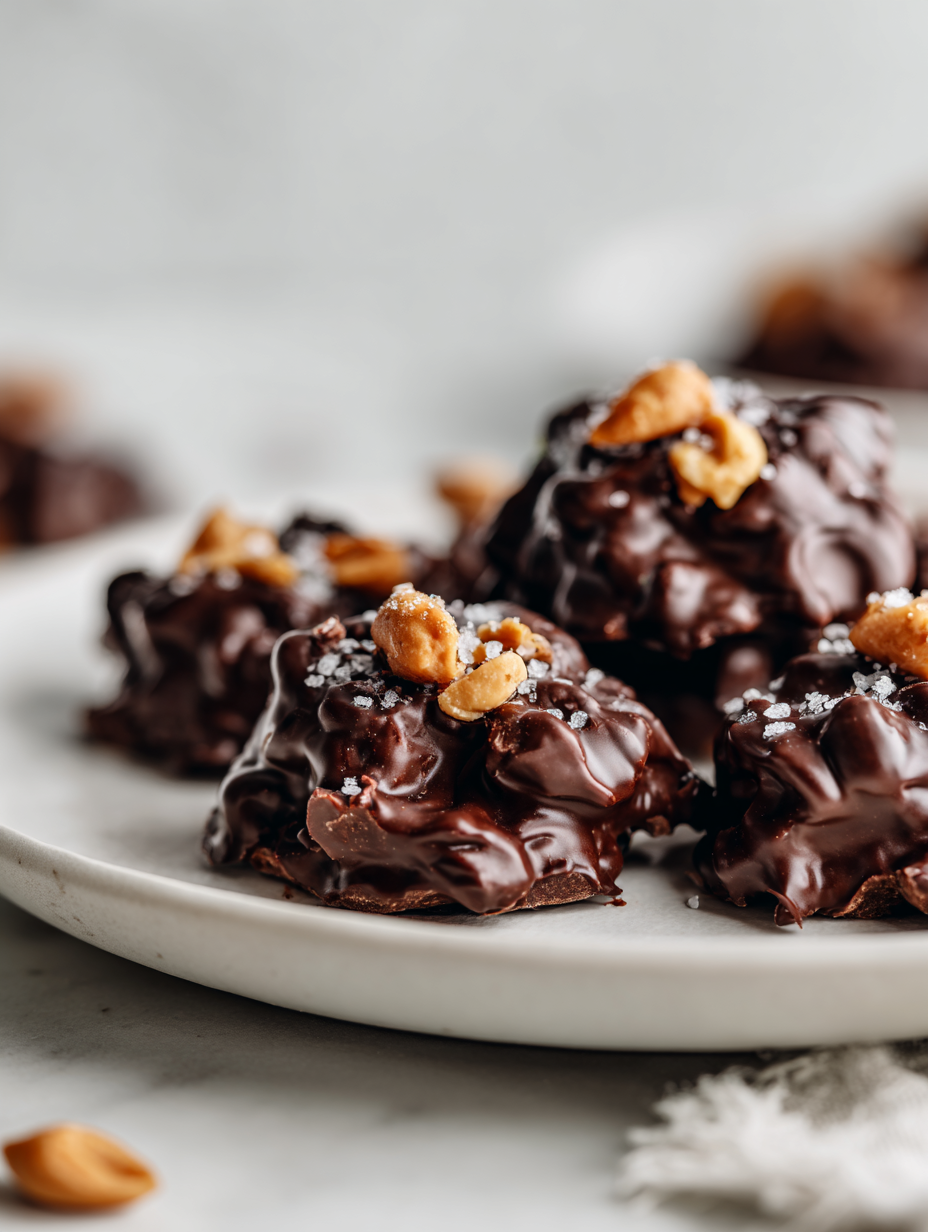
This recipe is my go-to when I need a quick, satisfying treat that doesn’t require turning on the oven. It’s a messy, hands-on process that feels almost nostalgic — like childhood, but with a grown-up flavor punch. I love how the combination of creamy peanut butter and rich chocolate makes everything feel a little more … Read more