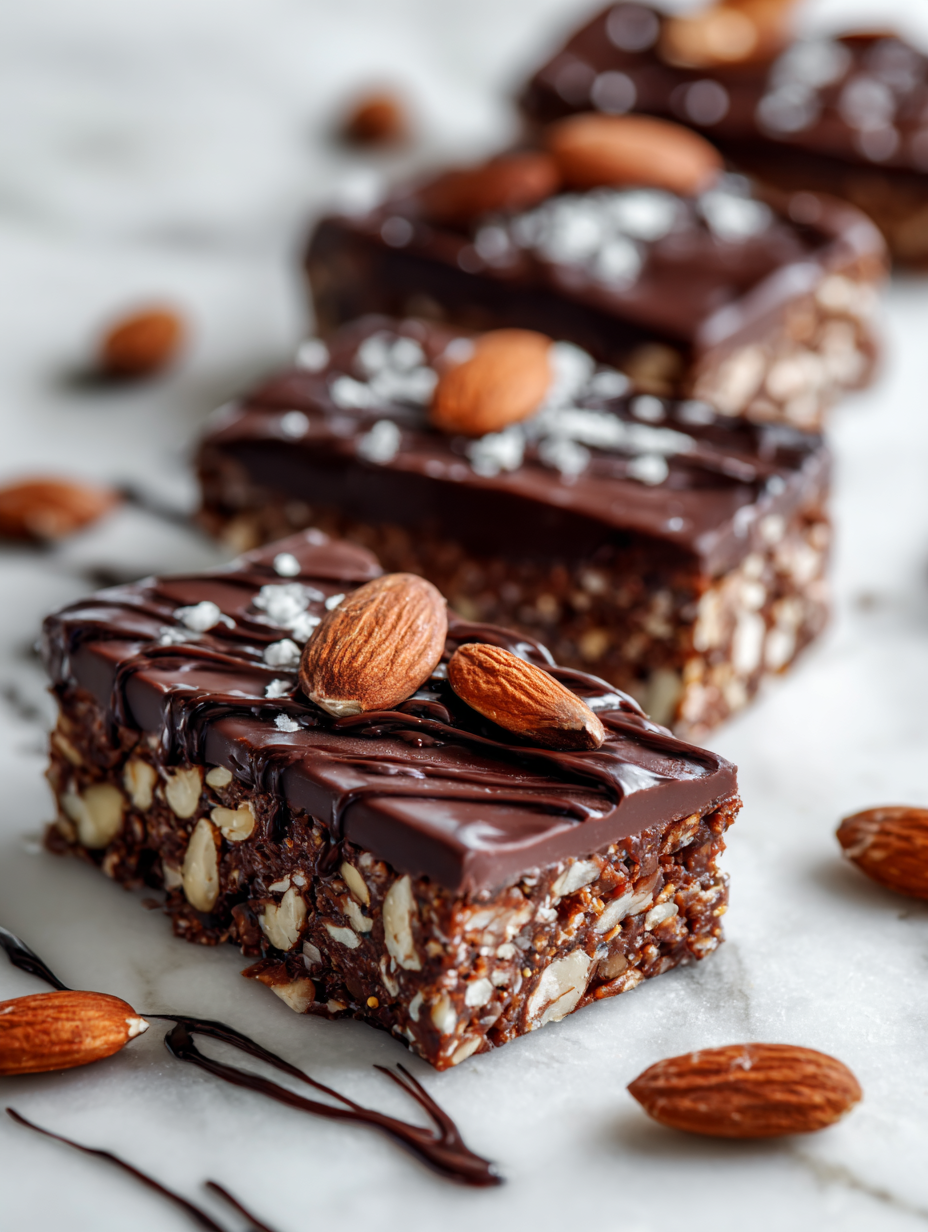
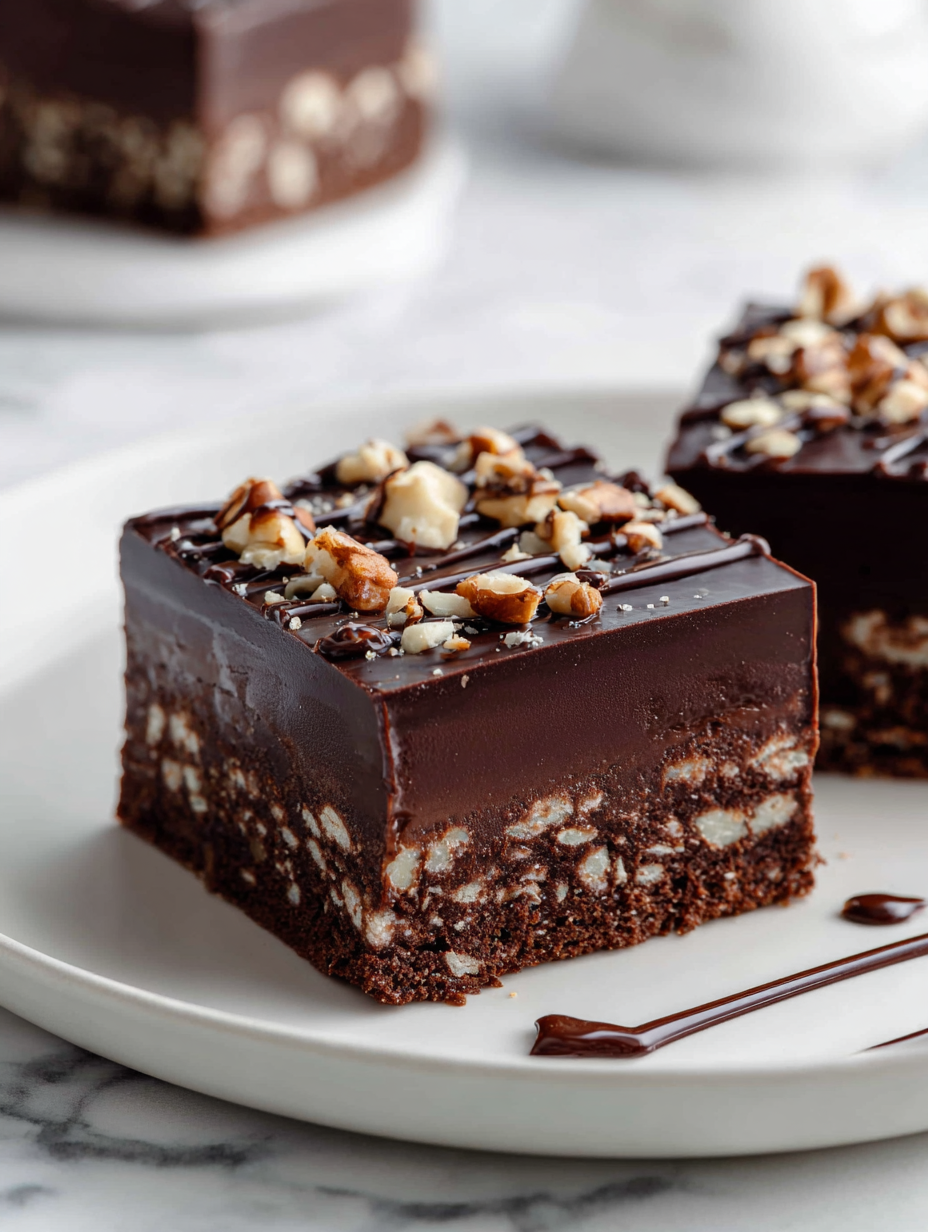
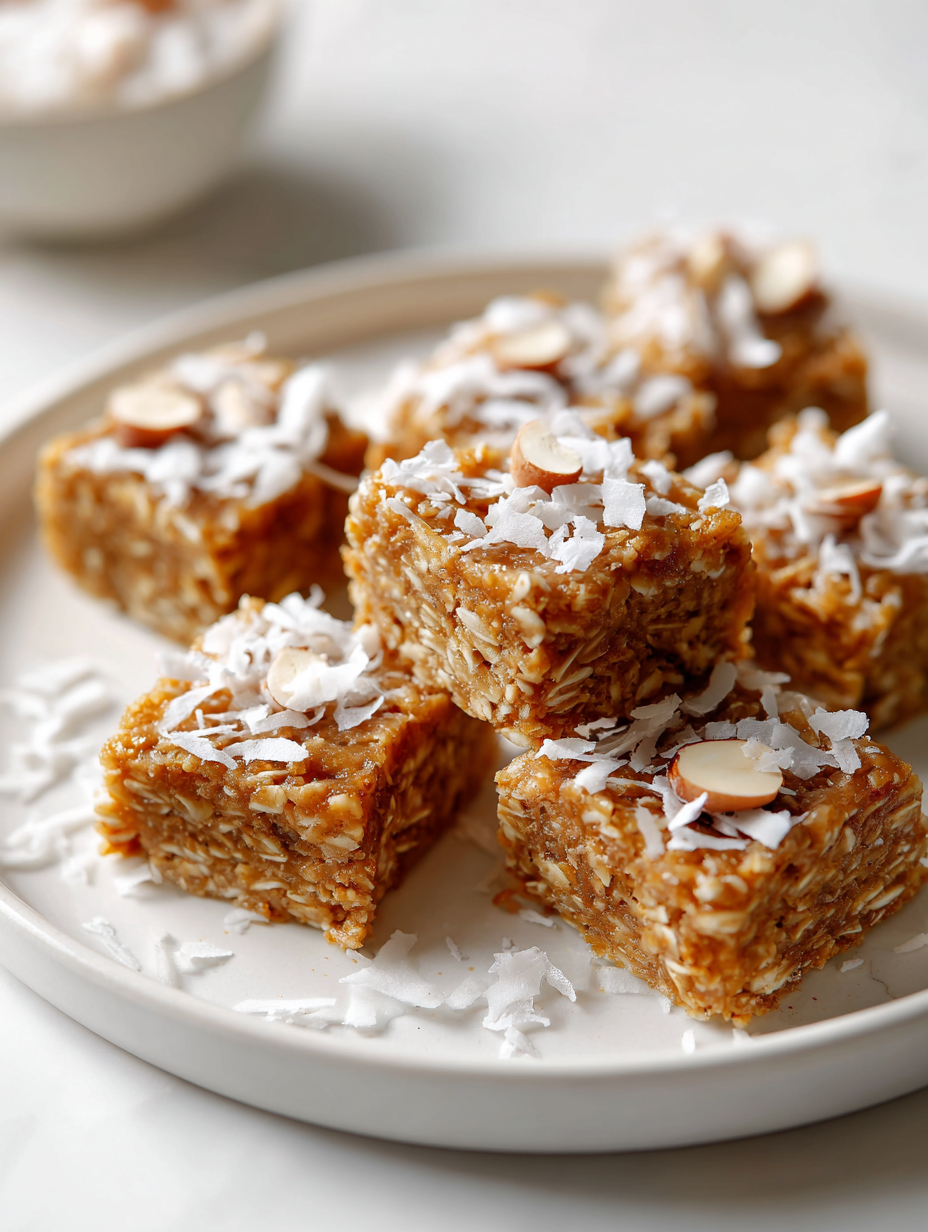
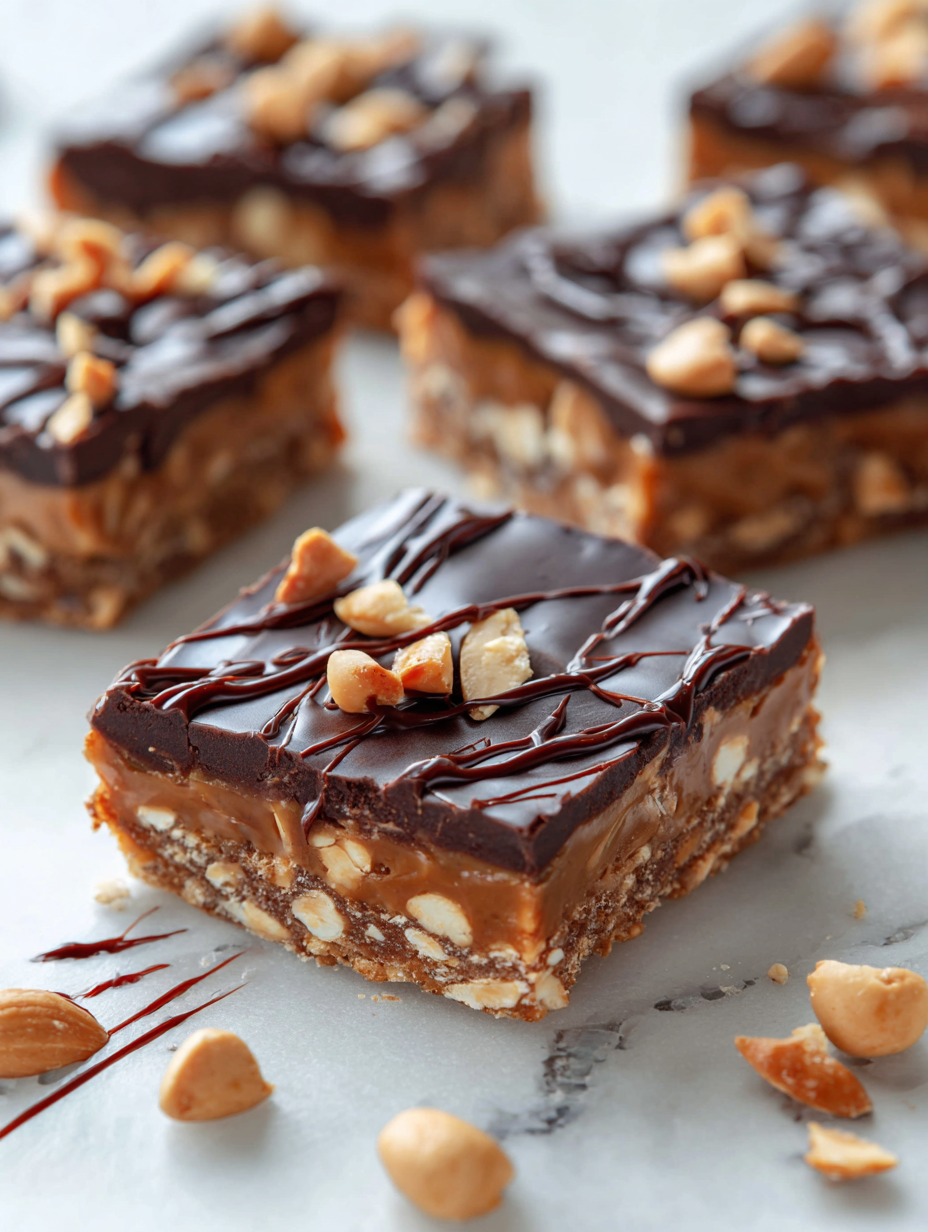
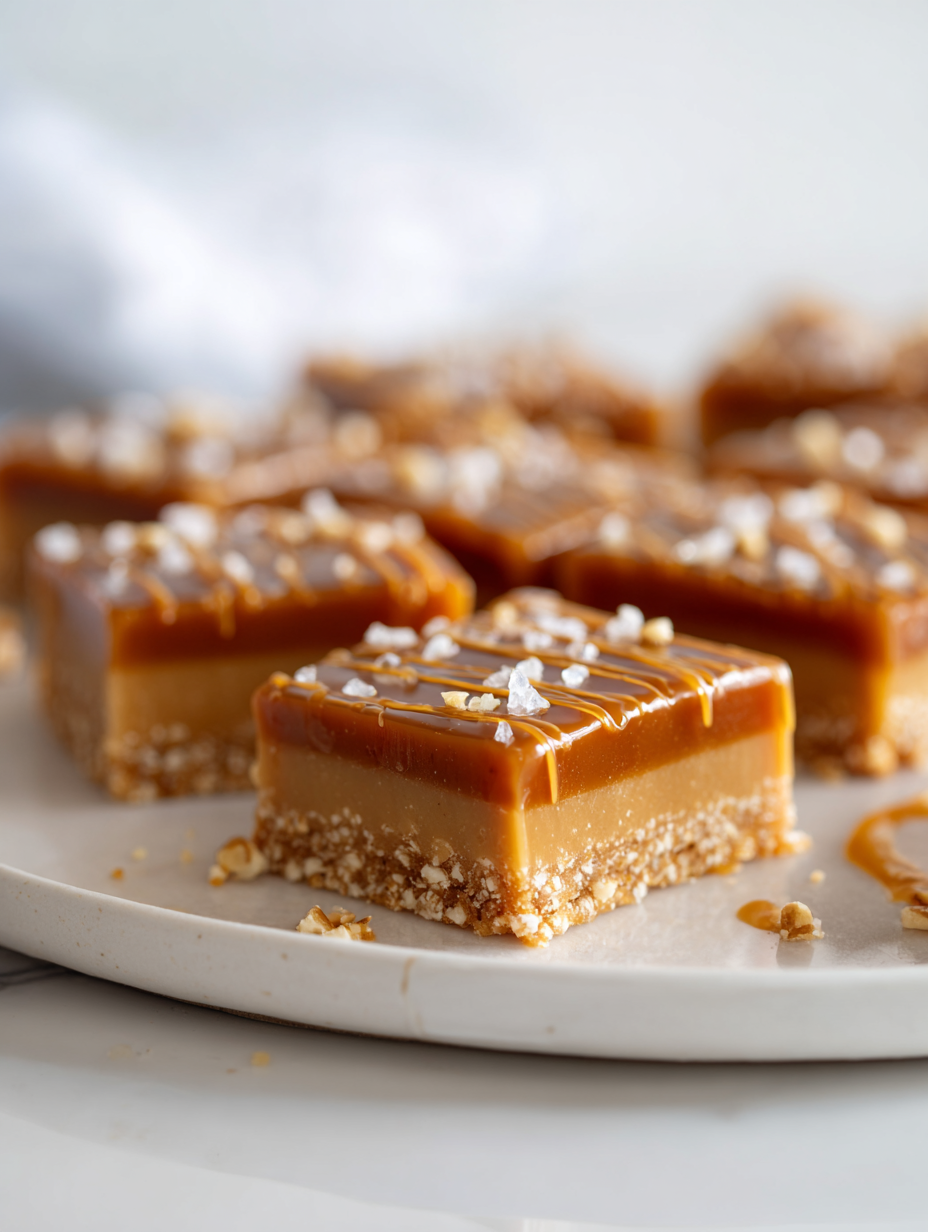
No Bake Chocolate Coconut Bars Recipe
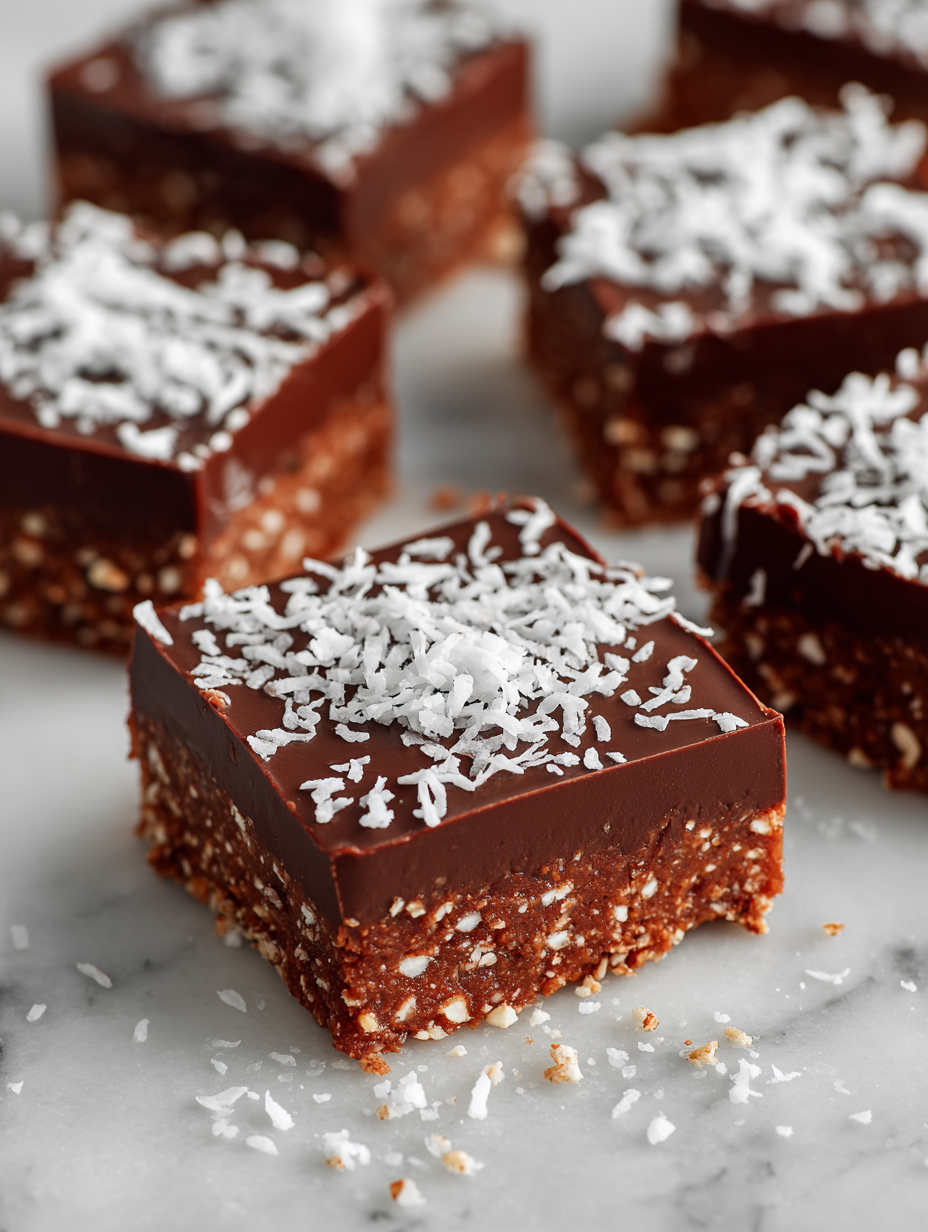
This no-bake chocolate coconut bar recipe is a throwback to lazy afternoons spent in the kitchen, where the only tools needed are a bowl and a spoon. I love how simple ingredients like coconut, chocolate, and a touch of salt come together without turning on the oven, making it an almost instant treat. It’s honest, … Read more