
These no bake coconut bites are like tiny bites of nostalgia for me. They remind me of lazy afternoons when I’d experiment in the kitchen, just mixing whatever I could find. There’s a real charm in how simple ingredients can turn into something sweet and satisfying without turning on an oven.
What I love most is how forgiving this recipe is—no fuss, no heat, just a quick stir and chill. It’s perfect for those moments when you need a sweet fix but don’t want to deal with complicated steps or dirty pans. Plus, they come together so fast, you can whip up a batch whenever those coconut cravings hit hard.
This recipe is inspired by my childhood memories of sneaking into the kitchen late at night, when the house was quiet and the smell of toasted coconut lingered in the air. I wanted something simple, no fuss, but still satisfying enough to curb those midnight sweet cravings. It’s a reminder that sometimes, the best treats are the ones you whip up with whatever you have on hand, no oven required.
Midnight Coconut Cravings
- I always keep a stash of shredded coconut just for these bites—it’s my secret weapon for instant comfort.
- Making these takes me right back to childhood afternoons, the smell of toasted coconut filling the kitchen with warmth.
- There’s a weird pride in crafting something so simple and delicious, with just a handful of ingredients and zero oven time.
- I love how these bites can be a quick fix—like a tiny burst of tropical sunshine when I need it most.
- Every time I make them, I feel a little bit of chaos in the kitchen turning into something sweet and neat.
Inspiration from pantry rummaging
- This recipe came together one afternoon when I was rummaging through my pantry, looking for something sweet but quick. I remembered how my mom used to toss shredded coconut into everything, from oatmeal to cookies, and it hit me—why not make a no-bake treat just with coconut and a few pantry staples?
- There’s a sort of magic in how simple ingredients can transform into a satisfying snack with minimal effort. I love the process of melting, mixing, and then chilling—almost meditative, like a small act of self-care. It’s also a sneaky way to get my coconut fix without turning on the oven or fussing with complicated recipes.
- heading:
Trivia and Historical Tidbits
- These bites have roots in tropical island cuisines, where shredded coconut has long been a staple snack.
- They gained popularity in the health food movement of the 1970s, emphasizing simple, no-bake treats.
- Many early recipes were made by hand, using just coconut, honey, and nuts, before modern shortcuts appeared.
- The no bake aspect makes them a favorite for outdoor gatherings and camping trips, where ovens aren’t accessible.
- Coconut’s natural sweetness and texture make it an ideal base for quick, satisfying bites that require no fuss.
Ingredient breakdown: key components
- Shredded coconut: I love the chewy, toasted aroma when I toast it lightly—try a quick toast for extra flavor, but be careful not to burn it, or it’ll turn bitter.
- Honey or syrup: I prefer a golden honey that brings a floral sweetness and helps everything stick together—skip this if you want a dairy-free version, but the texture will be slightly drier.
- Nut butter: A splash of almond or peanut butter adds creaminess and depth—use natural, chunky if you like a little bite, or smooth for a silkier bite.
- Coconut oil: I melt it just until glossy and warm, which makes mixing easier—if it feels too greasy, try reducing the amount or chilling the mixture a bit before shaping.
- Optional add-ins: Dried fruits, chocolate chips, or a pinch of sea salt—think about what balances your coconut’s natural sweetness, and don’t overdo it unless you want a super rich bite.
- Vanilla extract: I add it for a subtle warmth and depth—skip if you want to keep it more straightforward, but it really rounds out the flavor.
- Sprinkles or coatings: A quick roll in shredded coconut or cocoa powder adds texture and visual appeal—use a contrasting flavor for a fun twist, but keep it light so it doesn’t overpower.
Spotlight on key ingredients
Shredded coconut:
- I love the chewy, toasted aroma when I toast it lightly—try a quick toast for extra flavor, but be careful not to burn it, or it’ll turn bitter.
- Honey or syrup: I prefer a golden honey that brings a floral sweetness and helps everything stick together—skip this if you want a dairy-free version, but the texture will be slightly drier.
Nut butter and coconut oil:
- Nut butter: A splash of almond or peanut butter adds creaminess and depth—use natural, chunky if you like a little bite, or smooth for a silkier bite.
- Coconut oil: I melt it just until glossy and warm, which makes mixing easier—if it feels too greasy, try reducing the amount or chilling the mixture a bit before shaping.
Notes for ingredient swaps
- Dairy-Free: Use coconut cream instead of honey for binding—will add a richer, more coconut-forward flavor.
- Sweetener Swap: Maple syrup or agave nectar can replace honey—expect a slightly different sweetness profile and texture.
- Nut Butter: Swap almond butter for peanut or cashew—each brings its own richness and nutty aroma, adjust quantity based on flavor strength.
- Oil Choice: Avocado oil can substitute coconut oil—melts smoothly, but leaves a more neutral taste.
- Add-ins: Dried cranberries or chopped nuts instead of chocolate chips—adds texture and a pop of flavor, just keep balance in mind.
- Flavor Boost: A dash of cinnamon or cardamom can replace vanilla—adds warmth or spice, use sparingly to avoid overpowering.
- Coconut Type: Use sweetened shredded coconut for a more pronounced sweetness or unsweetened for a more neutral base—adjust sweetness accordingly.
Equipment & Tools
- Medium mixing bowl: For combining and mixing ingredients.
- Spoon or small scoop: To portion out and shape the bites.
- Parchment-lined baking sheet: To set the bites without sticking.
- Microwave or stovetop: To gently melt the coconut oil.
Step-by-step guide to coconut bites
- Equipment & Tools: Use a medium mixing bowl for combining ingredients, a spoon for mixing, and a baking sheet lined with parchment for setting the bites.
- Measure out 1 1/2 cups shredded coconut, 1/4 cup honey, 2 tbsp nut butter, and 1 tbsp coconut oil.
- In the bowl, combine shredded coconut and nut butter. Mix until evenly coated and crumbly, about 2 minutes.
- Warm the coconut oil until just melted, about 10 seconds in the microwave, then add to the mixture. Stir well to incorporate.
- Pour in honey gradually, mixing to create a sticky, cohesive dough. The mixture should hold together when pressed.
- Using a tablespoon or small scoop, portion out the mixture and roll into 1-inch balls between your hands.
- Place the balls on the prepared parchment-lined baking sheet, spacing them evenly.
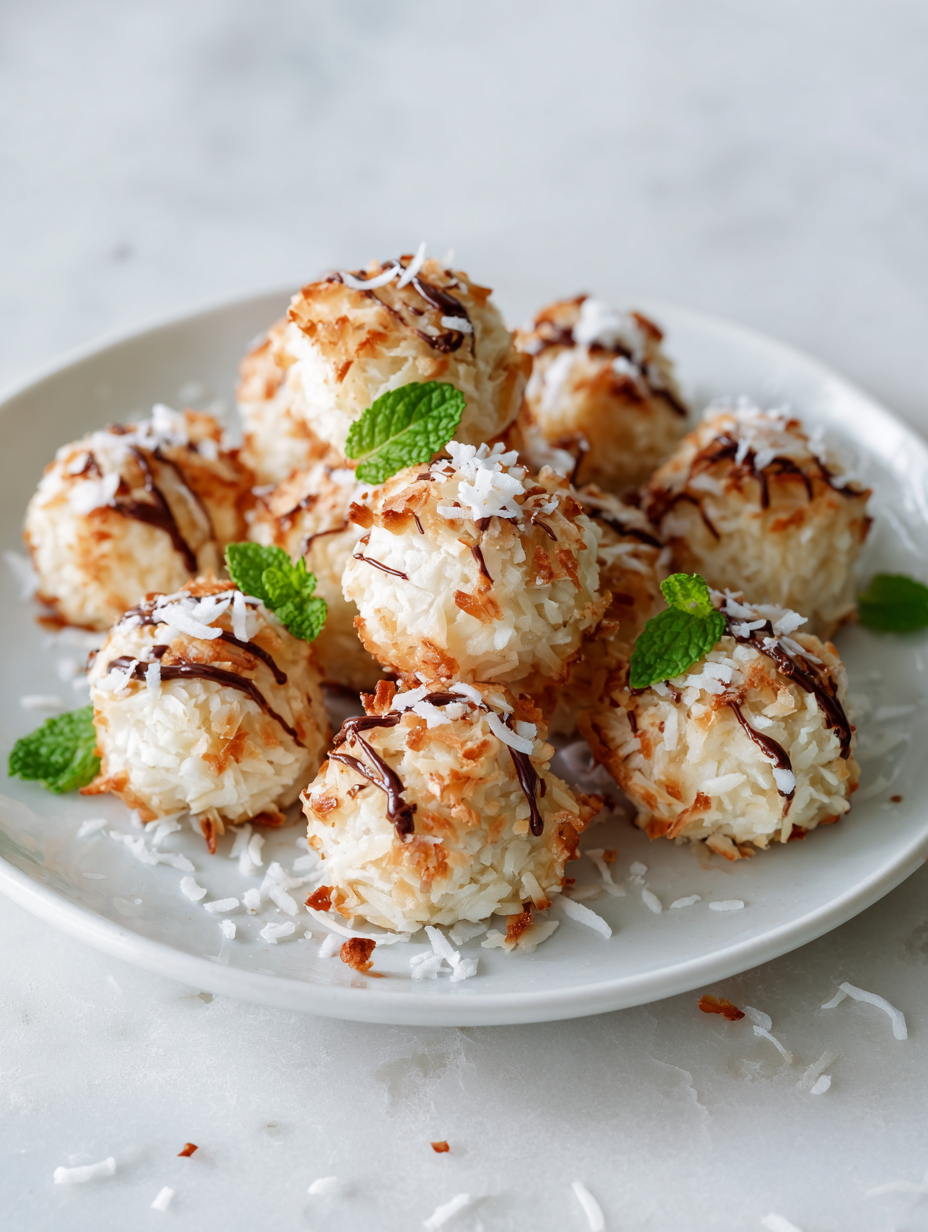
- Optional: Roll each ball in extra shredded coconut or cocoa powder for added texture and visual appeal.
- Chill the bites in the fridge for at least 30 minutes until firm. They should feel slightly firm to the touch and have a glossy appearance.
- Once set, serve immediately or store in an airtight container in the fridge for up to a week.
Chill the coconut bites in the fridge for at least 30 minutes until firm. Store in an airtight container in the fridge for up to a week. Serve straight from the fridge or at room temperature for a softer bite.
How to Know It’s Done
- Appearance: Bites should be uniformly coated and hold shape when pressed.
- Texture: When chilled, they should feel firm but not hard, with a slight chewiness.
- Smell: A warm, toasted coconut aroma should be present, with a hint of honey and nutty notes.
No-Bake Coconut Bites
Ingredients
Equipment
Method
- Measure out the shredded coconut and place it in a medium mixing bowl. If you like extra flavor, lightly toast it in a dry skillet until golden and aromatic, then let cool slightly.
- Add the nut butter to the shredded coconut and stir until the mixture is crumbly and well coated, about 2 minutes. The coconut should feel slightly sticky and fragrant.
- Gently warm the coconut oil until it’s glossy and just melted, about 10 seconds in the microwave or a quick heat on the stovetop, then pour it into the bowl.
- Pour the honey into the mixture gradually, stirring constantly to create a sticky, cohesive dough. When you press the mixture between your fingers, it should hold together without crumbling.
- Using a tablespoon or small scoop, portion out the mixture and roll it between your palms into 1-inch balls. They should feel firm but still slightly tender.
- Place each ball on the parchment-lined baking sheet, spacing them evenly. For extra flavor and texture, roll each in additional shredded coconut or cocoa powder if desired.
- Chill the coconut bites in the refrigerator for at least 30 minutes until they feel firm and glossy. This helps them hold their shape and develop a chewy texture.
- Once chilled and set, serve the bites straight from the fridge for a firmer texture, or let them sit at room temperature for a softer, chewier experience. Enjoy these tropical treats anytime you crave a quick, sweet snack.
Pro tips for perfect coconut bites
- Toast coconut lightly for an extra nutty aroma—keep an eye to prevent burning, which turns it bitter.
- Use room temperature honey or syrup for easier mixing—cold ingredients can make the mixture stiff and hard to combine.
- Melt coconut oil gently—10 seconds in the microwave or a quick double boiler, just enough until glossy.
- Chill the mixture briefly if it’s too sticky—around 10 minutes in the fridge helps it firm up for easier shaping.
- Roll bites in shredded coconut or cocoa powder immediately after shaping—this adds texture and keeps them from sticking.
- Slightly under-chill if you want softer bites—just enough time for the edges to set but still tender inside.
- Adjust sweetness by adding more or less honey—taste the mixture before shaping to get it just right.
Common mistakes and how to fix them
- FORGOT to toast coconut: lightly toast for more flavor, avoid burning which causes bitterness.
- DUMPED in too much honey: measure carefully; too much makes bites overly sticky and hard to shape.
- OVER-TORCHED coconut oil: melt gently, remove from heat once glossy to prevent smoking or burning.
- MISSED chilling time: ensure bites are fully firm before serving to hold shape and improve texture.
Quick fixes and pantry swaps
- When mixture feels too sticky, splash in a few more shredded coconut to dry it out.
- If bites don’t hold shape, chill the mixture 5 minutes longer before rolling.
- Splash a tiny bit of warm water if the chocolate coating shimmers unevenly.
- Patch over cracks by gently warming and pressing the bites back together.
- Shield bites from moisture in the fridge by wrapping them tightly in parchment or foil.
Prep, store, and reheat tips
- You can prepare the mixture a day in advance; keep it covered in the fridge to let flavors meld and make shaping easier.
- Store the coconut bites in an airtight container in the fridge for up to one week; the cool temp keeps them firm and fresh.
- For longer storage, freeze the bites up to 3 months; allow to thaw in the fridge for about 30 minutes before serving, noticing the coconut aroma intensify.
- Refrigerated bites are best enjoyed chilled or at room temperature; if stored cold, let them sit out for 5–10 minutes to soften slightly, releasing a fragrant coconut scent.
Top questions about coconut bites
1. Can I add dried fruit to these bites?
Yes, you can use dried fruit like cranberries or chopped apricots for a chewy, tangy twist. Just chop them finely so they distribute evenly.
2. Can I make these vegan or dairy-free?
Absolutely. If you prefer a dairy-free version, swap honey for maple syrup or agave nectar. It might be a tad less sticky but still delicious.
3. How long do these last and how should I store them?
Yes, refrigerate them in an airtight container for up to a week. For longer storage, freeze them for up to 3 months and thaw in the fridge before eating.
4. My mixture is too sticky, what do I do?
If your mixture feels too sticky to roll, chill it in the fridge for about 10 minutes. This firms it up and makes shaping easier.
5. How can I boost the flavor of these bites?
Add a pinch of sea salt or a little vanilla extract to enhance flavor. Adjust to your taste—sometimes a tiny splash makes all the difference.
6. Can I coat these bites with chocolate?
Yes, you can dip the bites in melted chocolate or roll them in cocoa powder for a richer flavor and a prettier finish.
7. Which type of shredded coconut should I use?
Use fresh, unsweetened shredded coconut for a mild flavor, or toasted coconut for a nutty, smoky aroma. Toast lightly for extra flavor.
8. They break apart when I try to shape them—what’s wrong?
If your bites are cracking or breaking, chill the mixture longer or slightly reduce the amount of honey to keep it cohesive.
9. How do I get even-sized bites?
Use a small cookie scoop or tablespoon for uniform size. Wet your hands slightly to prevent sticking when rolling.
10. How should I melt the coconut oil without burning it?
When melting coconut oil, do so gently—10 seconds in the microwave is usually enough. Too hot, and it can smell smoky or burn.
These coconut bites are a little pocket of sunshine, perfect for when you need something quick and satisfying. They remind me that sometimes, the simplest ingredients can turn into the most comforting treats, especially when you’re short on time but craving something sweet.
Whenever I whip up a batch, I feel that small rush of pride—no oven, no fuss, just good ingredients coming together. They’re a reminder that good food doesn’t need to be complicated, especially in the middle of a busy day or a lazy weekend.
Welcome to Proud of This Mess – a place where food, creativity, and a little chaos come together on a plate!
I’m Emily Carter, the founder and heart behind this little corner of the internet. Born and raised in the United States, I’ve always had a passion for cooking, experimenting, and sharing the messy, delicious journey of creating food that brings people together. My philosophy is simple: good food doesn’t have to be perfect, and a little mess makes it memorable.
At Proud of This Mess, we believe that cooking is more than just following recipes—it’s about exploring flavors, discovering new techniques, and making every meal an experience worth savoring. From comforting weeknight dinners to indulgent desserts, our goal is to inspire home cooks of all levels to embrace the joy of food without fear of imperfection.