
This no-bake chocolate oat bar recipe is my go-to when I want something sweet but don’t want to fuss over a hot stove. It’s a little messy, a little nostalgic, and honestly, just about the easiest thing to throw together with pantry staples. The smell of melted chocolate mingling with toasted oats makes the whole kitchen feel cozy and inviting.
What I love most is how flexible it is—no fancy ingredients needed, just good, honest stuff. It’s the kind of treat that feels like a small victory after a hectic day, something you can whip up in minutes and still feel good about. Plus, it’s perfect for sharing (or not sharing, I won’t judge).
This recipe is a nostalgic nod to childhood, but with a modern twist that makes it feel like a treat you can feel good about sharing. It’s about creating something simple, honest, and deeply satisfying without turning on the stove, perfect for those busy days or when the weather keeps you indoors.
The story behind this recipe
This recipe came together on a rainy afternoon when I was craving something sweet but didn’t want to turn on the stove. I remembered those childhood afternoons spent snacking on homemade bars, the kind that stick to your fingers and make the kitchen smell like cocoa and toasted oats. I started experimenting with ingredients I had on hand, and it turned into this no-bake version that’s become a staple for busy mornings and unexpected guests. It’s a messy, honest process—just like life, really—and I love how forgiving and flexible it is.
Ingredient breakdown: key components
- Rolled oats: I love the chewiness they bring, like a gentle crunch that’s not too much. You can swap in quick oats if you’re in a rush, but the texture shifts a bit.
- Dark chocolate: The rich, slightly bitter flavor really balances the sweetness. Use a good quality bar because you’ll notice the depth. For a sweeter touch, toss in a handful of chocolate chips.
- Butter: It’s the glue that makes everything stick together smoothly. If you want dairy-free, coconut oil works but gives a slightly different richness and a faint coconut aroma.
- Honey or maple syrup: I prefer honey for its floral notes, but maple syrup adds a caramel-like sweetness. Adjust the amount based on how sweet you like your bars—more for richer sweetness, less for more oat flavor.
- Vanilla extract: Just a splash enhances everything, making the chocolate and oats pop. Skip it if you’re out, but it’s a small step that makes a noticeable difference.
- Optional add-ins: Nuts, dried fruits, or seeds can turn these bars into a personalized snack. I often toss in chopped almonds for crunch or dried cranberries for a tart punch.
- Salt: Just a pinch heightens all the flavors and keeps the sweetness in check. Don’t skip it—your taste buds will thank you.
Spotlight on key ingredients
Oats and chocolate:
- Rolled oats: I love their chewiness, offering a gentle crunch that holds up well. Quick oats can be used in a pinch but soften faster and lose some texture.
- Dark chocolate: Its deep, slightly bitter richness balances sweetness. A good-quality bar makes a noticeable difference in flavor; it melts smoothly and coats the oats with a glossy finish.
Notes for ingredient swaps
- Dairy-Free: Swap butter for coconut oil—adds a slight coconut aroma but keeps the bars rich and smooth.
- Sweeteners: Use agave syrup or brown rice syrup instead of honey or maple; the texture stays sticky, but flavor shifts.
- Chocolate: Try milk chocolate for a creamier, sweeter taste—less intense cocoa flavor, more mellow sweetness.
- Oats: Replace rolled oats with quick oats for quicker prep; texture becomes slightly softer and less chewy.
- Add-ins: Dried fruits or seeds—chopped dried cranberries or sunflower seeds add crunch and burst of flavor.
- Salt: Use sea salt flakes for a more pronounced saltiness and a visual pop on the finished bars.
- Binder: Instead of honey, mashed ripe bananas can work—adds moisture and a hint of fruity sweetness, but changes flavor.
Equipment & Tools
- Baking pan: Holds the mixture and shapes the bars.
- Microwave-safe bowl: For melting chocolate and butter evenly.
- Spatula: Stirs ingredients and presses mixture into the pan.
- Parchment paper: Prevents sticking and makes removal easy.
- Sharp knife: Cuts the set bars into neat pieces.
Step-by-step guide to no-bake bars
- Gather all equipment: 20 cm (8 inch) square baking pan, microwave-safe bowl, spatula, parchment paper, and a knife. Line the pan with parchment for easy removal.
- Melt chocolate and butter: In a microwave-safe bowl, microwave 200g dark chocolate and 50g butter in 30-second bursts, stirring each time until smooth. This takes about 1-2 minutes total. Smell the rich cocoa and buttery aroma.
- Combine dry ingredients: In a large mixing bowl, add 2 cups rolled oats, 1/4 teaspoon salt, and any optional add-ins like nuts or dried fruits. Mix well to distribute evenly.
- Mix wet ingredients: To the melted chocolate mixture, stir in 1/4 cup honey or maple syrup, 1 teaspoon vanilla extract, and a pinch of salt. Mix until glossy and well combined. The mixture should be oozy but cohesive.
- Combine everything: Pour the wet mixture over the oats and fold gently until fully coated. The oats should glisten with chocolate, and smell fragrant with cocoa and vanilla.
- Transfer to pan: Spoon the mixture into the prepared pan. Use the back of a spatula or your fingers to press it evenly into the corners and smooth the top. The surface should be firm and compact.
- Chill and set: Place the pan in the fridge for at least 2 hours or until firm. For faster setting, freeze for 1 hour. The bars should feel firm and crack slightly when pressed.
- Cut into bars: Use a sharp knife to slice into 8-10 pieces. Wipe the knife clean between cuts for neat edges. The bars should hold together well, with a shiny chocolate coating.
- Serve and enjoy: Remove from the pan, peel away the parchment, and plate. Store leftovers in an airtight container in the fridge for up to 1 week or freeze for longer storage.
Chill the bars in the fridge for at least 2 hours until firm. Slice into squares with a sharp knife. Serve directly or store in an airtight container in the fridge for up to a week.
How to Know It’s Done
- Chocolate mixture is smooth, glossy, and fragrant after melting.
- The pressed mixture feels firm and holds shape after chilling.
- Bars crack slightly when cut, indicating proper setting.
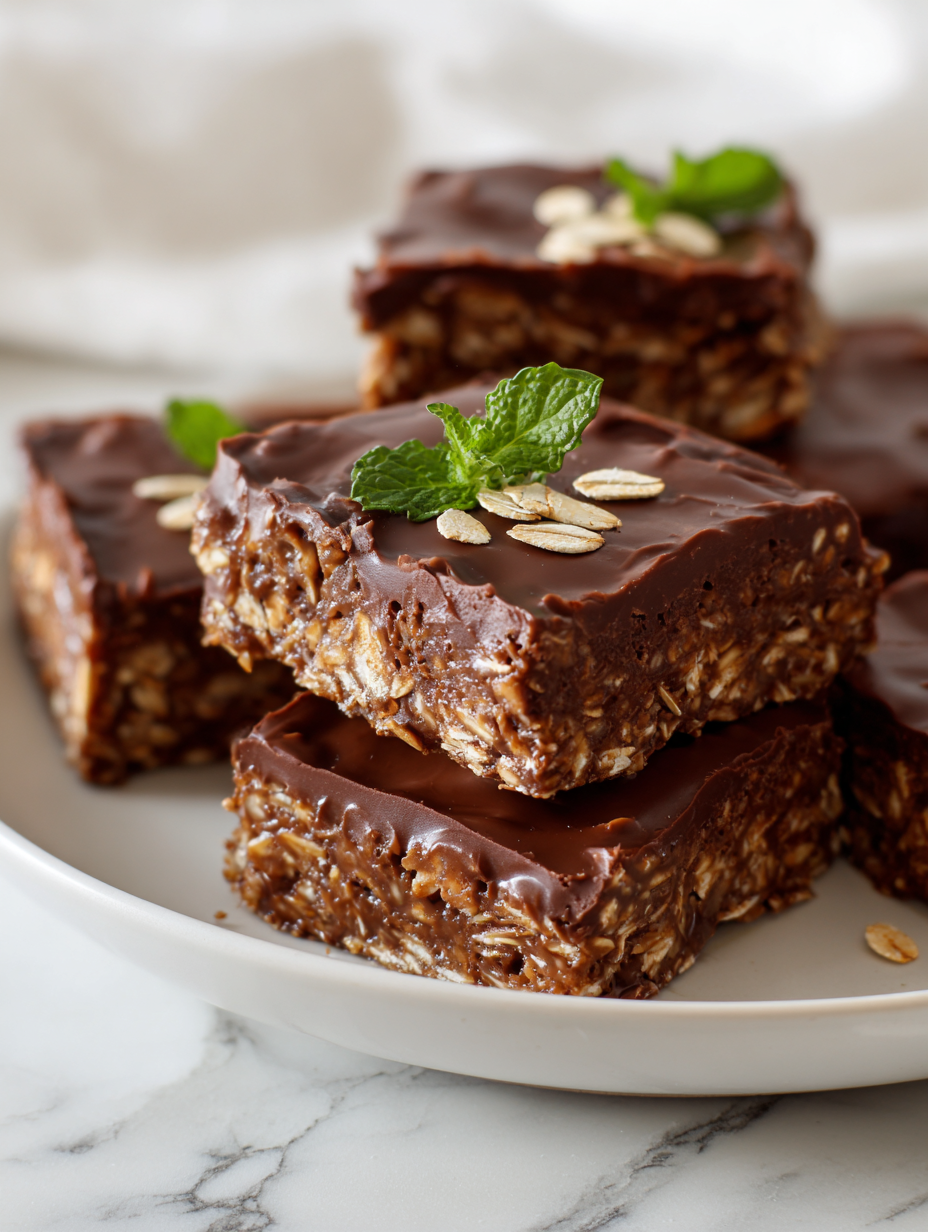
No-Bake Chocolate Oat Bars
Ingredients
Equipment
Method
- Line your baking pan with parchment paper for easy removal.
- In a microwave-safe bowl, melt the dark chocolate and butter together in 30-second bursts, stirring in between until smooth and glossy. The mixture should smell rich and cocoa-y, with a silky texture.
- While the chocolate melts, toast the oats in the oven at 180°C (350°F) for about 10 minutes until fragrant and lightly golden, then let them cool slightly.
- In a large mixing bowl, combine the toasted oats with a pinch of salt and any optional add-ins like chopped nuts or dried fruits.
- Stir the honey or maple syrup and vanilla extract into the melted chocolate mixture until well combined and smooth.
- Pour the glossy chocolate mixture over the oats and fold gently with a spatula until all the oats are evenly coated and glisten with chocolate. The mixture should feel sticky and cohesive.
- Transfer the mixture into the prepared pan and press down firmly with the back of a spatula or your fingers to create an even, compact layer. You want it to feel dense and well-packed.
- Place the pan in the fridge and chill for at least 2 hours until the bars are firm and set. For quicker results, freeze for about 1 hour.
- Once set, use a sharp knife to cut the bars into 8-10 pieces. Wipe the knife clean with a warm cloth between cuts for neat edges.
- Serve the bars directly from the fridge for a firm, chocolatey treat, or let them sit at room temperature for 10 minutes to soften slightly and enhance aroma.
Notes
Pro tips for perfect bars
- Use room temperature butter for a smoother melt and easier mixing.
- Toast oats lightly in the oven at 180°C (350°F) for 10 minutes to deepen flavor.
- Melt chocolate in short bursts to prevent burning and ensure silky smoothness.
- Press mixture firmly into the pan to prevent crumbling when sliced.
- Chill the bars in the fridge until firm—about 2 hours—to achieve clean cuts and good texture.
- Use a warm knife to slice through the set bars for neat, clean edges.
- If mixture is too sticky, dust your hands with a bit of oats or cocoa for easier handling.
Common mistakes and how to fix them
- FORGOT to level the ingredients? Use a spoon to gently even out the oats and chocolate.
- DUMPED the mixture into the pan without pressing? Use the back of a spatula for an even layer.
- OVER-TORCHED the chocolate? Lower the microwave power or reduce heating time to prevent burning.
- MISTAKENLY used hot ingredients? Let melted chocolate cool slightly before mixing to avoid seizing.
Quick fixes and pantry swaps
- When mixture is too sticky, splash a little water on your hands before pressing it in.
- If chocolate isn’t melting smoothly, microwave in short bursts or add a tiny pinch of salt.
- Dumped the oats unevenly? Use the back of a spoon to press and even out the base.
- Over-torched chocolate? Patch with a small piece of fresh chocolate and stir, then re-melt gently.
- Splash a few drops of hot water into your melting chocolate to shimmer and smooth out lumps.
Prep, store, and reheat tips
- Prepare the mixture ahead: melt chocolate and butter, then combine with oats and sweetener. Keeps well in the fridge for up to 24 hours, making assembly quick later.
- Store the uncut block: wrap tightly in plastic wrap or place in an airtight container. It remains fresh and retains flavor for about 3 days in the fridge.
- Shelf life: these bars stay good for 5-7 days refrigerated, with oats maintaining a chewy texture and chocolate staying glossy and firm.
- Reheating: best enjoyed straight from the fridge for that crisp, firm bite. If softer texture is desired, let it sit at room temperature for 10 minutes—smells of rich cocoa will bloom then.
Top questions about no-bake bars
1. What kind of chocolate should I use?
Use good quality dark chocolate for a rich, smooth melt that coats the oats beautifully.
2. Can I make these dairy-free?
Yes, swapping butter with coconut oil keeps it dairy-free, but expect a slight coconut aroma and softer texture.
3. My mixture is too sticky to press down, what do I do?
If your mixture feels too sticky, dust your hands with oats or cocoa powder to make pressing easier.
4. How long do I need to chill the bars?
Chill the bars for at least 2 hours until they are firm and hold their shape when cut.
5. Can I substitute quick oats for rolled oats?
Use quick oats if you’re in a rush, but expect a softer, less chewy texture compared to rolled oats.
6. How should I store these bars?
Store leftovers in an airtight container in the fridge for up to a week, or freeze for longer storage.
7. How do I cut the bars without cracking them?
To get clean cuts, use a warm knife and wipe it clean between slices for neat edges.
8. My melted chocolate looks grainy, how can I fix it?
If your chocolate seizes or becomes grainy, add a small splash of hot water and stir gently to smooth it out.
9. Can I add other ingredients to the bars?
You can add chopped nuts, dried fruits, or seeds for extra crunch and flavor variety.
10. Should I serve them cold or at room temperature?
Yes, these bars are best enjoyed straight from the fridge but can be left at room temperature for 10 minutes to soften slightly.
These no-bake chocolate oat bars are the kind of treat that sneaks up on you—simple, honest, and deeply satisfying. They remind me of lazy afternoons and spontaneous kitchen experiments that turn into staples. Making them feels like a small act of kindness, especially when you need something quick and genuinely comforting.
Whenever I have a batch in the fridge, I find myself reaching for one without thinking, savoring that rich chocolate and toasted oats combo. It’s a reminder that sometimes, the easiest recipes carry the most warmth and nostalgia. They’re imperfect, messy, and completely worth it.
Welcome to Proud of This Mess – a place where food, creativity, and a little chaos come together on a plate!
I’m Emily Carter, the founder and heart behind this little corner of the internet. Born and raised in the United States, I’ve always had a passion for cooking, experimenting, and sharing the messy, delicious journey of creating food that brings people together. My philosophy is simple: good food doesn’t have to be perfect, and a little mess makes it memorable.
At Proud of This Mess, we believe that cooking is more than just following recipes—it’s about exploring flavors, discovering new techniques, and making every meal an experience worth savoring. From comforting weeknight dinners to indulgent desserts, our goal is to inspire home cooks of all levels to embrace the joy of food without fear of imperfection.